Growing kale in containers is a smart and practical way to enjoy this leafy green superfood, even if you have limited gardening space. Whether you’re working with a balcony, patio, rooftop, or a sunny spot in your kitchen, kale adapts well to containers and provides a steady supply of nutrient-rich leaves.
This guide walks you through the essential steps to growing healthy kale in containers, from selecting the right pots and soil to planting, maintenance, and harvesting.
Why Choose Kale for Container Gardening?
Kale is a cool-season crop that is hardy, low-maintenance, and packed with vitamins A, C, and K, along with calcium and antioxidants. It doesn’t need deep soil to thrive, which makes it an excellent choice for pots and recycled containers.
The upright growth of kale saves space while offering generous harvests. Plus, growing your own means you can avoid pesticides and enjoy fresher produce with higher nutritional value.
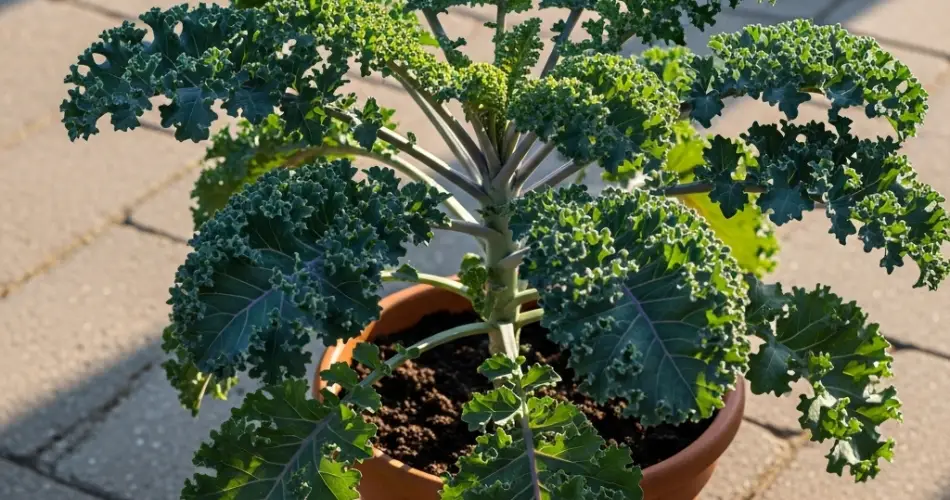
Picking the Right Container
When growing kale, your container should be at least 12 inches deep and 12 inches wide. This size provides ample room for the roots and ensures the plant has enough space to spread and mature. If you want to grow multiple kale plants in a single pot, space them at least 12 inches apart to avoid overcrowding.
Plastic pots, recycled buckets, or even fabric grow bags are all suitable choices. Whatever container you choose, it must have good drainage holes to prevent water from pooling at the bottom and causing root rot.
Ideal Soil Mix
Kale thrives in rich, well-draining soil. The best potting mix should be fertile, loose, and slightly acidic to neutral (pH 6.0–7.5). You can create your own potting mix using:
-
1 part compost (or well-rotted manure)
-
1 part peat moss or coco coir
-
1 part perlite or coarse sand
This blend ensures good aeration, moisture retention, and proper drainage. Before planting, mix in a slow-release organic fertilizer or some worm castings to give the young plants a healthy start.
Selecting Kale Varieties
Some kale varieties are especially well-suited for container growing:
-
Dwarf Blue Curled: Compact, decorative, and hardy
-
Lacinato (Dino Kale): Tall with narrow, dark green leaves
-
Red Russian: Mild flavor and attractive reddish-purple veins
-
Siberian Kale: Very cold-hardy with large, tender leaves
These varieties thrive in small spaces and offer both productivity and visual appeal.
Planting Instructions
You can start kale from seeds or transplants. Here’s how:
From Seeds:
-
Sow seeds ¼ to ½ inch deep in the container or seed trays.
-
Keep the soil moist until germination, which takes 5–10 days.
-
Once seedlings have two sets of true leaves, thin them out or transplant them to individual pots, leaving about 12 inches of space between each plant.
From Transplants:
-
Dig a small hole in the center of your pot.
-
Gently place the seedling in, covering the roots with soil.
-
Press down lightly and water well.
Sunlight and Temperature Needs
Kale prefers cool weather and grows best in temperatures between 55°F and 75°F (13°C–24°C). Place your containers where the plants can receive at least 6 hours of sunlight per day.
In hot climates, provide afternoon shade or move pots to a cooler location to prevent bolting. In cooler seasons or regions, full sun will help maximize growth and flavor.
Watering and Feeding
Water kale regularly to keep the soil evenly moist but not soggy. Container soil tends to dry out faster, so check daily, especially in warmer weather. Water when the top inch of soil feels dry to the touch.
Fertilize with a balanced organic liquid fertilizer every 2–3 weeks or use compost tea to boost leafy growth. Kale benefits from nitrogen-rich feeds, which encourage lush foliage.
Common Pests and Solutions
Pests such as aphids, cabbage worms, and flea beetles can attack kale. Regularly inspect leaves (especially the undersides) and remove any pests by hand or spray with organic neem oil or insecticidal soap.
To reduce risk, cover seedlings with mesh netting or row covers, especially during the early stages of growth.
Harvesting Kale
Kale can be harvested continuously once the leaves are about 4–6 inches long. Use clean scissors to snip off the outer leaves, leaving the central crown untouched so the plant keeps producing.
Regular harvesting encourages more growth. The younger leaves are more tender and mild in flavor, perfect for salads and smoothies. Mature leaves are great for sautés and soups.
Tips for Ongoing Success
-
Succession Planting: Every 3–4 weeks, plant new seeds in a separate container to ensure a steady harvest.
-
Mulch: Add a layer of straw or shredded leaves to retain soil moisture and reduce temperature fluctuations.
-
Cold Protection: During winter, move containers to sheltered spots or use row covers to keep kale growing longer.
Final Thoughts
Kale is one of the easiest and most rewarding vegetables to grow in containers. With just a little care and the right conditions, you can enjoy homegrown kale year-round. Whether you’re an urban gardener or simply looking for a fresh way to add superfoods to your meals, container kale is a smart, sustainable, and space-saving solution.


