Chives are among the most versatile herbs you can grow at home. Their mild onion-like flavor enhances everything from salads and soups to eggs and savory baked dishes. Best of all, they thrive in containers, making them a perfect choice for gardeners with limited space. Whether you live in an apartment, have a small balcony, or simply want a pot of fresh herbs near your kitchen, chives are both easy and rewarding to grow in containers.
This guide will walk you through the essentials of container gardening with chives, covering everything from pot selection to harvesting tips.
Why Chives Are Perfect for Container Gardening
Chives adapt well to container life for several reasons:
-
Compact growth habit: They form clumps rather than sprawling vines, which makes them a great fit for small spaces.
-
Hardiness: Chives can tolerate a range of conditions and bounce back quickly even if neglected for a short time.
-
Perennial growth: Once established, they come back year after year, reducing the need to replant.
-
Continuous harvest: You can snip leaves regularly, and they will keep producing fresh growth throughout the season.
With such forgiving qualities, chives are ideal for beginner gardeners or anyone wanting low-maintenance greenery.
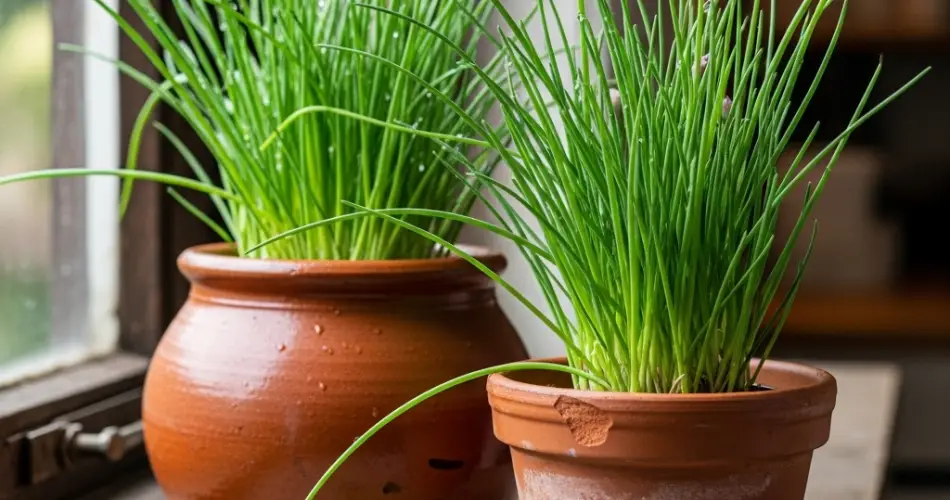
Choosing the Right Container
The container you select will play a big role in your chives’ success. Here’s what to consider:
-
Size: Chives don’t need deep soil, but they do like space for their clumps to expand. A pot about 6–8 inches deep and 8–10 inches wide works well.
-
Material: Terracotta pots are excellent for airflow but dry out quickly. Plastic or glazed ceramic pots retain moisture better. Choose based on your watering habits.
-
Drainage: Always use a pot with drainage holes. Chives dislike waterlogged soil, which can lead to root rot.
If you’d like a larger harvest, consider planting several clumps in a long window box or rectangular container.
Soil and Planting Tips
Chives thrive in soil that balances moisture retention with good drainage. A high-quality potting mix designed for herbs or vegetables works best. For even better results, add a handful of compost to enrich the soil.
To start your container:
-
Fill your pot with moistened potting mix, leaving about an inch of space at the top.
-
Plant chive seeds about ¼ inch deep, scattering them evenly across the surface. Cover lightly with soil.
-
If starting with transplants or divisions, plant clumps in the center or evenly spaced in a larger container.
-
Water gently to settle the soil.
Seeds usually take 10–14 days to sprout, while established clumps adapt quickly to their new home.
Light and Water Requirements
Chives love sunlight. Place your container in a spot that receives at least 6 hours of direct sun each day. If growing indoors, a south- or west-facing windowsill is ideal. For darker interiors, supplement with a grow light to encourage steady growth.
When it comes to water, keep the soil evenly moist but not soggy. Chives prefer consistent watering, especially in warm weather. If the soil feels dry to the touch, it’s time to water. Using a saucer under the pot helps catch excess water, but don’t let the plant sit in it for long.
Feeding Your Chives
Although chives are not heavy feeders, a little nutrition will boost their growth. Every 4–6 weeks, feed with a diluted liquid fertilizer or sprinkle compost on the soil surface. Organic options are especially good for herbs you’ll eat regularly.
Harvesting Chives the Right Way
One of the joys of growing chives is harvesting them fresh. To ensure continued growth:
-
Wait until the plant is at least 6 inches tall before your first harvest.
-
Use clean scissors to snip leaves from the base, leaving about 2 inches so they can regrow.
-
Harvest evenly around the clump to encourage uniform regrowth.
-
Avoid cutting more than one-third of the plant at a time, as this can stress it.
Chives will continue producing throughout the season if harvested properly.
Extra Care and Maintenance
While chives are resilient, a little extra care goes a long way.
-
Dividing plants: Every 2–3 years, divide your chive clumps to prevent overcrowding. Replant divisions into fresh soil for renewed vigor.
-
Deadheading flowers: Chives produce pretty purple blossoms in late spring or summer. While edible, flowers can reduce leaf production. Snip them off if you want more foliage.
-
Pest control: Chives are generally pest-resistant, but watch for aphids. If they appear, rinse them off with water or spray with a mild soap solution.
Benefits of Growing Chives in Containers
Aside from culinary use, container-grown chives bring other advantages:
-
They act as natural pest deterrents when placed near other plants.
-
Their decorative purple blooms attract pollinators.
-
Containers allow you to move them indoors during winter in colder climates.
This makes chives both functional and ornamental for your home garden.
Final Thoughts
Container gardening with chives is an easy and rewarding project for beginners and experienced gardeners alike. With minimal effort, you’ll enjoy fresh herbs that add flavor and beauty to your meals. By selecting the right container, providing good soil, sunlight, and water, and harvesting correctly, your chives will thrive year-round.
Whether on a sunny balcony, a windowsill, or a small patio, chives prove that even limited space can produce abundant harvests.


