Fresh herbs add life to any dish, and chives, with their mild onion flavor, are among the easiest to grow at home. Even if you don’t have a garden or patio, you can still grow your own chives using recycled plastic bottles. This method is affordable, eco-friendly, and ideal for small-space living. Whether placed on a windowsill, hung from a balcony, or arranged on a shelf, bottle-grown chives offer convenience, sustainability, and flavor all in one.
This article will walk you through how to set up your own recycled chive garden using plastic bottles—perfect for urban gardeners, kitchen herb enthusiasts, and anyone looking to grow herbs in limited space.
Why Grow Chives in Plastic Bottles?
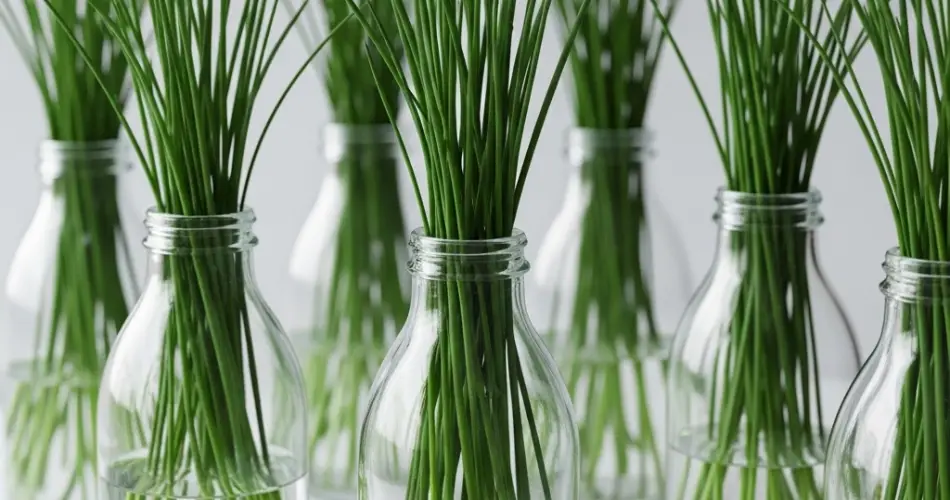
Chives are shallow-rooted and adapt well to containers, making them excellent candidates for growing in repurposed bottles. Using plastic bottles helps reduce household waste while providing a compact growing space for your herbs. These bottle gardens require minimal maintenance and are highly portable, allowing you to move them to catch the sun or bring them indoors when needed.
Chives also grow back quickly after harvesting, giving you a steady supply of greens for garnishing soups, eggs, salads, and more.
Materials Needed:
-
1.5- or 2-liter clear plastic bottles
-
Chive seeds or seedlings
-
Potting mix with good drainage
-
Scissors or utility knife
-
Heated nail or screwdriver (for making drainage holes)
-
Small pebbles or gravel (optional)
-
Spray bottle or small watering can
-
Sunny windowsill, shelf, or balcony space
-
Twine or wire (if you want to hang the bottles)
Step 1: Cut and Prep the Bottles
Start by washing your plastic bottles thoroughly and removing the labels. Use scissors or a knife to cut a rectangular window on one side of each bottle, leaving the base intact to hold soil.
Poke 3–4 drainage holes into the bottom of the bottle using a heated nail or screwdriver. This allows excess water to escape, which is crucial to prevent root rot. If you’re planning to hang the bottles, make two small holes near the top on opposite sides and thread through twine or wire to create hanging loops.
Step 2: Add Soil and Drainage
To help with drainage, add a small layer of gravel or pebbles at the bottom of each bottle. Then fill the bottle with a well-draining potting mix—ideally a blend that includes perlite or sand to keep the soil light and airy.
Avoid packing the soil too tightly. Loose soil helps roots grow more easily and improves airflow around them.
Step 3: Planting Chives
Starting from seeds:
Scatter several chive seeds over the surface of the soil. Cover lightly with a thin layer of soil—about ½ cm. Use a spray bottle to gently moisten the top without displacing the seeds. Keep the soil damp until the seeds germinate, usually within 7–14 days.
Using seedlings or transplants:
Dig a small hole in the center of the soil and place the root ball inside. Press the soil gently around the base of the plant and water it in lightly.
Place your chive bottles in a sunny area where they will receive at least 4–6 hours of light per day. A bright windowsill or sunny balcony is perfect.
Step 4: Watering and Light Requirements
Chives like consistent moisture, especially during early growth. Water lightly when the top inch of soil feels dry. Avoid overwatering—your drainage holes will help keep the roots healthy.
If growing indoors, rotate the bottles every few days so all sides of the plant get even sunlight. If natural light is insufficient, consider using a small grow light to supplement.
Step 5: Care and Feeding
Chives are low-maintenance but will benefit from occasional feeding. Use a diluted organic fertilizer or compost tea once every 3–4 weeks to support leafy growth.
Trim back any yellow or wilted leaves, and remove flower buds if you want the plant to focus on producing foliage. However, chive flowers are edible and can add a decorative touch to meals if left to bloom.
Step 6: Harvesting Chives
Once your chive plants are around 6 inches tall, you can begin harvesting. Use scissors to cut the leaves about 1–2 inches above the soil line. This encourages the plant to regrow quickly and keeps it tidy.
Avoid harvesting more than a third of the plant at once to ensure healthy regrowth. You can use the fresh leaves immediately or chop and freeze them for future use.
Creative Uses for Bottle-Grown Chives
-
Hang multiple bottles in vertical rows along a balcony railing for a compact herb wall.
-
Paint or label each bottle to identify the herb or track planting dates.
-
Combine chives with other bottle-grown herbs like parsley, basil, or mint to create a full kitchen herb garden.
-
Use decorated bottles as indoor centerpieces or window accents.
Conclusion
A recycled plastic bottle garden is a smart and sustainable way to grow flavorful herbs like chives at home. It’s affordable, beginner-friendly, and doesn’t require much space. With just a little sunlight, some soil, and a bit of care, you can enjoy fresh chives year-round right from your windowsill or balcony. Not only will you enhance your meals, but you’ll also take a meaningful step toward eco-conscious gardening.


