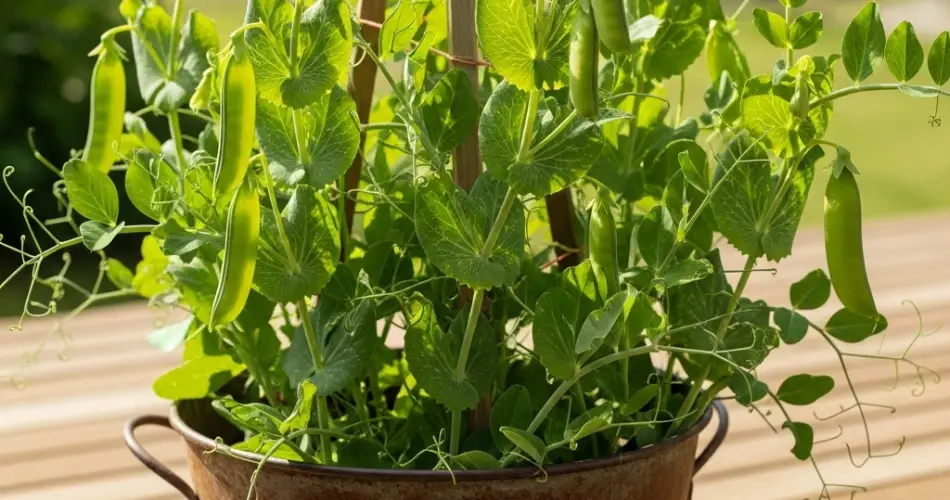
Peas are a cool-weather favorite, beloved for their sweet flavor, crisp texture, and high nutritional value. Whether you enjoy sugar snap peas, snow peas, or garden shelling peas, these easy-to-grow vegetables are perfect for container gardening. Even if you’re short on space, growing peas in buckets can yield a satisfying and productive harvest—right from your balcony, patio, or small backyard.
To ensure healthy growth and a delicious crop, peas need the right soil and proper care. In this guide, we’ll explore everything you need to know about growing peas in buckets—from choosing the best soil mix to maintaining healthy plants throughout the growing season.
Why Grow Peas in Buckets?
Bucket gardening offers a number of advantages:
-
Space-saving: Buckets fit well in small areas and allow vertical growing.
-
Controlled environment: You can adjust soil quality and drainage easily.
-
Mobility: Move your plants to catch the best sun or shelter them from wind or extreme cold.
-
Early starts: Buckets can be placed in protected spots to allow earlier planting in spring or extended growing into fall.
Peas are naturally compact plants with shallow root systems, which makes them particularly well-suited for bucket cultivation.
Choosing the Right Bucket and Variety
Use a 3- to 5-gallon bucket for growing peas. Be sure to drill adequate drainage holes at the bottom to prevent waterlogging, which can quickly lead to root rot.
Select a variety that matches your climate and growing space:
-
Bush or dwarf peas (like ‘Little Marvel’ or ‘Tom Thumb’) are ideal for containers because of their compact growth.
-
Climbing or vining peas (like ‘Sugar Snap’ or ‘Super Sugar Snap’) produce more over time but require a trellis or stake for support.
The Best Soil for Bucket-Grown Peas
Soil is the foundation of any successful container garden. For peas, the right soil mix ensures proper drainage, root health, and nutrient uptake.
Ideal Soil Qualities:
-
Well-draining: Peas dislike soggy conditions. Use a light potting mix that drains easily.
-
Loamy texture: Peas grow best in soil that’s rich but not too dense.
-
pH level: Peas prefer a neutral to slightly alkaline pH (6.0 to 7.5).
-
Nutrient-rich: Although peas fix their own nitrogen, they still need phosphorus and potassium to support flowering and pod development.
Recommended Soil Mix:
-
60% high-quality potting mix
-
30% compost (for nutrients)
-
10% perlite or coarse sand (to improve drainage)
Avoid heavy garden soil or clay, which can compact in buckets and suffocate roots.
Planting Peas in Buckets
Step 1: Prepare the Bucket
Ensure there are 4–6 drainage holes in the bottom of the bucket. Place a few small stones at the bottom to improve water flow.
Step 2: Fill with Soil
Add your soil mix, filling the bucket about an inch below the rim. Moisten the soil slightly before planting.
Step 3: Sow the Seeds
Plant pea seeds 1 inch deep and 2 inches apart. A 5-gallon bucket can support 6–8 plants comfortably. If using climbing varieties, place a small trellis or stake in the center of the bucket at planting time.
Care Tips for Healthy Pea Plants
1. Sunlight
Peas need at least 6 hours of sunlight daily. They prefer cooler temperatures, so in hot climates, morning sun and afternoon shade are ideal.
2. Watering
Keep the soil evenly moist, especially during flowering and pod formation. Avoid overwatering, as soggy roots can rot quickly. Check the soil daily, especially in warm weather.
3. Feeding
Peas don’t need a lot of nitrogen (since they fix their own), but a balanced organic fertilizer with more phosphorus and potassium helps encourage flowering. Apply a diluted liquid fertilizer every 2–3 weeks once the plants begin to flower.
4. Support
Climbing varieties need a stake, cage, or trellis to climb. Bush types may still benefit from a short support to keep the vines upright and clean.
5. Mulching
Add a thin layer of mulch like straw or shredded leaves to help retain moisture and regulate soil temperature.
Common Issues to Watch For
-
Powdery mildew: Avoid overhead watering and ensure good airflow around the plants.
-
Aphids: Spray with a mix of water and mild soap or use neem oil if infestations appear.
-
Yellowing leaves: Usually a sign of overwatering or poor drainage—check your soil and adjust accordingly.
Harvesting Your Peas
Peas are ready to harvest about 60–70 days after planting, depending on the variety. Pick pods when they’re plump but still tender. Frequent harvesting encourages continued production.
-
Snow peas: Harvest when pods are flat but full-sized.
-
Snap peas: Harvest when pods are full and round but still crisp.
-
Shelling peas: Wait until pods are fully plump and peas are mature inside.
Final Thoughts
With the right soil and a little care, peas can thrive in buckets and reward you with crisp, sweet harvests throughout the cooler parts of the growing season. Whether you’re planting early in the spring or trying for a fall crop, bucket-grown peas are a compact, satisfying, and delicious addition to any small-space garden.
From their delicate tendrils to the moment you snap the first pod, growing peas in containers offers a hands-on connection to your food—and the joy of picking something fresh, sweet, and homegrown.


