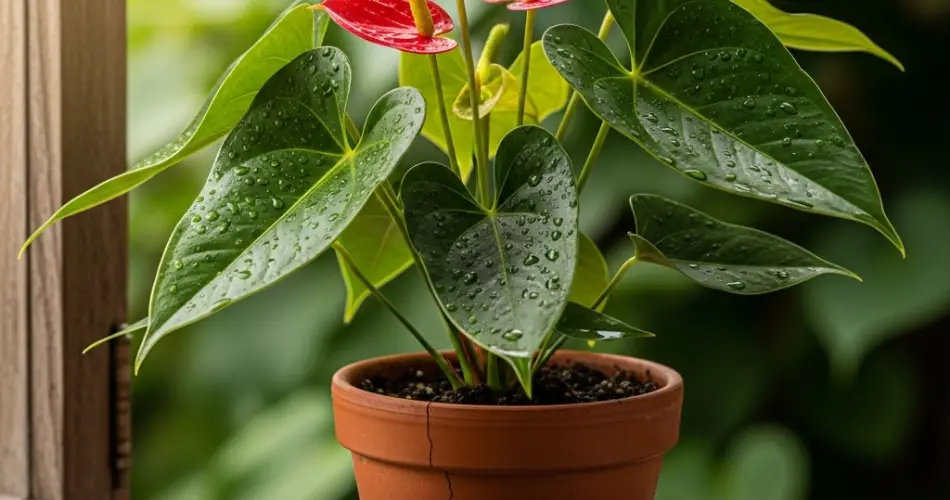
Anthuriums, with their glossy leaves and vibrant, heart-shaped blooms, add an exotic and elegant touch to any indoor space. Known for their long-lasting flowers and tropical appeal, these plants thrive when their roots are given the right balance of moisture and aeration. Potting an anthurium correctly is one of the most important steps to keeping it healthy and blooming for years.
Understanding Anthurium Root Needs
In their native tropical habitats, anthuriums often grow as epiphytes, anchoring themselves to trees and drawing moisture from humid air and rain. This means their roots prefer conditions that are moist yet airy—not constantly drenched. Too much water can suffocate the roots, while too little will lead to dehydration and stress. The goal is to mimic that natural balance in a pot.
Choosing the Right Pot
The container you choose can make a big difference in moisture control.
-
Drainage holes: Essential for preventing water from pooling at the bottom. Without them, even well-draining soil can become waterlogged.
-
Size: Choose a pot only slightly larger than the plant’s root ball—about 2–3 cm wider. Oversized pots hold excess moisture, increasing the risk of root rot.
-
Material: Terra cotta pots allow evaporation and help prevent overly wet conditions. Ceramic pots work well if you’re careful with watering, while plastic pots retain moisture longer, which can be helpful in drier environments.
The Best Potting Mix for Anthuriums
Standard potting soil alone is often too dense for anthuriums. Instead, aim for a mix that drains quickly while retaining enough moisture for the roots to stay hydrated.
Ideal mix components:
-
Orchid bark: Provides excellent aeration and mimics the plant’s natural growing environment.
-
Perlite: Improves drainage and prevents compaction.
-
Peat moss or coco coir: Helps retain moisture without making the mix soggy.
A good starting blend is equal parts orchid bark, perlite, and peat or coco coir. This combination gives roots the air circulation they need while holding just the right amount of water.
Potting an Anthurium Step-by-Step
-
Prepare the container: Ensure it’s clean and has drainage holes.
-
Layer the base: Add a small layer of the potting mix at the bottom.
-
Position the plant: Place the anthurium so that the root crown is just above the soil line. Planting too deep can encourage rot.
-
Fill in gently: Add the rest of the mix, pressing lightly to remove air pockets without compacting the soil.
-
Water thoroughly: Give the plant a full watering, letting excess water drain out completely before placing it back on a saucer.
Watering for Optimal Root Health
Getting watering right is the key to keeping roots moist but not soggy.
-
Check before watering: Stick your finger into the top 2–3 cm of soil; if it feels dry, it’s time to water.
-
Water evenly: Pour until water flows from the drainage holes, ensuring the entire root system is moistened.
-
Empty saucers promptly: Don’t let the plant sit in standing water.
-
Humidity boost: Anthuriums appreciate humidity around 60–80%. Use a pebble tray or humidifier to keep the air moist without overwatering the soil.
Fertilizing for Strong Growth and Blooms
Healthy roots lead to vibrant flowers, and feeding your anthurium helps keep the plant thriving.
-
Type: Use a balanced liquid houseplant fertilizer with slightly higher phosphorus to encourage blooming.
-
Frequency: Feed every 6–8 weeks during the growing season (spring through early autumn). Reduce feeding in winter when growth slows.
-
Dilution: Always dilute fertilizer to half strength to prevent root burn.
Repotting to Maintain Root Health
Anthuriums usually need repotting every two to three years, or when roots begin circling the pot and growing out of drainage holes.
Repotting tips:
-
Refresh the potting mix completely to restore aeration.
-
Trim away any mushy, discolored, or dead roots with sterile scissors.
-
Move the plant to a pot just one size larger to prevent excessive moisture retention.
Troubleshooting Root and Soil Issues
-
Yellow leaves: Often a sign of overwatering or poor drainage. Check the potting mix and pot size.
-
Crisp, brown leaf edges: Can be caused by underwatering, low humidity, or excessive fertilizer salts.
-
Wilting despite moist soil: Roots may be rotting from excess water; repot immediately into a fresh, well-draining mix.
Final Thoughts
The secret to a flourishing anthurium is finding that sweet spot between moisture and aeration. By using a light, well-draining potting mix, choosing the right container, and sticking to a careful watering routine, you’ll create the perfect environment for healthy roots. In turn, the plant will reward you with glossy foliage and striking blooms that brighten your home year-round.
Caring for anthuriums is all about balance—too wet or too dry, and the plant struggles. Get the potting right, and you’ll have a resilient tropical beauty that thrives indoors for many seasons to come.


