Indoor ferns are beloved for their lush, feathery foliage and ability to add vibrant greenery to any space. Popular varieties like Boston fern, maidenhair fern, and bird’s nest fern are especially prized for their graceful appearance and tropical charm. However, keeping these moisture-loving plants healthy indoors can be tricky—especially when it comes to watering. Ferns naturally grow in humid, shaded forest floors where the air is damp and the soil stays lightly moist. Recreating this environment indoors requires careful watering and attention to humidity. Here’s a detailed guide to help you water your indoor ferns the right way and keep them thriving year-round.
Understanding Ferns’ Natural Needs
Ferns are not drought-tolerant plants. In their native habitats, they enjoy high humidity, moderate warmth, and consistent moisture in the soil. But that doesn’t mean the soil should be soggy or waterlogged. Too much water can lead to root rot, while too little causes the fronds to dry out and wither. The goal is to maintain a steady level of moisture, avoiding extreme fluctuations that can stress the plant.
Step 1: Choose the Right Pot and Soil
To provide the ideal environment for your ferns, start with the right container. Use pots with good drainage holes to prevent excess water from pooling at the bottom. Even though ferns like moisture, they still need proper drainage to avoid rot.
Select a light, airy potting mix designed for indoor plants. You can make your own by combining standard potting soil with peat moss and perlite. This mix retains moisture while still allowing air to circulate around the roots.
Step 2: Check Soil Moisture Regularly
Unlike some houseplants that prefer their soil to dry out between waterings, ferns need their soil to remain evenly moist. Check the top inch of soil every few days using your finger. If it feels dry, it’s time to water. If it still feels moist, wait a day or two before checking again.
Avoid letting the soil become bone dry, as this can cause ferns to shed leaves and go into stress. Consistency is key—frequent small waterings are better than occasional deep soaking.
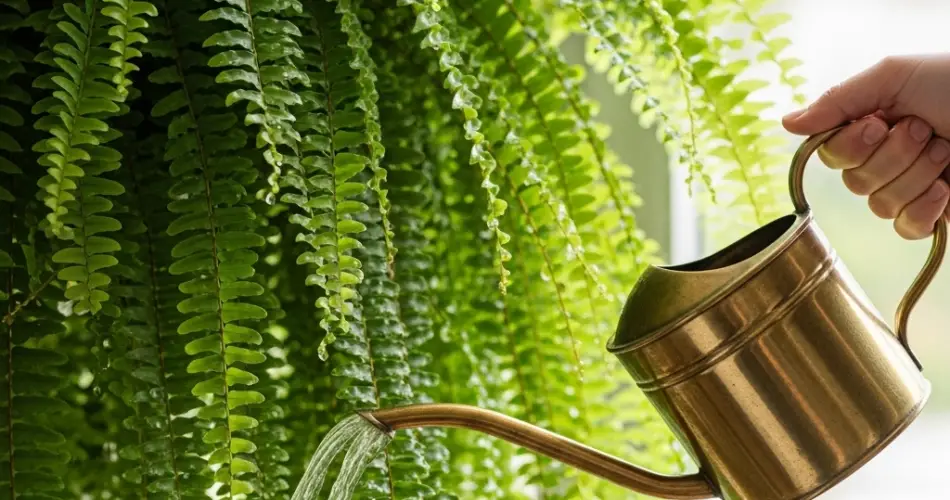
Step 3: Use Lukewarm, Filtered Water
Ferns are sensitive to chemicals found in tap water, especially chlorine and fluoride. If possible, use filtered, distilled, or rainwater to hydrate your ferns. You can also leave tap water out overnight to allow chlorine to dissipate before using it.
Always water with lukewarm water—cold water can shock the roots and slow down growth. Watering from the base can help prevent fungal issues on the leaves, but if you water from the top, do so gently and evenly.
Step 4: Water Evenly and Thoroughly
When watering, make sure the entire root ball is moistened. Pour water slowly until it begins to drain from the bottom of the pot. This ensures all roots receive hydration and prevents dry pockets in the soil.
Empty any excess water from trays or saucers after 15–20 minutes to prevent root rot. Avoid allowing the pot to sit in water for extended periods.
Step 5: Maintain High Humidity
Even with perfect watering, your ferns may suffer if the air is too dry. Indoor heating or air conditioning can reduce humidity, especially during winter. To combat this, increase humidity around your ferns by:
-
Placing a shallow tray filled with pebbles and water beneath the plant (without letting the pot touch the water).
-
Grouping plants together to create a microclimate of shared humidity.
-
Using a room humidifier to maintain ideal moisture levels in the air.
-
Misting the leaves occasionally—but only in the morning, and not excessively.
Aim for humidity levels between 50–70% for most fern varieties.
Step 6: Adjust Watering Based on Seasons
Ferns grow more actively in spring and summer and require more frequent watering during these warmer months. In fall and winter, growth slows down, and so does the plant’s water usage. Reduce watering slightly during the colder seasons, but never let the soil dry out completely.
Watch your plant for cues. If the fronds are turning yellow or crispy, it may be a sign of underwatering. If the fronds become limp or dark brown at the base, overwatering could be the culprit.
Step 7: Regular Maintenance and Repotting
Over time, soil can compact and lose its ability to retain moisture evenly. Repot your ferns every 1–2 years, refreshing the potting mix to ensure continued healthy growth. During repotting, check the roots for any signs of rot and remove damaged parts.
Trimming off dead or dried fronds also helps redirect the plant’s energy toward healthy new growth and maintains a tidy appearance.
Conclusion
Watering moisture-loving ferns indoors is all about balance and attentiveness. By choosing the right soil and container, monitoring soil moisture regularly, using clean lukewarm water, and maintaining high humidity, you can create the ideal environment for your ferns to thrive. With consistent care, your indoor ferns will reward you with lush, green foliage that brings life and beauty to your living space all year long.


