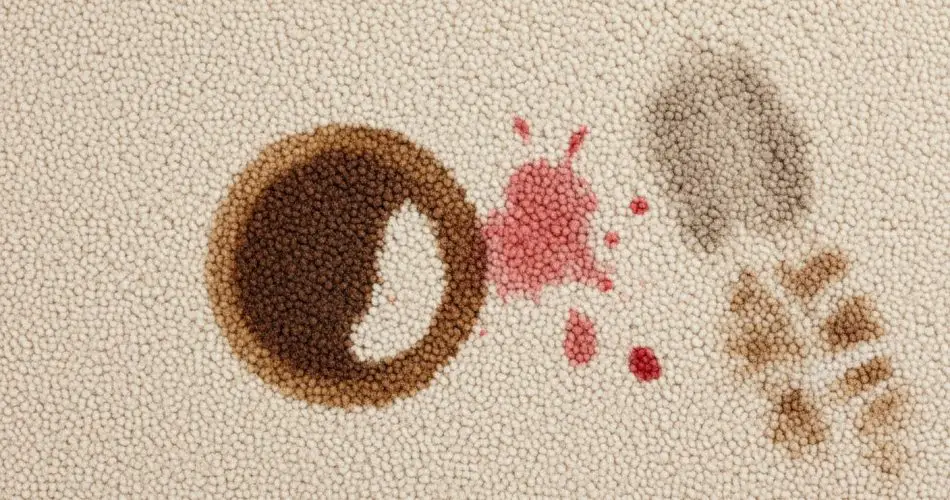
If you have children or pets at home, accidents are bound to happen sooner or later. Among the most unpleasant ones is when your favorite carpet ends up stained — and worse still, the culprit is vomit. It’s one of the toughest stains to remove, not only because of its composition but also because of the strong odor it leaves behind. But don’t panic: there’s an effective home method that can restore your carpet’s cleanliness and freshness without the need for harsh chemicals or expensive professional cleaning.
When Vomit Ends Up on Your Carpet
It can happen at any time — a sick child, an upset pet, or even an adult who’s caught a sudden stomach bug. Your beautiful carpet, carefully chosen to match your living room décor, suddenly becomes the victim of an unpleasant accident. The first instinct may be to panic or grab the nearest cleaning spray, but it’s important to approach the problem calmly. Acting quickly and correctly can make all the difference between a permanent stain and a carpet that looks as good as new.
Vomit stains are among the most difficult to deal with because they contain both solid and liquid components. The acid from stomach fluids can penetrate deep into carpet fibers, and the odor can spread throughout the room if not addressed immediately. The key is to remove the mess as soon as possible before it sets.
Step-by-Step Guide to Cleaning Vomit from a Carpet
Cleaning up vomit isn’t anyone’s favorite chore, but with the right technique, you can do it quickly and effectively. Follow these steps carefully for the best results.
Step 1: Remove the solids
Start by putting on a pair of disposable gloves. Using a spoon, spatula, or similar tool, gently lift off as much of the solid material as possible. Always work from the outside of the stain toward the center to prevent spreading it further. Avoid pressing down — the goal is to lift, not rub, the residue into the carpet fibers. Dispose of the solids in a sealed plastic bag to contain the odor.
Step 2: Blot the area
Once the solids are removed, use a clean towel or paper towel to blot up as much liquid as you can. Press gently but firmly, and replace the towel as it becomes damp. Do not rub, as this can push the stain deeper into the fabric and make it harder to remove.
Step 3: Clean with soapy water
Next, prepare a simple cleaning solution using warm water and a few drops of dishwashing soap. Dish soap is ideal because it cuts through grease and organic residues without damaging the carpet. Dip a clean cloth or sponge into the soapy water, wring out the excess, and gently dab the stain. Continue blotting until you see the stain begin to fade.
If the vomit has dried or the stain remains visible, you may use a carpet-specific stain remover, but always test it first on a hidden corner of the carpet to make sure it doesn’t cause discoloration.
Step 4: Rinse the area
After cleaning with soap, it’s important to remove any residue that could attract more dirt later. To do this, pour a small amount of club soda or cold water directly onto the affected area. Let it sit for about 30 seconds. Then, blot again with a clean, dry towel or absorbent paper to soak up the moisture. Repeat the process until the stain is gone and the carpet feels clean to the touch.
Step 5: Use natural ingredients when possible
Whenever you can, opt for natural household ingredients. They’re safer for your family, pets, and the environment, and they help preserve the texture and color of your carpet. Harsh chemicals can weaken carpet fibers and leave behind toxic residues. Simple ingredients like baking soda, vinegar, and lemon juice can be just as effective.
For example, if the odor persists even after cleaning, sprinkle baking soda over the area once it’s slightly damp. Let it sit for several hours or overnight to absorb remaining smells, then vacuum it up thoroughly the next day.
Step 6: Dry the carpet properly
Let the carpet air dry completely before walking on it. Open windows or turn on a fan to speed up the drying process. Avoid using direct heat, as this may damage delicate fibers or cause shrinkage.
If you have a steam cleaner or a steam mop with carpet attachments, it can be a great finishing touch once the stain is mostly gone. The steam helps disinfect and remove any lingering residue, leaving the carpet fresh and hygienic.
Step 7: Vacuum for the final touch
Once everything is dry, vacuum the area as usual. This will lift the carpet fibers, remove any remaining baking soda or residue, and restore the original texture. After this step, your carpet should look and smell as if nothing ever happened.
Special Caution for Delicate or Expensive Carpets
If your carpet is made from delicate materials such as silk, wool, or other luxury fibers, avoid DIY treatments that could cause damage. In these cases, it’s safer to consult a professional carpet cleaner or contact the store where you purchased the rug for specific care advice. Attempting to clean an expensive carpet without the right products or techniques can lead to discoloration or fiber damage, turning an unfortunate accident into a costly mistake.
Why Natural Cleaning Is the Best Choice
Using natural, household products to clean carpets offers several advantages. They’re eco-friendly, inexpensive, and readily available, making them perfect for quick emergency cleanups. Unlike commercial chemical products, they won’t irritate sensitive skin or release harmful fumes, making them safe to use around children and pets.
Additionally, natural cleaning methods help maintain the beauty and longevity of your carpets. Over time, chemical cleaners can strip color or weaken fibers, whereas gentle homemade solutions protect the material and keep it looking new longer.
A Calm and Practical Approach
Dealing with vomit on your carpet is undoubtedly unpleasant, but with the right method, it doesn’t have to be a disaster. The key is to act quickly, use gentle yet effective cleaning products, and stay patient throughout the process.
So next time you’re faced with this unfortunate household mishap, take a deep breath, grab your gloves, and remember this step-by-step guide. With a bit of determination and the right natural ingredients, you’ll have your carpet clean, fresh, and odor-free again — no panic required.