Growing onions at home doesn’t require a backyard or even large pots. With vertical gardening using recycled plastic bottles, you can transform a wall, balcony, or fence into a thriving green space. This method is perfect for those with limited areas and a desire for sustainable, space-saving gardening. It’s practical, affordable, and offers the added benefit of repurposing materials that might otherwise end up as waste.
This guide walks you through each step to successfully grow onions vertically using plastic bottles, from preparation to harvest.
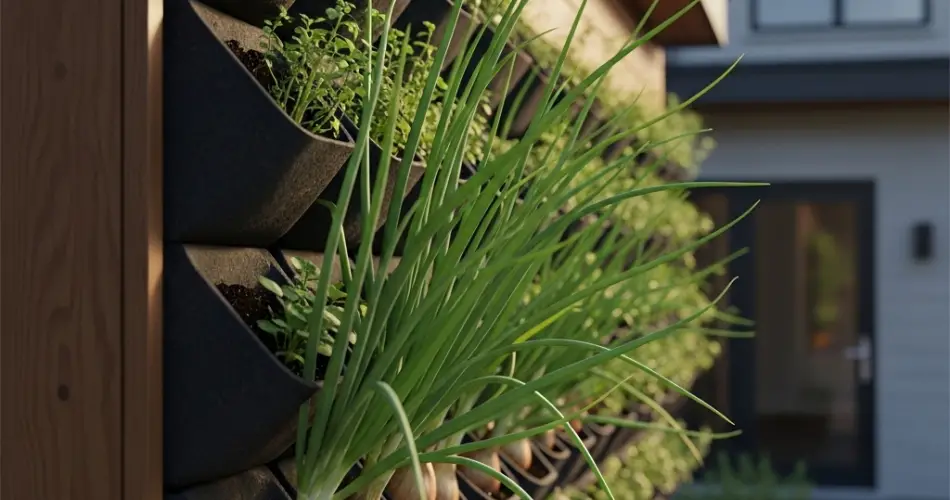
Why Use Bottles for Onion Growing?
Vertical bottle gardening provides a number of benefits:
-
Maximizes vertical space, making it ideal for small homes and apartments.
-
Reduces plastic waste by repurposing bottles.
-
Keeps plants off the ground, protecting them from pests and making maintenance easier.
-
Allows convenient harvesting of fresh greens and bulbs within reach.
Onions, particularly green or spring varieties, adapt well to shallow containers and confined soil, making them ideal candidates for this system.
What You’ll Need
Before starting, gather the following materials:
-
Several clean, empty 2-liter plastic bottles
-
A box cutter or sharp scissors
-
Potting soil enriched with compost
-
Onion sets, bulbs, or green onion roots
-
Nail or screwdriver (for poking holes)
-
Wire, rope, or string for hanging
-
Sunny wall or vertical support
Step 1: Choose the Right Onion Type
Smaller or green onions are best suited for vertical bottle planting. These include:
-
Spring onions (scallions) – grow quickly and regrow after cutting.
-
Shallots – form small, mild bulbs.
-
Miniature bulb onions – require less space to mature.
Avoid large bulb onions unless you’re using larger containers with deeper soil space.
Step 2: Prepare the Bottles
-
Clean the bottles and remove any labels.
-
Cut planting holes: Using a sharp knife or scissors, cut multiple circular holes (about 2 inches in diameter) along one side of the bottle, spacing them about 3–4 inches apart vertically.
-
Drainage: Poke small holes in the bottom using a nail or screwdriver to allow excess water to escape.
-
Hanging holes: Near the top of the bottle (below the cap), punch two small holes on opposite sides to thread a rope or wire through.
-
Optional top planting: Leave the cap on and poke a small hole in it to let water drip slowly if you prefer a top-watering system. You can also plant an onion at the top opening for additional yield.
Step 3: Fill the Bottle with Soil
Mix potting soil with compost for a nutrient-rich growing medium. If you want to improve drainage and moisture retention, mix in coco peat, rice husks, or perlite.
Fill the bottle with soil gradually. As you reach each planting hole, pause to insert a bulb or onion root before continuing to add soil.
Step 4: Planting the Onions
If using onion sets or bulbs:
-
Insert each bulb into a planting hole, root side in and tip pointing outward.
-
Press soil gently around the bulb inside the bottle to hold it in place.
If replanting green onion roots:
-
Place the trimmed root in the hole, ensuring the base is well-seated in the soil and the green top sticks out.
Continue filling the bottle and planting as you move upward, finishing with one or two bulbs at the top if desired.
Step 5: Mounting the Bottles
Use strong wire or thick string to suspend the bottles on a wall, fence, or metal rack. Make sure they hang securely and upright.
Choose a location that receives at least 6 hours of sunlight daily, which is essential for onion growth.
Step 6: Watering and Feeding
Onions require evenly moist but not waterlogged soil. Water once daily or as needed, especially during dry or hot days. Ensure drainage holes are working properly to prevent root rot.
Feed your plants with diluted organic fertilizer, such as compost tea, every two weeks to promote healthy greens and bulb development.
Step 7: Maintenance and Pest Control
Keep an eye on your plants as they grow. Remove any yellowing leaves and check for pests like aphids. If necessary, use a mild soap solution spray to manage infestations.
Avoid overcrowding and trim any overgrowth to ensure each onion has enough light and air.
Step 8: Harvesting
-
Green onions: Ready to harvest when the green tops reach about 6–8 inches. Cut the greens just above the root and let them regrow for another cycle.
-
Bulb onions: Harvest when the tops begin to yellow and fall over. Gently pull the bulbs out from the holes or top opening.
After harvesting mature bulbs, cure them in a dry, shaded place for about a week before storing.
Final Thoughts
Vertical bottle gardening is an excellent way to grow onions at home, even with limited space. It’s practical, sustainable, and yields delicious, fresh produce right where you live. With regular care and a sunny wall, your recycled plastic bottles can become thriving onion planters that feed your kitchen and brighten your space.


