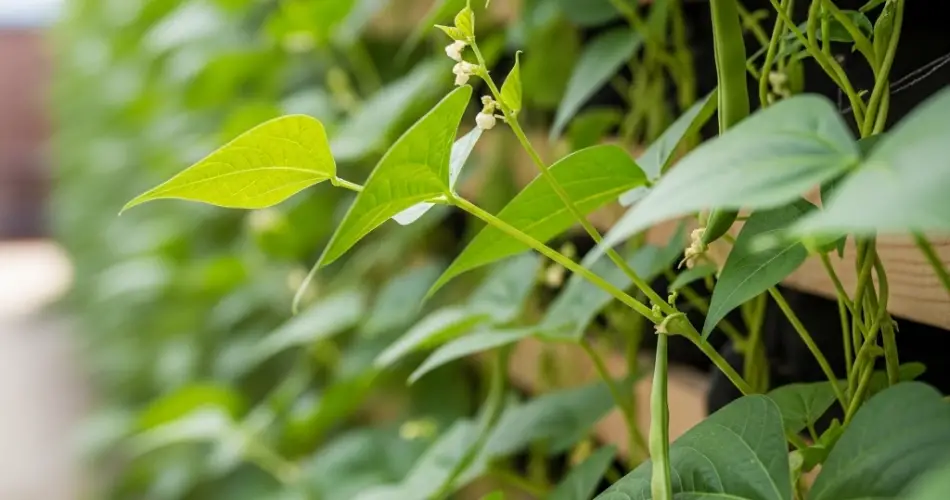
If you have a sunny fence and a few plastic bottles, you’re well on your way to growing fresh green beans, even in a tight space. Green beans are one of the easiest and most productive vegetables to grow, and they thrive in vertical environments. By using bottles as planters and training the vines to climb along a fence, you can turn an ordinary structure into a lush, edible garden. This method saves space, recycles materials, and creates a practical and beautiful green wall.
Here’s a complete guide to growing green beans on a fence using recycled plastic bottles.
Why Use Bottles and Fences for Green Beans?
Green beans naturally love to climb. They grow upward, not outward, making them perfect for vertical gardening. When grown in bottles attached to a fence, the setup takes advantage of both vertical space and natural support. Some benefits of this method include:
-
Space-saving: Ideal for balconies, narrow yards, or urban settings.
-
Recycling: Gives plastic bottles a new purpose, reducing waste.
-
Accessibility: Easy to care for and harvest.
-
Visual appeal: Turns a bare fence into a productive, green feature.
Materials You’ll Need
To get started, gather the following:
-
1.5-liter or 2-liter plastic bottles (with caps)
-
Sharp knife or scissors
-
Potting soil mixed with compost
-
Green bean seeds (preferably climbing or pole types)
-
String, wire, or zip ties
-
Nail or screwdriver (to make holes)
-
A sunny fence or railing (6–8 hours of sunlight daily)
-
Optional: sticks or twine for guiding the vines
Step 1: Choose the Right Green Bean Variety
There are two main types of green beans:
-
Pole beans (climbing): Ideal for this method since they grow vertically and produce more beans over a longer period.
-
Bush beans: Compact and better for containers on the ground, not vertical bottle setups.
Select pole bean varieties such as ‘Blue Lake’, ‘Kentucky Wonder’, or ‘Rattlesnake’ for best results.
Step 2: Prepare the Bottles
-
Clean and dry the plastic bottles.
-
Cut a window: Lay the bottle horizontally and cut a rectangular window on one side, large enough to plant in and allow vines to grow.
-
Drainage holes: Use a nail or screwdriver to poke holes at the bottom of each bottle for drainage.
-
Support holes: Poke two small holes near the bottle’s neck and bottom (on the closed end) for threading string or wire. This will allow you to attach it to the fence.
Step 3: Attach the Bottles to the Fence
Use string, wire, or zip ties to fasten the bottles to the fence with the window side facing up. Stack the bottles vertically or space them horizontally depending on your design and fence size.
Ensure each bottle is secure and upright, with enough space for vines to climb and spread along the fence.
Step 4: Fill with Soil and Plant
Use well-draining soil enriched with compost or organic fertilizer. Fill each bottle about three-quarters full.
Plant 1–2 green bean seeds per bottle, spacing them properly so each plant has room to grow. Cover the seeds with about 1 inch of soil and water gently.
Beans germinate quickly, usually within 5–8 days, especially in warm temperatures.
Step 5: Watering and Fertilizing
Green beans prefer evenly moist soil, but they don’t like to sit in water. Water your bottles once a day or as needed—more often during dry or hot weather.
Feed your plants every 2–3 weeks with a mild organic fertilizer, such as compost tea, to support healthy vine and pod growth.
Step 6: Training the Vines
As the plants grow, they’ll begin to send out tendrils looking for something to grab. You can help by guiding the vines toward the fence using twine or soft ties. Once attached, they will naturally continue to climb.
If your fence has a smooth surface, consider installing netting or twine lines for the vines to grip.
Step 7: Maintenance and Pest Management
Green beans are generally low-maintenance but may attract aphids or beetles. Inspect the leaves regularly and remove pests by hand or use a gentle soapy water spray.
Pinch off any yellowing or dead leaves to encourage new growth and maintain airflow.
Step 8: Harvesting
Green beans are ready to harvest about 50–60 days after planting. Pick them when they are firm, green, and around 4–6 inches long. Frequent harvesting encourages the plant to produce more beans.
Use scissors or gently pinch off the pods to avoid damaging the plant.
Final Thoughts
Growing green beans on a fence using bottles is a clever and sustainable way to enjoy homegrown vegetables even in tight spaces. This method combines gardening with recycling and makes good use of vertical surfaces that would otherwise be unused. With a few bottles, some soil, and a handful of seeds, you can create a thriving green wall full of crisp, delicious beans—all within arm’s reach.


