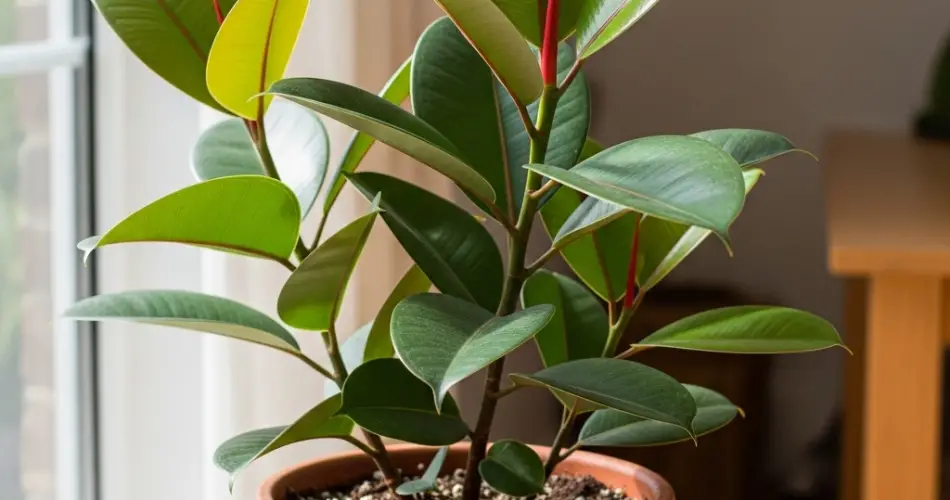
The rubber plant (Ficus elastica) is a popular choice among indoor plant enthusiasts for its broad, glossy leaves and bold appearance. While it’s a hardy houseplant, its long-term health depends heavily on what’s beneath the surface—the soil it’s planted in and the drainage system that keeps its roots healthy. Poor soil structure or inadequate drainage can quickly lead to root rot, nutrient deficiencies, and stunted growth.
If you want your rubber plant to thrive, understanding the right potting mix and drainage setup is essential.
Why the Right Potting Mix Matters
A rubber plant’s roots need both moisture and air. Too much waterlogged soil suffocates the roots, while overly dry conditions slow growth and weaken the plant. The ideal mix balances water retention with aeration, allowing roots to absorb nutrients efficiently without sitting in stagnant moisture.
In nature, Ficus elastica grows in loose, well-draining soils. Replicating this environment indoors means creating a potting medium that holds some moisture but drains freely.
Components of the Ideal Potting Mix
A high-quality mix for rubber plants typically combines three main elements:
-
Base Soil
-
Use a high-quality all-purpose houseplant potting soil as your foundation. This provides essential organic matter and structure. Avoid heavy garden soil, which compacts easily and restricts airflow.
-
-
Aeration Materials
-
Add perlite or pumice to improve drainage and keep the mix light. These materials create air pockets, ensuring oxygen can reach the roots. For most rubber plants, a ratio of two parts potting soil to one part perlite works well.
-
-
Moisture Retention Component
-
Incorporate coconut coir or peat moss to help maintain consistent moisture. These components absorb water without becoming soggy, making them perfect for balancing the needs of the plant.
-
Optional additions like orchid bark can also be mixed in to further improve aeration while mimicking the loose, chunky texture found in the plant’s natural habitat.
Signs Your Potting Mix Needs Improvement
Even if your rubber plant looks fine, certain warning signs can indicate that your current soil isn’t serving it well:
-
Soil stays wet for more than 5–7 days after watering.
-
The plant’s leaves begin to yellow from the bottom up.
-
Growth slows significantly despite adequate light and fertilization.
-
There’s a noticeable sour smell from the pot, suggesting root rot.
If any of these occur, refreshing the soil mix or adjusting the drainage setup can make a big difference.
Drainage: The Non-Negotiable Factor
Rubber plants are highly sensitive to overwatering, and poor drainage is the most common cause of their decline. Without a way for excess water to escape, roots can become waterlogged, leading to fungal problems and decay.
Key drainage practices include:
-
Always choose a pot with at least one drainage hole. Multiple holes are even better for larger plants.
-
If using a decorative pot without holes, place the rubber plant in a smaller nursery pot with proper drainage and set it inside. Remove the inner pot when watering to allow excess moisture to drain fully.
-
Elevate pots slightly on pot feet or small risers to prevent water from pooling at the base.
Layering for Better Drainage
While some gardeners place stones or pebbles at the bottom of pots, this doesn’t actually improve drainage within the soil—it only reduces soil depth. Instead, focus on improving the mix itself. However, you can use a thin layer of coarse material at the very bottom to prevent soil from washing out and to keep the drainage holes clear.
When to Refresh the Soil
Even the best potting mix breaks down over time, becoming more compact and losing its ability to drain effectively. For rubber plants, it’s ideal to refresh the soil every 1–2 years.
When repotting:
-
Gently remove the plant and shake off as much old soil as possible.
-
Trim away any damaged or rotting roots.
-
Place the plant into fresh, well-draining mix, making sure it sits at the same soil depth as before.
Watering in Relation to Soil and Drainage
A perfect potting mix and drainage system won’t protect your plant from overwatering if your schedule is off. Always check the top 2 inches of soil—if they feel dry, it’s time to water. In cooler months, your rubber plant will need less frequent watering, so adjust accordingly.
Fertilizing and Soil Health
During the growing season (spring through early autumn), use a balanced liquid fertilizer every 4–6 weeks. Healthy soil with proper drainage allows nutrients to move efficiently to the roots without buildup or leaching too quickly. In winter, when growth slows, hold off on fertilizing until active growth resumes.
Final Thoughts
For a thriving rubber plant, what’s beneath the surface is just as important as the light and water it receives. A well-draining potting mix, paired with effective drainage practices, creates the ideal root environment. By combining quality soil components, refreshing the mix regularly, and ensuring excess water has a clear escape, you set the foundation for glossy leaves, steady growth, and a plant that will remain healthy for years.


