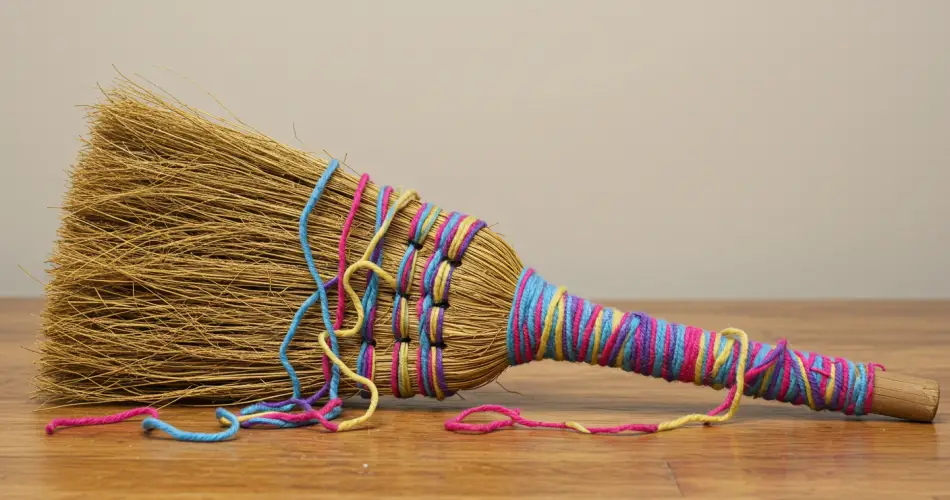
Knitting is a timeless craft. For many, it’s both a meditative escape and a way to create unique, handmade items. But as every knitter knows, long hours with needles can sometimes lead to hand fatigue and sore wrists. What if a simple household object could make the process easier and even more enjoyable? Surprisingly, an old broom handle can serve as a valuable tool for your knitting projects—especially if you’re making a decorative table doily.
Yes, you read that right. With nothing more than a broom handle and some yarn, you can simplify your knitting routine, reduce tension on your arms, and produce a charming doily perfect for your dining or coffee table. Let’s explore this unusual but practical method step by step.
Why a Broom Handle Can Help with Knitting
A broom handle may seem like an odd addition to your knitting kit, but it offers several surprising advantages:
-
Support and Stability: By attaching your work to the handle, your stitches remain steady and evenly spaced, which is particularly helpful for beginners learning to maintain tension.
-
Less Strain: When the project is supported by the handle, you avoid holding all the weight in your wrists. This can make longer knitting sessions more comfortable.
-
Versatility: This technique can be adapted not only for doilies but also for scarves, small blankets, and other flat projects.
For those new to knitting, the broom handle acts as a guide, reducing common mistakes and allowing for smoother practice. For more experienced knitters, it offers a clever shortcut that makes repetitive stitches less tiring.
Step One: Choose Your Yarn and Tools
Start by selecting the right type of yarn for your doily. A lightweight cotton thread is ideal because it creates a neat, crisp finish—perfect for decorative pieces. Cotton also washes well and holds its shape, which is essential for something that will likely rest on a table.
However, if you prefer a softer or cozier look, you can experiment with acrylic or even fine wool. The key is to match your yarn with the correct needle size, ensuring that the stitches are consistent and the fabric isn’t too loose or too tight.
Once you have your yarn, you’ll still use your standard knitting needles, but the broom handle will serve as a supporting tool throughout the process.
Step Two: Attach the Yarn to the Broom Handle
Begin by tying a small knot with the end of your yarn onto the broom handle. This secures your starting point and gives you a stable foundation for your stitches.
Instead of holding the knitting flat in your hands, you’ll allow the broom handle to carry the weight of the work as you progress. After completing each row, simply slide the stitches up along the handle. This keeps them in place and maintains even tension across the piece.
Think of the broom handle as a third hand that holds your project steady while you focus on forming the stitches.
Step Three: Work the First Rows
Start your knitting as you normally would by casting on stitches. Create a base row, then work your return row to form the foundation of your doily.
At this stage, the broom handle shows its value: once you complete a row, push the fabric upward along the handle so it stays taut and doesn’t bunch up. This makes the knitting surface smoother and easier to manage.
For your doily, you can choose a simple garter stitch if you’re a beginner, or experiment with lace patterns if you’re more advanced. The beauty of this method is that it doesn’t limit your choice of design—it simply supports the work and reduces physical strain.
Step Four: Continue Building Your Pattern
Once you’ve established your rhythm, continue working row by row, always shifting the fabric along the broom handle as you go. Over time, your piece will grow into the desired shape.
Doilies lend themselves well to decorative patterns. If you’re confident, try incorporating openwork stitches, scalloped edges, or even floral-inspired motifs. Many free patterns are available in knitting books and online, so feel free to explore until you find one that suits your taste.
The size of your finished doily is up to you. Some prefer small, delicate pieces suitable for a vase or candleholder, while others enjoy larger table doilies that act as a centerpiece.
Step Five: Finishing Touches
When your doily reaches the size you want, it’s time to finish. Cut the yarn, leaving a few inches of tail, and secure the final stitch with a knot to prevent unraveling.
For an extra polished look, you might want to add a border. A crocheted edging, a scalloped knit trim, or even a simple ribbed finish can give your doily a professional appearance. Finally, block your doily by lightly wetting it, shaping it flat on a towel, and letting it dry. This step helps the stitches settle evenly and gives the piece a crisp look.
Beyond Doilies: Other Projects with the Broom Handle Method
While a table doily is a great way to test this technique, don’t stop there. The broom handle method works wonderfully for:
-
Scarves: Keep long rows of stitches even and neat.
-
Blankets: Support heavier projects without straining your wrists.
-
Sweater Panels: Work flat pieces for garments with less effort.
If you fall in love with this method, you might even consider investing in a knitting frame or loom, which functions in much the same way but is designed specifically for yarn projects.
A Simple Trick with Big Results
At first glance, the idea of knitting with a broom handle might sound unusual—even a little silly. But once you try it, you’ll realize how much easier and more enjoyable it can make your work. By reducing strain, keeping stitches even, and allowing you to focus on creativity, this household tool transforms knitting into a more comfortable experience.
Whether you’re a beginner eager to learn or a seasoned knitter looking for new tricks, this method is worth a try. The result—a handmade doily that adds beauty to your home or serves as a heartfelt gift—makes the effort more than worthwhile.
So, the next time you see an old broom, don’t throw it out. Instead, let it become part of your knitting toolkit. Who knew that something so ordinary could help you create something extraordinary?