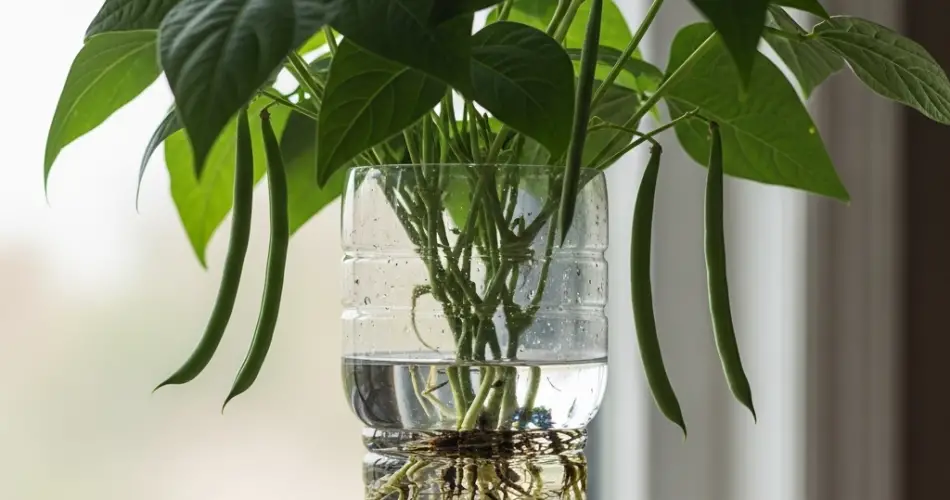
Starting green beans in a DIY bottle greenhouse is a clever, low-cost way to give your plants the best possible start before moving them into the garden or outdoor containers. This method not only promotes faster germination but also protects delicate seedlings from pests, temperature changes, and excess moisture loss. By using recycled plastic bottles, you can create a miniature greenhouse that is portable, efficient, and eco-friendly.
Why Use a Bottle Greenhouse for Green Beans?
Green beans are generally easy to grow, but starting them in a controlled environment can significantly improve their survival and productivity. A bottle greenhouse provides several key benefits:
-
Stable Microclimate – The enclosed space keeps warmth and humidity consistent, which speeds up germination.
-
Pest Protection – Sprouts are shielded from insects, birds, and small animals that might dig up or eat seeds.
-
Portability – Bottles can be moved indoors, outdoors, or to different light sources as needed.
-
Eco-Friendly Gardening – Repurposing bottles reduces waste while giving them a second life.
-
Cost Savings – No need to buy specialized seed-starting equipment; you can use materials you already have.
What You’ll Need
-
Clear plastic bottles (1.5–2 liters are ideal)
-
Green bean seeds (choose bush or pole varieties according to your space)
-
Quality potting soil or seed-starting mix
-
Clean water
-
Scissors or a sharp utility knife
-
Spray bottle for gentle watering
-
Small stick or pencil for making planting holes
Step-by-Step Instructions
Step 1: Prepare the Bottle
Wash the bottle thoroughly to remove any residue. Using scissors or a utility knife, cut the bottle across the middle, about two-thirds from the base. The bottom section will hold the soil and seeds, while the top acts as the greenhouse cover. Keep the cap on during germination to maintain humidity, but remove it occasionally for ventilation.
Step 2: Add the Soil
Fill the lower portion of the bottle with 7–10 cm of potting soil or seed-starting mix. Lightly press down the soil to remove large air gaps but avoid compacting it too much, as roots need space to grow.
Step 3: Plant the Seeds
Make small holes about 2–3 cm deep using a stick or pencil. Drop one green bean seed into each hole, spacing them evenly. Lightly cover the seeds with soil and gently water to moisten the surface without making it soggy.
Step 4: Create the Greenhouse Effect
Place the top section of the bottle back over the base, ensuring it fits snugly. This creates a mini greenhouse that traps moisture and warmth, encouraging rapid sprouting. If the weather is warm, loosen the cap slightly or remove it during the day to allow airflow and prevent overheating.
Step 5: Provide the Right Conditions
Place your bottle greenhouse in a bright location with indirect sunlight. Too much direct sunlight in the early stages can cause overheating inside the bottle. Check moisture daily—if the soil looks dry, mist it lightly using a spray bottle.
Step 6: Monitor Growth
Green bean seeds usually sprout within 5–7 days in these warm, moist conditions. As soon as the sprouts emerge, give them a few hours of indirect outdoor sunlight each day to help them strengthen. Gradually increase their light exposure to prepare them for transplanting.
Step 7: Transplanting
Once the seedlings reach about 10–12 cm tall and have at least two sets of true leaves, they are ready for transplanting. Separate them gently to avoid damaging roots, then plant them in a prepared garden bed or larger container. Water immediately after transplanting to help them settle in.
Tips for Success
-
Avoid Overcrowding – Use one to three seeds per bottle to prevent competition for light and nutrients.
-
Drainage Matters – Make a few small holes in the bottom of the bottle to let excess water escape and prevent root rot.
-
Harden Off Seedlings – Before transplanting outdoors, expose seedlings to outdoor conditions for a few hours a day over 4–5 days.
-
Rotate the Bottle – Turning the bottle daily ensures even light distribution and prevents seedlings from leaning.
Why This Method Works So Well
The bottle greenhouse method mimics the conditions of professional seed-starting trays with plastic covers, but it’s free and easy to assemble at home. The transparent bottle allows sunlight in while trapping humidity, creating a perfect environment for fast, healthy germination. Additionally, the controlled setting gives seedlings a better chance to establish strong roots, resulting in healthier plants and more abundant bean harvests later.
This technique is perfect for gardeners with limited space or those looking for a low-cost way to start their crops early. It also works for other vegetables and herbs that benefit from a warm, moist start, making it a versatile addition to your gardening toolkit.
By reusing a simple plastic bottle, you can turn everyday waste into a productive seed-starting system that gives your green beans the strong start they need to thrive.


