Snow peas and snap peas are popular cool-season crops that are easy to grow and delicious to eat. Though they look similar at first glance, these two types of peas differ in texture, flavor, and how they’re best enjoyed. Understanding their unique characteristics can help you grow them successfully in your garden or containers—and enjoy a steady supply of crisp, sweet pods throughout the season.
Here’s a complete guide to understanding the differences between snow peas and snap peas, along with practical tips on how to grow both for a plentiful harvest.
Snow Peas vs. Snap Peas: What’s the Difference?
Snow Peas (Pisum sativum var. macrocarpon):
-
Have flat, tender pods with very small peas inside.
-
The entire pod is edible, often used in stir-fries and salads.
-
Crisp and mild in flavor.
-
Best harvested before the peas begin to swell inside the pod.
Snap Peas (Pisum sativum var. macrocarpon ser. crispum):
-
Also known as sugar snap peas.
-
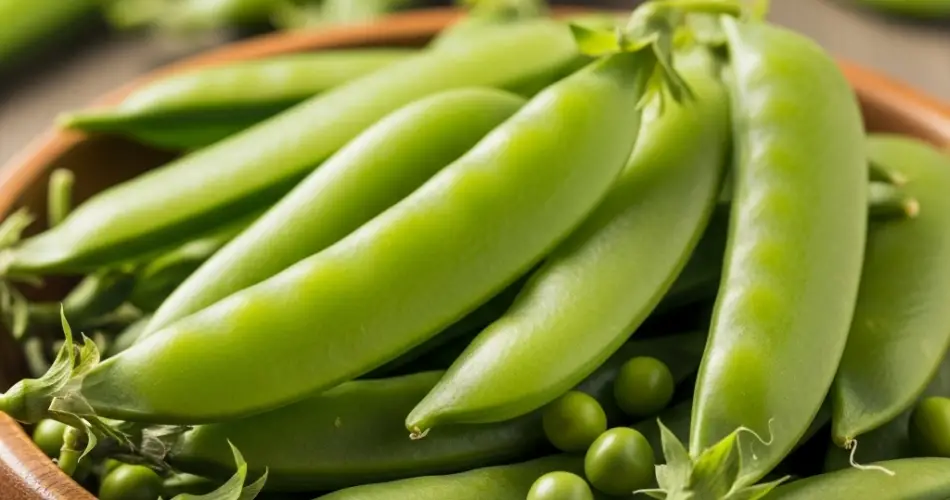
Have plump, juicy pods with fully developed peas.
-
Both the peas and pods are sweet and crunchy.
-
Ideal for raw snacking, sautéing, or lightly steaming.
Despite their differences, both types thrive in similar growing conditions and can easily be cultivated side by side in the garden.
Best Time to Plant
Snow and snap peas are cool-weather crops that grow best in spring and fall. They don’t tolerate hot temperatures well, so early planting is key.
-
Spring planting: Sow seeds 4–6 weeks before your last expected frost.
-
Fall planting: In regions with mild winters, sow seeds 6–8 weeks before the first expected frost.
Soil temperature should be at least 40°F (4°C) for successful germination.
Choosing the Right Location
Both snow and snap peas require:
-
Full sun: At least 6 hours of direct sunlight daily.
-
Well-drained soil: Loamy or sandy soil with good drainage is ideal.
-
Neutral to slightly acidic pH: Between 6.0 and 7.0.
Avoid planting in soggy or compacted soil, which can lead to root rot and poor germination.
Preparing the Soil
Peas aren’t heavy feeders, but they benefit from nutrient-rich soil enriched with organic matter.
Soil preparation tips:
-
Work in aged compost or well-rotted manure a few weeks before planting.
-
Avoid high-nitrogen fertilizers—too much nitrogen encourages foliage over pod production.
-
Add a phosphorus-rich amendment (like bone meal) to support flowering and pod formation.
How to Plant Snow and Snap Peas
Direct sowing is best, as peas don’t transplant well. Here’s how:
-
Plant seeds 1 inch deep and 2 inches apart.
-
Space rows 18–24 inches apart for climbing varieties; bush varieties can be spaced more closely.
-
Use a trellis or support system—especially for snap peas and taller snow pea varieties. Peas are natural climbers and will grow more vigorously with support.
Water the soil gently after planting and keep it consistently moist during germination.
Caring for Your Pea Plants
Once established, peas require minimal maintenance. Here are key care tips:
-
Water consistently: Aim for about 1 inch of water per week. Keep the soil moist but not soggy.
-
Mulch the base: Use straw or shredded leaves to retain moisture and suppress weeds.
-
Trellis early: Install your support system as soon as seedlings emerge to prevent damage later.
Peas are relatively pest-free but watch for aphids, powdery mildew, and fungal issues in overly damp or humid conditions.
Harvesting Snow and Snap Peas
Snow Peas:
-
Harvest when the pods are flat but fully developed.
-
Don’t wait too long—overripe snow peas can become stringy and tough.
-
Pick regularly to encourage more production.
Snap Peas:
-
Pick when pods are plump and the peas inside are fully formed.
-
Pods should be firm and crisp.
-
Like snow peas, harvest every couple of days to keep plants producing.
Use two hands to harvest—hold the vine with one hand and gently pull the pod with the other to avoid damaging the plant.
Storing and Using Your Harvest
-
Fresh use: Both types of peas are best eaten right after harvesting for maximum sweetness and crunch.
-
Refrigeration: Store peas in a breathable container or paper bag in the crisper drawer for up to 5 days.
-
Freezing: Blanch peas for 1–2 minutes, then cool in ice water and freeze in airtight containers.
Snow peas and snap peas make excellent additions to stir-fries, salads, pasta dishes, or simply as fresh, crunchy snacks.
Grow Both for Variety
Growing both snow peas and snap peas in your garden gives you flavor and harvest variety throughout the season. Snow peas offer delicate, flat pods perfect for cooking, while snap peas deliver a sweet, crunchy bite ideal for raw eating. Since they thrive in similar conditions, you can plant them side by side, train them on shared trellises, and enjoy multiple harvests with minimal effort.
With just a bit of planning and care, your garden can produce an abundance of crisp, sweet peas that taste far better than anything store-bought. Whether you’re a first-time gardener or a seasoned grower, snow and snap peas are a must-try for any cool-season vegetable patch.


