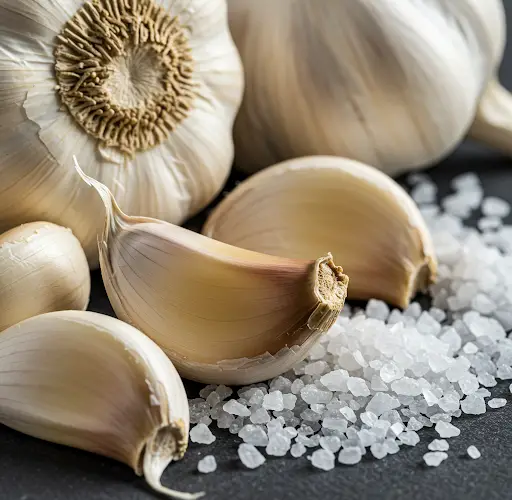
How to Prepare Garlic for a Healthy and Productive Harvest
Garlic is one of the most widely used and cherished vegetables in the world. Whether you’re growing it for culinary use or saving some for future planting, creating the right conditions for garlic from the very beginning is essential for a successful harvest. By following a few key steps and using a natural seed treatment method, you can significantly increase your garlic’s resistance to disease, improve germination, and ensure a stronger, healthier crop.
Selecting Garlic for Planting
The first step in achieving a good garlic harvest begins with choosing the right planting material. Only healthy, undamaged, and well-formed bulbs should be used for propagation. Ideally, the bulbs should be large and uniform in shape, as the size of the clove is directly related to the size of the resulting head of garlic.
For the best results, select cloves from the outer layer of the bulb. These cloves are typically larger than the ones in the center and produce more vigorous plants. Using these outer cloves not only improves the chances of growing larger garlic heads but also helps the plants establish faster and more effectively.
Timing and Depth of Planting
Garlic can be planted in both spring and fall, but fall planting tends to yield better results. When planting garlic in the fall, it is recommended to plant the cloves a little deeper than in the spring. This additional depth protects the cloves from cold temperatures and helps stabilize root development during the winter months.
Mid-September is considered an ideal time for planting garlic in many regions. This slightly earlier fall planting allows the garlic to develop a strong root system and a few green leaves before winter sets in. By the time spring arrives, the garlic is already well-established and can begin vigorous growth, leading to an earlier and more abundant harvest in early summer.
The Importance of Disease Prevention
One of the biggest challenges when growing garlic is dealing with diseases caused by bacteria, viruses, and fungi. In fact, over 60% of these harmful diseases are transmitted through planting material, particularly through untreated cloves. This makes it essential to take preventative measures before planting to ensure your garlic starts off as healthy as possible.
Fortunately, there is a simple and effective way to reduce the risk of disease and improve the overall success rate of your crop.
Natural Method to Treat Garlic Before Planting
Before planting your garlic cloves, take the following steps to treat them with a natural solution that enhances germination, prevents rot, and protects against soil-borne diseases.
Step 1: Initial Soak in Water
-
Place the selected garlic cloves in clean, room-temperature water.
-
Soak the cloves for 2 hours. This helps to soften the protective outer layers and initiates hydration, which is important for root development.
Step 2: Saltwater Treatment
-
Prepare a saline solution by mixing:
-
3 tablespoons of salt
-
With 5 liters of water
-
-
After the initial water soak, transfer the cloves into the saltwater solution.
-
Let them soak for 3 to 4 hours.
This salt solution serves multiple purposes. It helps to disinfect the cloves, kills surface pathogens, and creates a less hospitable environment for harmful bacteria and fungi. It also penetrates the seed coat more efficiently, helping the garlic cloves absorb water more quickly, which in turn reduces germination time and promotes the development of healthy green shoots.
Why This Method Works
Garlic cloves have a relatively thick and waxy outer layer, which can make it difficult for moisture to penetrate and activate the growing process. By softening the clove in water and then treating it with a mild saline solution, you are mimicking a natural stratification process that encourages quicker and more uniform sprouting.
The salt in the solution also acts as a natural antiseptic, reducing the risk of seedborne diseases that might otherwise affect the health of the developing plant. This simple, low-cost method is especially useful in organic gardening, where chemical treatments are avoided.
Final Tips for Garlic Success
Once your garlic cloves have been treated and planted, be sure to:
-
Water moderately after planting, and then allow the soil to remain slightly moist, not soggy.
-
Use mulch (like straw or dry leaves) to insulate the soil, preserve moisture, and suppress weed growth.
-
Ensure your garlic bed has full sun and well-draining soil.
-
Avoid over-fertilizing with nitrogen-heavy formulas, as they encourage leaf growth at the expense of bulb development.
By combining proper clove selection, ideal planting timing, and natural disease prevention methods, you can look forward to a strong garlic harvest and a reliable supply of healthy bulbs for future planting seasons.


