Hibiscus is a beloved flowering plant known for its large, colorful blooms that can brighten any garden or home. While it can be grown from seed, propagating hibiscus from cuttings is a faster and more reliable method, especially if you want to clone a specific plant with desired traits. This guide will walk you through the step-by-step process of propagating hibiscus using cuttings, helping you grow strong, healthy new plants.
Why Propagate from Cuttings?
Propagating hibiscus from cuttings ensures that the new plant will be identical to the parent. This is especially important if you have a variety that produces unique or especially vibrant flowers. Additionally, growing from cuttings often results in faster flowering compared to plants grown from seed.
When to Take Cuttings
The best time to take hibiscus cuttings is during the warmer months, usually in late spring or early summer. At this time, the plant is actively growing and has plenty of energy to support root development. Avoid taking cuttings during colder months or when the plant is dormant.
Materials You’ll Need
-
A healthy, mature hibiscus plant
-
Sharp pruning shears or a clean knife
-
Small pots or containers
-
Potting mix (preferably a mix of perlite, peat moss, and sand)
-
Rooting hormone (optional but helpful)
-
Plastic bags or a propagation tray with a lid
-
Spray bottle with water
Step-by-Step Propagation Process
1. Select and Cut Healthy Stems
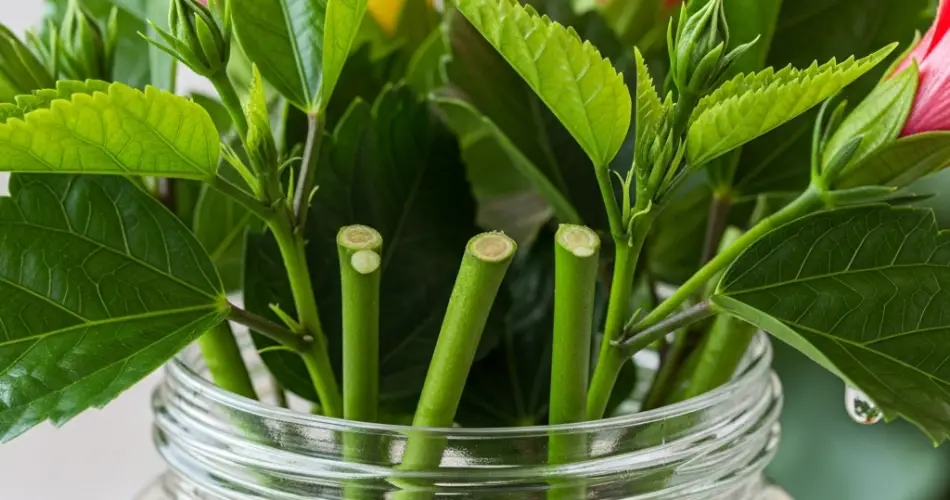
Choose a healthy stem that is semi-hardwood—meaning it’s not too green and soft, nor fully woody. The ideal cutting should be 4 to 6 inches long and have at least two or three leaf nodes. Use sharp, sterilized shears to make a clean cut just below a leaf node.
2. Prepare the Cuttings
Remove the leaves from the lower half of the cutting, leaving a few at the top. If the remaining leaves are large, you can cut them in half to reduce moisture loss through transpiration. This helps the cutting focus on root development instead of maintaining foliage.
3. Apply Rooting Hormone (Optional)
Dip the cut end of the stem in rooting hormone powder or gel to encourage faster root development. While hibiscus can root without it, the hormone improves the success rate, especially in less-than-ideal conditions.
4. Plant the Cutting
Fill a small pot with a well-draining potting mix. Make a hole in the center using a pencil or stick, then insert the cutting about halfway into the soil. Gently firm the soil around the base to keep the cutting upright and secure.
5. Create a Humid Environment
To retain moisture, cover the pot with a clear plastic bag or place it in a propagation tray with a lid. Make sure the plastic doesn’t touch the cutting—use stakes or small sticks if needed. This makeshift greenhouse helps maintain high humidity, which is crucial for root development.
6. Provide Proper Light and Temperature
Place the cutting in a warm, bright area with indirect sunlight. Avoid direct sun, which can overheat and dry out the cutting. A temperature range of 70–80°F (21–27°C) is ideal. Keep the humidity high and maintain consistent warmth for best results.
7. Mist and Monitor Regularly
Check the cutting daily. Mist it lightly with water if the soil or inner environment seems dry. Avoid overwatering, which can lead to rot. The soil should be slightly moist but not soggy. Ventilate the setup occasionally to prevent mold and fungal growth.
8. Wait for Root Development
Roots usually begin to form within 4 to 6 weeks. You can gently tug on the cutting after a few weeks to feel for resistance, which indicates root growth. Once the roots are well-established and the cutting shows signs of new leaf growth, it’s ready to be transplanted.
Transplanting the Rooted Cutting
When the cutting has a healthy root system, you can transplant it into a larger pot or directly into your garden. Use nutrient-rich soil and keep the new plant in partial shade for the first few days to reduce transplant shock. Water it thoroughly and care for it like a mature hibiscus plant.
Care Tips for Young Hibiscus Plants
-
Keep the soil evenly moist but not waterlogged.
-
Provide bright, indirect light or morning sun with afternoon shade.
-
Protect from strong winds and temperature extremes.
-
Fertilize lightly with a balanced fertilizer once the plant is established.
Final Thoughts
Propagating hibiscus from cuttings is an enjoyable and rewarding gardening activity. With a little patience and the right conditions, you can create beautiful new plants that carry the same traits as your original hibiscus. Whether you want to expand your garden or share with friends, this method is a simple way to multiply your favorite varieties.


