Growing cucumbers at home is both rewarding and simple, especially when you use DIY bottle greenhouses to propagate your plants. This method not only helps you recycle plastic waste but also creates a controlled environment that boosts seed germination and early seedling development. Perfect for gardeners with limited space, this technique works well on balconies, patios, and sunny windowsills.
With the right setup and care, you can grow strong cucumber seedlings ready to transplant into containers, raised beds, or the garden. Here’s a step-by-step guide to propagating cucumbers using plastic bottle greenhouses.
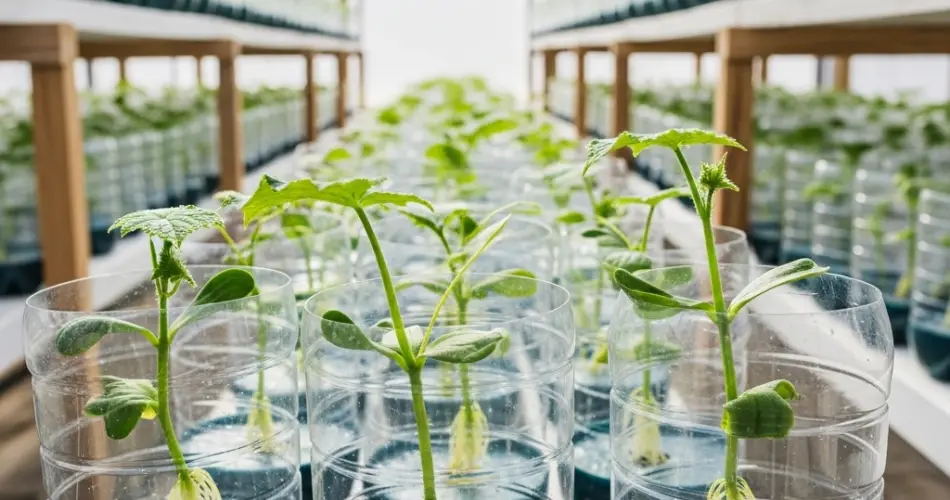
Why Use Bottle Greenhouses for Cucumbers?
Plastic bottles serve as mini-greenhouses by trapping warmth and humidity—two conditions essential for seed germination. Cucumber seeds thrive in a warm, moist environment, and using clear plastic bottles allows you to maintain those ideal conditions without needing expensive equipment. In addition, bottle greenhouses are portable, cost-effective, and sustainable, making them great for beginner and urban gardeners.
Materials You’ll Need
-
Clear plastic bottles (1.5 to 2-liter size)
-
Cucumber seeds (choose a compact or vining variety depending on space)
-
Seed-starting mix (light, well-draining)
-
Scissors or craft knife
-
Water spray bottle
-
Marker (for labeling)
-
Tray or plate (to catch excess water)
-
Optional: small pebbles or gravel for drainage
Step 1: Prepare the Plastic Bottles
Begin by thoroughly washing and drying your bottles. Cut each bottle horizontally about two-thirds from the bottom. You will use the bottom section to hold the soil and seeds, and the top section as a humidity dome.
Poke several small drainage holes in the bottom of the lower half. This prevents water from accumulating and keeps your seedlings from becoming waterlogged.
Step 2: Add Soil and Moisten
Fill the bottom part of the bottle with your seed-starting mix. This should be a light, airy mix that holds moisture without becoming compact. You can also add a few pebbles at the bottom before the soil to further enhance drainage.
Leave about an inch of space from the top. Gently moisten the soil with a spray bottle to ensure it’s damp but not soaking wet.
Step 3: Sow the Cucumber Seeds
Cucumber seeds are large and easy to handle. Use your finger or a stick to poke small holes about ½ inch deep. Sow one or two seeds in each container and cover lightly with soil.
Mist the surface gently after covering the seeds. Place the top part of the bottle back over the base to form a dome. This helps retain humidity and warmth.
Label your bottle if you’re using different cucumber varieties.
Step 4: Provide Warmth and Light
Cucumber seeds germinate best in temperatures between 75°F and 85°F (24°C to 29°C). Place your bottle greenhouses in a sunny location such as a windowsill, balcony, or shelf near a window. If growing indoors in a cool climate, place them on a warm surface or use a seedling heat mat.
Make sure the bottles receive at least 6–8 hours of indirect sunlight daily. Check the moisture level every day and mist the soil as needed to keep it evenly moist.
Step 5: Germination and Seedling Care
Cucumber seeds typically sprout within 5 to 10 days. Once the seedlings emerge and start to grow their first true leaves, remove the bottle dome during the day to allow airflow and prevent fungal issues. You can fully remove the dome once the seedlings are sturdy.
If more than one seedling has sprouted in a bottle, snip the weaker one at the soil line to allow the strongest plant to thrive.
Continue watering gently as needed and rotate the bottles daily to encourage upright growth.
Step 6: Transplanting the Seedlings
When the cucumber seedlings have at least two sets of true leaves and are about 4–6 inches tall, they’re ready for transplanting. Before moving them outside, harden them off by gradually exposing them to outdoor conditions over 5–7 days. Start by placing them outdoors in a shaded spot for a few hours a day, then increase exposure to sunlight and breeze.
Carefully remove the seedling from the bottle by gently squeezing the sides and lifting it out with the root ball intact. Transplant into a larger pot or directly into garden soil, burying it slightly deeper than it was in the bottle.
Provide support like a trellis or stake if you’re growing a vining variety.
Step 7: Ongoing Care
Cucumber plants need full sun, consistent moisture, and fertile soil to thrive. Water them regularly, especially during dry periods, and mulch around the base to retain moisture. Feed every two to three weeks with a balanced liquid fertilizer or compost tea to encourage fruit production.
Keep an eye out for pests like aphids or powdery mildew, and manage them early with natural remedies like neem oil or insecticidal soap if needed.
Final Thoughts
Propagating cucumbers with DIY bottle greenhouses is a fun and effective way to start your garden. It’s ideal for small-space gardening and helps you reuse materials you likely already have at home. With a bit of attention and care, your cucumber seedlings will flourish and reward you with crisp, refreshing harvests all season long.


