Restoring Orchids with Only One Leaf: A Simple Yet Effective Method
Orchids are delicate plants that require careful attention, especially when they experience damage or disease. If you find yourself with an orchid that has only one healthy leaf remaining while the rest of the plant appears to be deteriorating, do not rush to discard it. Even with severe damage, there is still hope to revive the plant and encourage it to develop a strong root system and new, healthy leaves. Today, I will share a simple yet highly effective method to restore an orchid that has lost most of its structure but retains one viable leaf.
Identifying the Condition of the Orchid
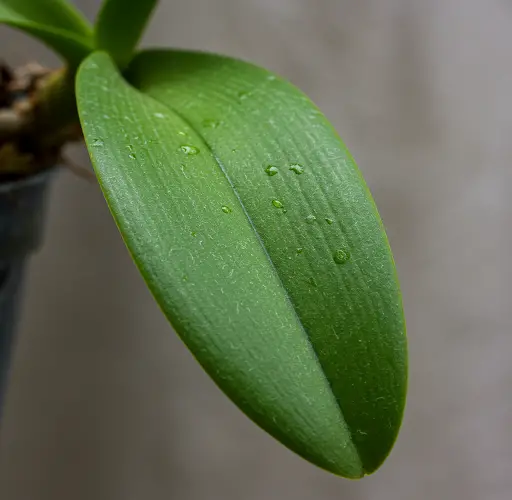
When an orchid is in distress, it may exhibit yellowing leaves, rotting stems, or severely damaged roots. If all the roots are rotten and the plant has lost most of its leaves, but at least one remains green and intact, there is still a chance for revival. The key to successful recovery lies in removing the diseased parts and providing optimal conditions for new root growth.
Step-by-Step Orchid Restoration Process
1. Preparing the Plant
- Begin by carefully inspecting the plant to determine the extent of the damage.
- If the roots are completely rotten, they must be removed. Using sterilized scissors or pruning shears, cut away all dead roots, leaving only the base of the plant intact.
- Check for any remaining flower spikes or old flower branches and remove them, as they can drain the plant’s energy during recovery.
2. Cleaning and Disinfecting the Orchid
- Wash the remaining leaf and the base of the plant thoroughly with clean water to remove any dirt or potential fungal spores.
- After washing, gently pat the leaf dry with a soft cloth.
- Prepare a natural disinfectant solution using garlic, which has antibacterial and antifungal properties.
- Take one clove of garlic, crush it, and mix it with 0.5 liters of clean water.
- Strain the mixture to obtain garlic-infused water and use it to wipe down the entire leaf and the base of the plant. This step helps prevent fungal infections and accelerates the healing process.
3. Soaking the Orchid in Garlic Water
- Pour the garlic-infused water into a small container and soak the base of the orchid for approximately 25 minutes.
- This soaking process helps stimulate new root growth and strengthens the plant’s immunity against potential infections.
- After soaking, remove the orchid from the water and place it in a well-ventilated, cool area for 24 hours to allow it to dry completely.
4. Creating a Moisture-Retaining Environment
- To encourage root growth, prepare a makeshift humidity chamber using a plastic bottle.
- Cut a section of the bottle to create a small container.
- Take soft cotton pads or absorbent fabric and place them inside the container.
- Pour a small amount of clean water onto the cotton pads to create a consistently moist environment without making the plant overly wet.
- Position the orchid’s base on top of the cotton pads so that it remains slightly in contact with the moisture source.
- Ensure that the leaf is upright and stable within the container.
5. Providing Optimal Growing Conditions
- Place the setup in a bright, well-ventilated area with indirect sunlight.
- Avoid exposing the plant to direct sunlight, as this can lead to excessive moisture loss and stress on the single remaining leaf.
- Mist the leaf lightly with water every three days to maintain adequate hydration.
- Check the water level in the container regularly, adding more if necessary. If the water becomes dirty, replace it with fresh, clean water.
Observing Progress and Root Growth
After following these steps, patience is key. Over time, the plant will begin to respond positively to this controlled environment.
- Within 45 days, small root tips should start to emerge.
- As roots continue to grow, they will become stronger and more developed, providing the orchid with essential nutrients.
- The leaf will also remain healthy and may even show signs of becoming thicker and more vibrant.
- Eventually, new leaves will begin to sprout, signaling that the orchid is on its way to full recovery.
Final Steps: Transplanting the Orchid
Once the new roots have grown to a sufficient length (at least 2-3 inches), the orchid can be transferred to a more permanent growing medium.
- Choose a pot with good drainage and fill it with a well-aerated growing mix such as pine bark or a combination of bark and sphagnum moss.
- Carefully position the orchid in the pot, ensuring that its newly grown roots are well-distributed within the medium.
- Water sparingly at first, allowing the plant to adjust to its new environment before resuming regular watering schedules.
Conclusion
Restoring an orchid with only one leaf may seem challenging, but with the right approach, it is entirely possible. By following this simple method, you can encourage your orchid to develop strong roots and vibrant new growth. This technique is particularly useful for orchid lovers who want to save plants that appear to be beyond recovery. With patience and proper care, your orchid will thrive once again, producing lush leaves and, eventually, beautiful blooms. Happy growing!


