Growing peppers, whether sweet or hot varieties, can be made simpler and more sustainable by using recycled plastic bottles as propagation containers. This method not only repurposes everyday waste materials but also creates an ideal environment for seed germination and early seedling growth. Using recycled bottles helps conserve space, provides good visibility of root development, and promotes a controlled growing environment, making it perfect for gardeners with limited space or those wanting to start seeds indoors.
This guide covers everything you need to know to successfully propagate pepper seeds in recycled bottles from start to transplant.
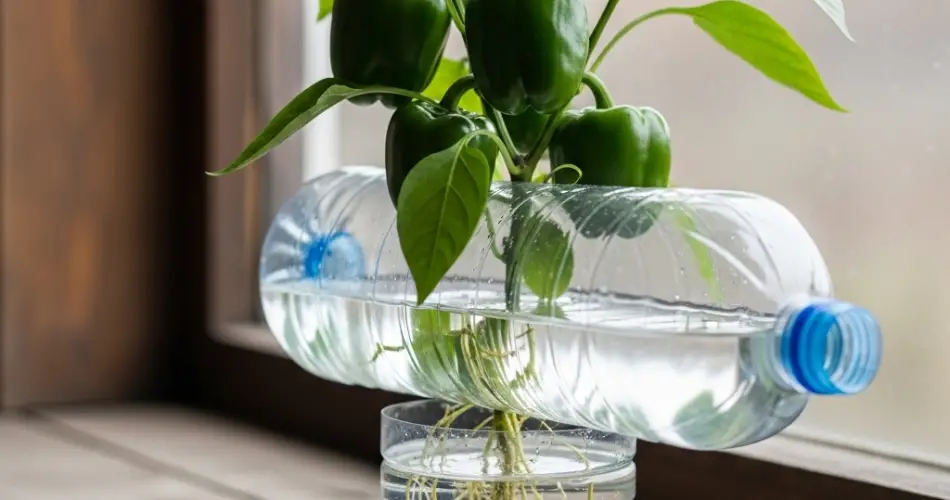
Why Propagate Pepper Seeds in Recycled Bottles?
Plastic bottles offer a number of advantages for seed propagation. Their transparency allows you to monitor moisture levels and root growth easily, while their shape makes them suitable as mini-greenhouses to maintain humidity. They’re also cost-effective, eco-friendly, and great for small-scale or urban gardening. Using recycled bottles helps reduce plastic waste and encourages sustainable gardening practices.
What You’ll Need
-
Clean, empty plastic bottles (1 or 2 liters recommended)
-
Sharp scissors or utility knife
-
Quality seed-starting mix or light potting soil
-
Pepper seeds (sweet or hot varieties)
-
Water spray bottle or watering can with a fine spout
-
Optional: toothpicks or small stakes for seedling support
-
Labels or markers for identifying varieties
Step 1: Preparing Your Bottles
Start by thoroughly washing your plastic bottles to remove any dirt or residue. Remove labels so you can easily observe the seedlings inside.
Cut the bottle horizontally about one-third from the top, creating two pieces: the bottom container will hold soil and seedlings, while the top can be inverted to act as a humidity dome.
Next, poke several small drainage holes in the bottom of the lower part. Good drainage is essential to prevent waterlogging, which can cause root rot. You may also add a few small ventilation holes in the upper part to regulate airflow and reduce overheating.
Step 2: Adding Soil
Fill the bottom section of the bottle with a high-quality seed-starting mix or a light potting soil. Avoid garden soil, which is often too dense and may contain pests or diseases.
Fill the container until about 1 to 2 inches below the rim to allow room for watering and seed placement.
Step 3: Sowing the Seeds
Place the pepper seeds on the soil surface and cover them lightly with about 0.5 to 1 centimeter (¼ to ½ inch) of soil. Avoid planting the seeds too deep, as this can delay or prevent germination.
If planting multiple seeds, space them evenly, but it’s generally recommended to start with one seed per bottle to reduce overcrowding.
Step 4: Watering and Creating a Mini-Greenhouse
Gently moisten the soil using a spray bottle or watering can with a fine nozzle. The soil should be damp but not soggy.
Place the bottle top inverted back onto the base to create a mini-greenhouse effect. This dome traps humidity and warmth, both essential for seed germination.
Step 5: Providing Proper Conditions
Pepper seeds germinate best at temperatures between 24°C to 30°C (75°F to 85°F). Place your bottle planters in a warm location with indirect sunlight or under grow lights.
Check the soil daily to keep it consistently moist. Avoid drying out or waterlogging the soil.
Step 6: Monitoring Seedling Growth
Within 7 to 14 days, you should notice pepper seedlings emerging. Once seedlings have sprouted and grown their first true leaves, gradually increase airflow by removing or slightly lifting the bottle tops during the day.
To prevent leggy seedlings, provide sufficient light by placing the planters in bright spots or using grow lights.
Step 7: Transplanting Seedlings
When seedlings reach about 7 to 10 centimeters (3 to 4 inches) tall and have developed a strong root system, it’s time to transplant them.
Gently remove seedlings from the bottles, being careful not to damage roots. Transplant into larger pots or directly into garden beds with well-draining soil rich in organic matter.
If moving outdoors, harden off the plants by exposing them gradually to outdoor conditions over 7 to 10 days.
Tips for Successful Pepper Propagation in Bottles
-
Use organic or certified seed to reduce disease risks.
-
Keep water fresh by changing it regularly if you are propagating roots in water before transplanting.
-
Avoid placing bottles in direct harsh sunlight to prevent overheating.
-
Label each bottle with the pepper variety and sowing date.
-
Use a gentle watering method to avoid displacing seeds.
-
Monitor humidity and airflow to avoid mold or fungal issues.
Benefits of Using Recycled Bottles for Pepper Propagation
-
Environmentally Friendly: Reduces plastic waste by reusing bottles.
-
Cost-Effective: No need to buy expensive seed trays or pots.
-
Space-Saving: Ideal for indoor gardening or small balconies.
-
Transparent: Easy to monitor soil moisture and root development.
-
Portable: Move seedlings easily to optimize light or temperature.
Conclusion
Propagating pepper seeds in recycled plastic bottles is a simple, affordable, and environmentally friendly gardening technique. It allows gardeners to start healthy seedlings in controlled conditions with minimal space and resources. By following the steps of preparing bottles, sowing seeds, maintaining moisture and warmth, and carefully transplanting seedlings, you can enjoy a fruitful pepper growing season from seed to harvest.
Using recycled bottles as planters not only supports sustainable gardening but also provides an enjoyable hands-on project for gardeners of all levels. Whether growing sweet bell peppers or fiery chili varieties, this method offers a smart way to nurture strong seedlings ready for your garden or home.


