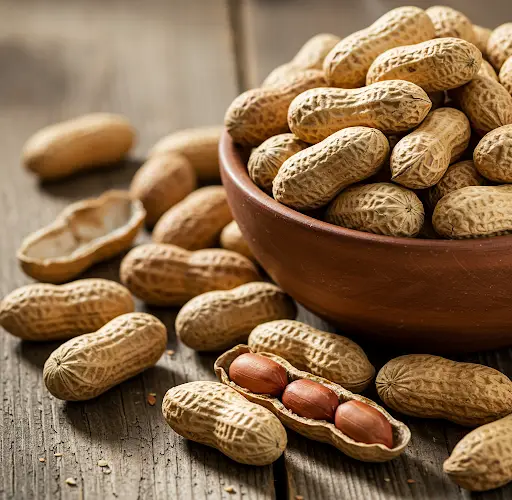
Grow Peanuts at Home in a Foam Box with Minimal Soil and Maximum Results
Peanuts may seem like a crop that requires a large garden or farm, but in reality, they are surprisingly easy to grow at home—even in small spaces. With just a foam box, some basic materials, and a bit of care, you can harvest a satisfying yield of homegrown peanuts using minimal soil. This method is perfect for urban gardeners, balcony growers, and anyone who wants to enjoy the novelty and nutrition of fresh peanuts straight from their own mini garden.
Let’s walk through the simple and highly productive process of growing peanuts in a foam box.
Why Grow Peanuts at Home?
Growing peanuts at home has many benefits:
-
Space-Saving: Perfect for balconies, patios, and small yards.
-
Low Maintenance: Peanuts require minimal care and adapt well to containers.
-
Educational and Fun: Great for teaching kids about plant life cycles and root crops.
-
Highly Nutritious: Homegrown peanuts are packed with protein, healthy fats, and minerals.
Plus, there’s something deeply satisfying about pulling up a plant and finding clusters of peanuts hidden in the soil beneath.
What You’ll Need
To get started, gather the following items:
-
A used foam box (polystyrene boxes used for food storage work well)
-
Good quality loose soil mixed with compost or organic matter
-
Raw, unsalted peanuts (with shells if possible)
-
A sharp knife or tool to create drainage holes
-
Watering can or spray bottle
Optional:
-
Coconut coir or rice husks for improved drainage
-
Organic fertilizer
Step-by-Step Guide to Growing Peanuts in a Foam Box
1. Prepare the Foam Box
Choose a foam box that’s at least 30–40 cm deep. Peanuts form underground, so root space is important. Using a knife or screwdriver, poke several drainage holes at the bottom to prevent waterlogging.
Line the bottom with a few small stones or a thin layer of husks to aid drainage, then fill the box with your prepared soil mixture. A combination of loose garden soil, compost, and sand or coco coir works best. The soil should be well-aerated and not too dense.
2. Source and Prepare Peanut Seeds
You can use raw, unroasted peanuts (still in their shells or freshly shelled) as seeds. Avoid roasted or salted peanuts—they won’t germinate. If using peanuts in shells, gently crack them open just before planting, but keep the thin brown skin on the seed itself intact.
Soak the shelled peanuts in water for 4–6 hours to encourage quicker germination.
3. Planting
Make shallow holes about 4–5 cm deep and space each seed 10–15 cm apart. You can plant 6–8 seeds comfortably in a medium-sized foam box.
Cover the seeds with a thin layer of soil and water gently. Keep the soil moist but not soggy during germination. In about a week, you’ll begin to see the seedlings emerge.
Caring for Your Peanut Plants
Peanut plants are relatively low-maintenance, but a few key care tips will ensure a successful harvest:
Sunlight
Peanuts love warmth and sunlight. Place your foam box in a location that receives at least 6 hours of direct sun daily.
Watering
Keep the soil evenly moist, especially during flowering and pod development. Use a spray bottle or watering can with a light stream to avoid disturbing the shallow roots.
Fertilization
Every two to three weeks, feed the plants with a balanced organic fertilizer or compost tea to encourage healthy growth and pod formation.
Mulching
Mulch around the plants with dry leaves or grass clippings to retain moisture and suppress weeds.
Flowering and Pegging Stage
Around 30–40 days after planting, your peanut plants will produce small yellow flowers. These flowers self-pollinate and drop pegs (thin stems) into the soil. The peanuts will then begin forming underground where the pegs penetrate the soil.
This is a crucial stage—avoid disturbing the soil too much and keep moisture consistent.
Harvesting Peanuts
Peanuts are typically ready to harvest 90–120 days after planting, depending on the variety and growing conditions. When the leaves start to yellow and wilt, it’s a good indication that your peanuts are ready.
To harvest, gently pull up the entire plant and shake off the soil. You’ll find clusters of peanuts attached to the roots. Let the whole plant dry in the sun for a few days before removing the pods. Then, cure the peanuts in a dry, well-ventilated area for one to two weeks.
Tips for Success
-
Use loose soil to allow pegs to penetrate easily.
-
Avoid overwatering—moist, not wet, soil is key.
-
Rotate crops if you grow peanuts in the same box again to maintain soil health.
-
For fun, try different peanut varieties or experiment with companion planting.
Final Thoughts
Growing peanuts at home in a foam box is a fun, rewarding, and space-efficient way to enjoy this unique crop. Whether you’re limited on space or just want to try something new, this method delivers surprising yields with very little input. It’s a great example of how you don’t need a large garden to grow your own food—just a foam box, a bit of soil, and a little patience.
Try it out, and you might find yourself harvesting handfuls of homegrown peanuts before you know it!


