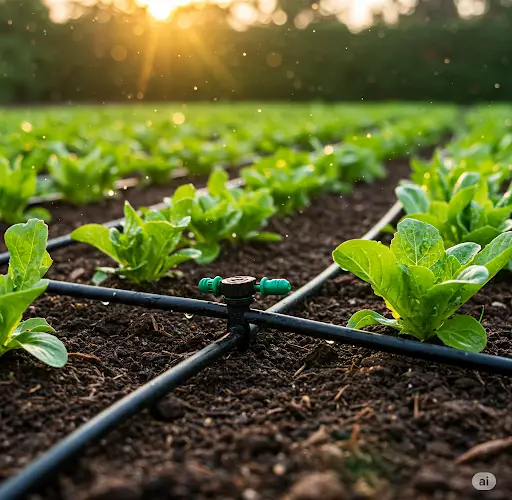
Watering plants regularly can be a challenge, especially during hot summer months or when you’re away from home. But there’s a simple, low-cost solution that can keep your plants hydrated for up to 30 days: the can drip irrigation method. This easy DIY system uses repurposed tin or aluminum cans to deliver water directly to plant roots slowly and efficiently—ideal for garden beds, pots, and even small trees.
Here’s how to create your own can drip irrigation system and ensure your plants stay healthy and watered with minimal effort.
Why Use a Can Drip Irrigation Method?
This method works similarly to commercial drip irrigation systems but costs next to nothing. It delivers water directly to the root zone over an extended period, reducing water waste due to evaporation and runoff. It’s especially useful if you:
-
Don’t have time to water daily.
-
Want to conserve water.
-
Travel frequently.
-
Live in an area with dry conditions.
-
Have plants that require consistent moisture.
Materials You’ll Need
Creating your own can drip system is easy. You likely already have most of the supplies:
-
Empty tin or aluminum cans (like those used for canned vegetables or beans)
-
A nail or small drill
-
A hammer (if using a nail)
-
Water
-
Optional: A piece of cloth or mesh, and a rock or lid to prevent debris or insects from entering
Step-by-Step Guide
1. Choose the Right Cans
Use medium to large-sized cans (400–800g) that are rust-free and food-safe. Wash them thoroughly to remove any food residue.
2. Make the Drainage Holes
Turn the can upside down. Using a hammer and nail (or a small drill), make 3–5 small holes in the bottom of the can. These will act as drip outlets. For slower release, make smaller holes or fewer of them.
You can also experiment with hole size and number based on the soil type and plant needs. Clay soil may need fewer holes, while sandy soil may require more.
3. Bury the Can Near the Plant
Dig a hole next to your plant that’s deep enough to bury the can up to its rim. Position the can about 4–6 inches from the plant’s base to avoid disturbing the roots.
Place the can in the hole and fill the soil back around it, ensuring it’s stable and upright.
4. Fill the Can with Water
Pour clean water into the can until it’s full. The water will slowly seep out through the holes, delivering moisture directly to the root zone. Depending on the hole size, soil type, and temperature, one full can may last anywhere from 5 to 30 days.
For long-lasting hydration, test the drainage rate by observing how long it takes for a full can to empty.
5. Cover the Top
To keep out debris, mosquitoes, and evaporation, cover the top of the can with a small flat rock, piece of cloth, or a loose-fitting lid. This allows water to be poured in easily while keeping the system clean.
Tips for Best Results
-
Use multiple cans for large or thirsty plants. For example, a tomato plant may benefit from two cans placed on opposite sides of the root zone.
-
Refill when needed. In extremely hot weather or with fast-draining soil, check the cans more frequently.
-
Use greywater if safe. If you’re conscious about water conservation, you can reuse kitchen rinse water (without chemicals) for this system.
-
Line the inside with cloth (optional). This slows the release even more and can help prevent soil from entering the can.
Benefits of the Can Drip System
-
Water Efficiency: Water goes straight to the roots, reducing waste.
-
Low Maintenance: Once installed, the system needs little upkeep.
-
Inexpensive: No need for hoses, timers, or fancy irrigation kits.
-
Eco-Friendly: Reuses materials and conserves water.
-
Supports Healthy Growth: Reduces stress from over- or under-watering.
Great for a Variety of Plants
This method is ideal for:
-
Tomatoes, peppers, and cucumbers
-
Squash and melons
-
Roses and perennials
-
Herbs and container plants
-
Young fruit trees
For container gardening, the can can be inserted vertically into the pot, just as you would in the ground. Make sure the holes are adjusted for the size and needs of the plant.
Final Thoughts
Whether you’re going on vacation or just want a more sustainable way to manage your garden, the can drip irrigation method is a practical and effective solution. With just a few household items and a little setup time, you can give your plants a steady, reliable water source that lasts for days or even weeks. Try it out and see how much easier—and greener—your gardening routine can be.


