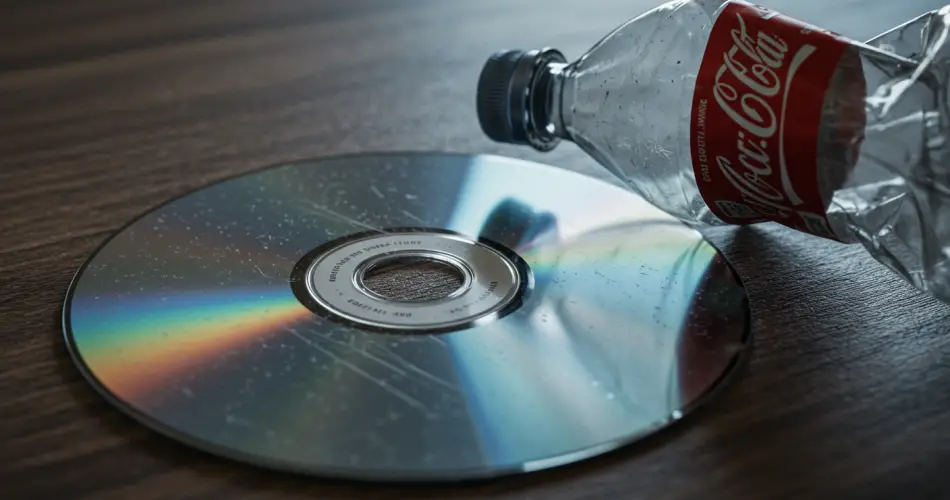
If you enjoy do-it-yourself projects, this simple yet clever idea is one you’ll want to try. With just two common items—a plastic bottle and an old CD—you can create a surprisingly functional household object while giving new life to materials that would otherwise end up in the trash. Not only does this project encourage recycling, but it also taps into creativity, making it a fun and eco-friendly activity for adults and children alike.
Why Reuse Old Materials?
Every day, millions of plastic bottles are thrown away around the world. While recycling systems exist, not all plastic is processed efficiently, and much of it still ends up polluting our environment. CDs, once widely used, have also become obsolete in the digital age, and many households still have stacks of them collecting dust.
Instead of discarding these items, reusing them for DIY projects can be both environmentally responsible and rewarding. With a little imagination, objects destined for the garbage can take on a second life. Upcycling projects like this one don’t just reduce waste—they allow us to create something practical and original without spending money on new materials.
Materials You Will Need
To complete this project, you only need a few simple items, most of which are probably already in your home:
-
1 empty plastic bottle
-
1 old CD or DVD
-
A pair of scissors
-
Hot glue and a glue gun
-
Sandpaper (or a nail file, as an alternative)
Optional materials for decoration include paint, colored paper, fabric, or adhesive gems—whatever you’d like to use to personalize your final creation.
Step 1: Preparing the Plastic Bottle
Begin by thoroughly cleaning the plastic bottle to remove any residue. Once it is dry, cut the bottle approximately in half with scissors. For this project, you’ll use the bottom portion of the bottle, which should be around 15 centimeters tall.
After cutting, trim around the entire circumference to ensure the edge is even. Next, make a vertical slit on one side of the bottle, about half a centimeter wide and extending down toward the base. This slit will make it easier to insert and remove items once the project is completed.
Since freshly cut plastic edges can be sharp, use sandpaper (or a nail file) to smooth them out. This step is important for safety, especially if children will handle the finished product.
Step 2: Preparing the CD
The CD does not need to be altered or cut for this project. Keep it in its original round shape. The reflective side of the CD will serve as the base of your creation, adding a decorative shine. Place it shiny-side up so that it reflects light and gives your project a more polished look.
Step 3: Assembling the Two Pieces
Once both parts are ready, it’s time to join them together. Take the bottom of the bottle and apply hot glue to its base. Then, press it firmly onto the center of the CD. Hold it in place for a few seconds until the glue sets. Make sure the bond is secure before continuing.
This simple assembly forms the structure of your new household accessory. The bottle acts as the holder, while the CD provides stability as a base.
Step 4: The Finished Product – A Toilet Paper Holder
When the glue has dried completely, your project is essentially finished. The bottom of the bottle now works as a container, and the CD serves as a stable base that prevents it from tipping over. Place a roll of toilet paper inside, and you’ll have a simple, creative, and functional toilet paper holder made entirely from repurposed materials.
This practical solution works especially well in bathrooms where storage space is limited. It’s lightweight, easy to move, and can be customized to match your décor.
Step 5: Personalizing Your DIY Creation
One of the best parts of upcycling projects is the opportunity to customize them. You can leave your new holder as it is for a minimalist look, or decorate it to fit your personal style. Here are a few ideas:
-
Paint: Use acrylic paint to give the bottle a solid color or to add patterns and designs.
-
Paper or fabric wrap: Cover the outside of the bottle with decorative paper or fabric to match your bathroom theme.
-
Mosaic design: Break additional CDs into small pieces and glue them around the bottle for a shiny, mosaic-style decoration.
-
Adhesive decorations: Stickers, gems, or washi tape can add fun details without much effort.
With just a little creativity, you can turn this basic structure into something unique and stylish.
Why This Project Matters
Projects like this may seem small, but they carry a larger message. Repurposing everyday objects reduces waste, encourages creativity, and fosters a mindset of sustainability. Instead of always relying on store-bought solutions, DIY projects remind us that many useful items can be made at home with minimal effort.
Moreover, involving children in these kinds of activities can teach them the value of recycling and resourcefulness. Since this project doesn’t involve dangerous tools or chemicals, it’s safe for kids to participate, making it an excellent family activity.
Other Creative Uses for CDs and Bottles
This particular project transforms a CD and a bottle into a toilet paper holder, but that’s just one idea. These materials can be reused in countless ways:
-
CDs can become coasters, mirrors, wind chimes, or even decorative photo frames when cut into small reflective pieces.
-
Plastic bottles can be turned into planters, storage containers, or watering cans with a few simple cuts.
By experimenting with different combinations, you can create an endless variety of functional or decorative items while keeping waste out of landfills.
Final Thoughts
With just an old CD, a plastic bottle, and a few basic supplies, you can create a simple yet practical household accessory that adds both charm and utility to your home. This DIY project proves that recycling doesn’t have to be complicated—sometimes, it’s as easy as combining two items you already have lying around.
So next time you’re about to throw away an empty plastic bottle or a scratched CD, think twice. With a little imagination, you can transform them into something both useful and environmentally friendly. Give it a try, and you’ll not only reduce waste but also enjoy the satisfaction of creating something with your own hands.