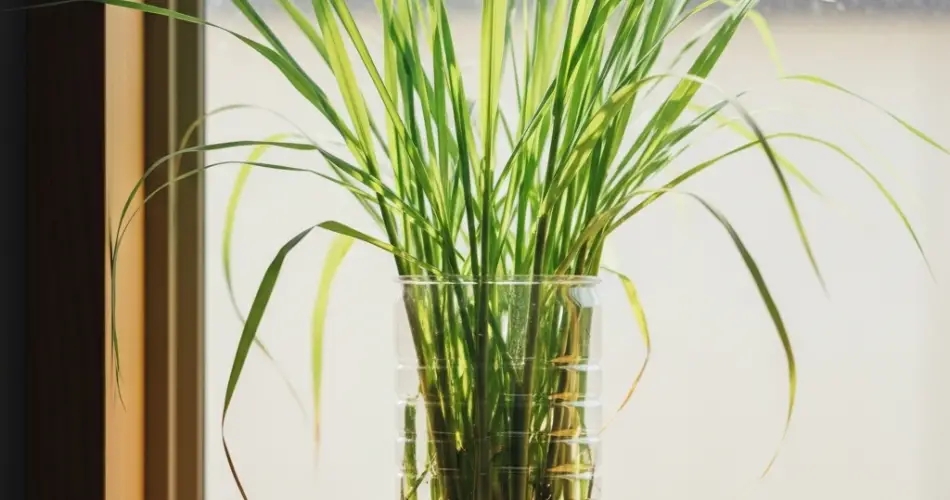
Lemongrass is an aromatic herb loved for its citrusy flavor and many health benefits. It’s commonly used in Asian cooking, herbal teas, and natural remedies. Fortunately, growing lemongrass at home is simple and low-cost, especially if you use plastic bottles to create compact, space-saving planters. With a little time and care, you can regrow lemongrass from stalks purchased at the grocery store, making it an excellent project for urban gardeners or beginners.
This guide walks you through how to root lemongrass in water and transfer it into plastic bottles for successful container growing, all without needing a backyard or traditional garden space.
Why Grow Lemongrass in Bottles?
Using plastic bottles for growing herbs is both economical and sustainable. This method recycles materials that would otherwise end up in the trash, making it an eco-friendly choice. Bottles are compact enough to fit on windowsills, balconies, and kitchen counters, making them ideal for small homes or apartments. Lemongrass is especially suited for this method because it has a strong root system and grows well in containers.
Materials Needed
To get started, you’ll need the following:
-
Fresh lemongrass stalks with roots (usually available at grocery stores or markets)
-
A transparent plastic bottle (1.5 or 2-liter)
-
Clean water
-
Potting mix or compost-rich soil
-
Scissors or a utility knife
-
Optional: pebbles or charcoal for drainage
Step 1: Selecting Lemongrass for Rooting
When shopping for lemongrass, choose stalks that still have the base or roots intact. These will root more easily than trimmed tops. Avoid stalks that look dried out or damaged. Ideally, the stalks should be firm, green, and fresh-looking with visible root nodes at the bottom.
Once you’ve selected your stalks, rinse them under running water to remove any dirt or residue.
Step 2: Rooting in Water
Take a glass or a jar and fill it with about two inches of clean water. Insert the lemongrass stalks into the container, ensuring the base is submerged. Place the container in a bright, warm spot such as a windowsill with indirect sunlight. Change the water every 2 to 3 days to prevent rot and encourage healthy growth.
Within a week or so, small white roots should start appearing from the base. You may also notice new green shoots emerging from the top. When the roots are at least 2 inches long, the lemongrass is ready to be transplanted into soil.
Step 3: Preparing the Bottle Planter
To make a bottle planter, take a clean 1.5 or 2-liter plastic bottle and cut it in half. You can use either the top half (inverted into the bottom to make a self-watering container) or just use the bottom half as a basic pot. Poke 3–5 small drainage holes in the bottom using a heated nail or screwdriver to allow excess water to escape.
If you want to create a self-watering planter, insert a strip of cotton cloth or thick thread through the cap to act as a wick, then place the top half upside down into the bottom half. Fill the bottom with water and the top with soil.
Add a layer of pebbles or charcoal to the bottom of your planter to improve drainage, followed by potting soil. Choose a well-draining mix that retains some moisture but doesn’t stay soggy.
Step 4: Transplanting the Rooted Lemongrass
Carefully remove the lemongrass stalks from the water. Using your fingers or a small stick, make a hole in the soil and insert the rooted end of each stalk about 1 to 2 inches deep. Gently firm the soil around the base of the plant to ensure it stands upright.
Place the planted bottle in a sunny location where it receives at least 5 to 6 hours of sunlight daily. A south-facing window or a balcony is ideal.
Step 5: Caring for Your Bottle-Grown Lemongrass
Water the plant regularly, keeping the soil slightly moist but not soaked. If you’re using a self-watering setup, refill the reservoir when it runs dry. Lemongrass grows best in warm, humid conditions, so misting occasionally can help in dry environments.
Fertilize once a month using a diluted organic fertilizer or compost tea to encourage lush growth. Trim back dead leaves and older stalks to make room for new shoots.
Harvesting and Maintenance
Lemongrass typically takes a couple of months to mature. You can start harvesting once the stalks are at least ½ inch thick and 12–18 inches tall. Use a sharp knife or scissors to cut the stalks near the base, choosing the outermost stems first.
After harvesting, continue watering and feeding to keep the plant producing. Lemongrass can grow year-round in warm climates and will benefit from occasional repotting if the roots become crowded.
Final Thoughts
Growing lemongrass in plastic bottles is a practical and rewarding way to enjoy fresh herbs at home. It’s affordable, beginner-friendly, and environmentally conscious. Plus, it brings a touch of greenery to your home while supplying a steady source of fragrant, flavorful lemongrass for cooking, teas, or natural remedies.
Whether you place your planter on a balcony, windowsill, or kitchen counter, this method transforms everyday items into productive little gardens that fit into even the smallest living spaces.


