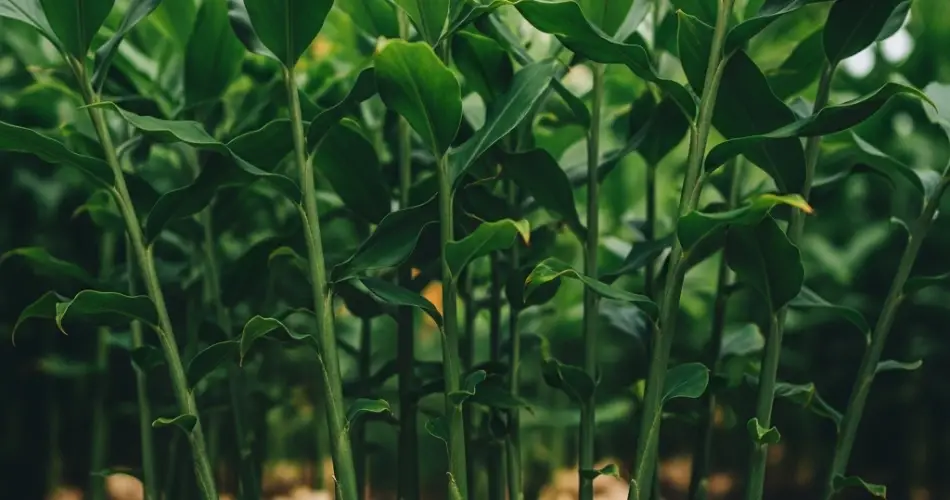
If you’ve struggled with houseplants in the past and feel like you have a “black thumb,” growing ginger might be the perfect opportunity to turn things around. Ginger is a low-maintenance, forgiving plant that doesn’t require a green thumb to succeed. With a few basic steps and a little patience, even the most inexperienced gardener can raise healthy ginger at home.
Here’s a practical, no-fail guide to growing ginger from store-bought roots and nurturing it into a thriving, harvestable plant—even if every other plant you’ve owned hasn’t made it.
Why Ginger Is Ideal for Beginners
Ginger (Zingiber officinale) is a tropical rhizome that grows underground. It thrives in warm, humid environments, tolerates partial shade, and grows well in pots—making it a fantastic candidate for balconies, patios, or sunny windowsills. Plus, once it’s established, ginger is relatively pest- and disease-resistant.
The best part? You don’t need seeds. You can start growing ginger using fresh root pieces (rhizomes) from your local grocery store.
Step 1: Choosing the Right Ginger Root
Start with fresh, plump ginger roots. Look for pieces with visible “eyes”—small nubs or nodes that look like budding points. These are where new shoots will emerge.
Tips for choosing a good rhizome:
-
Avoid shriveled or moldy pieces.
-
Select thick, firm roots with at least 2–3 eyes.
-
Organic ginger is preferred since non-organic roots are sometimes treated to prevent sprouting.
If your ginger is slow to sprout, soak it in warm water overnight to help wake it up, especially if it was refrigerated or treated.
Step 2: Prepare the Pot and Soil
Ginger loves loose, rich, well-draining soil. Use a wide, shallow container (at least 12 inches in diameter and 8 inches deep) because the rhizomes grow horizontally.
Soil mix:
-
2 parts potting mix
-
1 part compost
-
1 part perlite or sand for drainage
Make sure the container has drainage holes to prevent waterlogging, which can rot the roots.
Step 3: Plant the Ginger
Cut the ginger into 2-inch sections, each with at least one eye. Let the cut surfaces dry for a day or two to form a callous. This reduces the chance of rot.
Planting steps:
-
Place each piece eye-side up about 2 inches below the surface.
-
Space them 4–6 inches apart if using a large container.
-
Cover with soil and water lightly.
Keep the soil moist but not soggy. A light misting every few days is usually enough in the early stages.
Step 4: Create the Right Environment
Ginger loves warmth and humidity. Keep the pot in a partially shaded area—a sunny windowsill with filtered light or a shaded patio is perfect. Avoid direct midday sun, which can scorch the leaves.
Ideal conditions:
-
Temperature: 70–85°F (21–29°C)
-
Humidity: Moderate to high
-
Light: Indirect or dappled sunlight
To mimic humidity, you can lightly mist the leaves or place a tray of water nearby.
Step 5: Water and Feed with Care
Watering ginger is simple: keep the soil evenly moist but never soggy. As the plant matures, you can water more deeply, but always allow the top inch of soil to dry slightly between waterings.
Feeding:
-
Use a diluted liquid fertilizer (balanced or slightly higher in potassium) every 3–4 weeks.
-
Compost tea or fish emulsion also works well.
Avoid overfeeding—ginger is a slow grower and prefers a light hand when it comes to fertilization.
Step 6: Be Patient and Let It Grow
Ginger is not a fast-growing plant, but it is steady and reliable. You’ll see green shoots appear after 2–4 weeks, and leaves will slowly unfurl over the next few months.
It can take 8–10 months for the ginger to reach full maturity, but you can begin harvesting small pieces after 4–6 months by carefully digging around the edges and snipping off a section of rhizome. The plant will continue to grow if most of the root system is left undisturbed.
Step 7: Overwintering and Replanting
In colder climates, ginger should be brought indoors before temperatures drop below 50°F (10°C). It may go dormant in winter—this is normal. The leaves will yellow and die back, but the rhizome remains alive underground.
To keep your ginger going:
-
Reduce watering in winter and allow it to rest.
-
In spring, resume watering and feeding to encourage new shoots.
-
You can repot or divide mature rhizomes to start new plants.
Conclusion
Growing ginger doesn’t require advanced gardening skills or even much space. With a little warmth, moisture, and patience, you can raise ginger successfully—even if you’ve struggled with other plants in the past.
It’s a fantastic crop for beginners who want to build confidence in their gardening abilities. Plus, there’s nothing more satisfying than harvesting a fresh piece of homegrown ginger to use in your kitchen, teas, or natural remedies.
So go ahead—give ginger a try. You might just surprise yourself with your growing skills.


