The allure of orchids is a shared passion among many, and it’s not surprising. These exquisite plants gift us with some of the most beautiful flowers found in nature, displaying a variety of shapes and colors. However, there’s a slight drawback: they can be quite expensive.
What few people know is that orchids can be propagated at home through precise yet straightforward processes. Preferred methods include propagation through cuttings, seeding, plant division, and propagation through a flower spike.
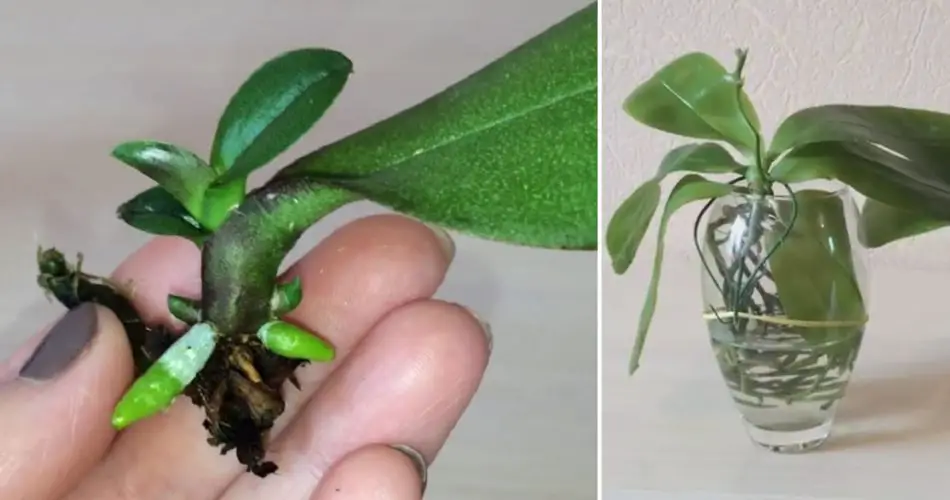
A single orchid leaf is not suitable for propagation. There are no growth points on it that can give rise to new roots. This is why it’s necessary to take a leaf with a small piece of the stem.
Before starting the orchid propagation from a leaf, prepare the necessary tools. You’ll need a well-sharpened and sterilized garden scissors, a plastic container, filtered water, and the following fertilizers: rooting hormone, a bit of activated charcoal, and a mix of cytokinin and succinic acid.
The process of propagating an orchid from a leaf is one of the more complex methods and takes time: roots can take more than a year to develop.
The leaf for propagation should be taken from a healthy adult plant. Use the scissors to cut the leaf and the piece of stem, then let it dry for 8 hours.
Next, apply some rooting hormone to the leaf and the stem. Dissolve a bit of activated charcoal in water, then place the leaf and stem in the solution. The base of the shoot must be completely immersed in water.
Before planting the orchid in the soil, check for any signs of mold or rotting plant pieces. This meticulous process ensures the successful propagation of orchids from a leaf and sets the foundation for a new, thriving plant.