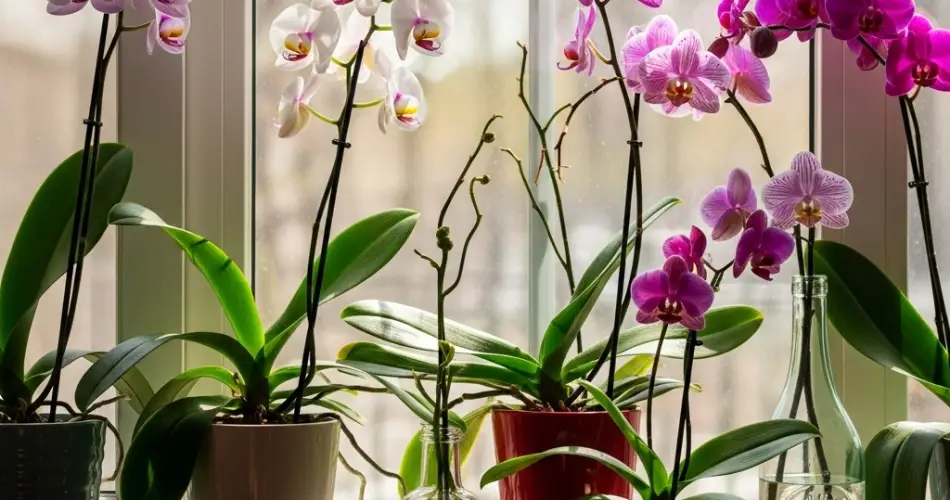
Orchids have a reputation for being fussy and high-maintenance, but in reality, they’re much more forgiving than they seem—especially when grown in containers on a sunny windowsill. With the right care and attention, these exotic blooms can thrive indoors and reward you with stunning flowers that last for weeks or even months.
Whether you’re a first-time orchid grower or someone looking to improve your results, learning how to nurture orchids in containers is simpler than it looks. Here’s everything you need to know to keep your orchids healthy, happy, and blooming beautifully on your windowsill.
Why Orchids Are Ideal for Indoor Growing
Many orchid species, particularly the popular Phalaenopsis (moth orchid), adapt extremely well to indoor conditions. They enjoy bright, indirect light and relatively stable temperatures—exactly what you’ll find near most sunny windowsills. With their elegant blooms and long-lasting flowers, orchids make an excellent addition to your indoor plant collection.
Step 1: Choose the Right Orchid Type
Not all orchids are created equal, and some are easier to care for than others. For windowsill growing, choose from the following beginner-friendly types:
-
Phalaenopsis (Moth Orchid): Long-lasting flowers, easy to care for, and perfect for bright indoor spots.
-
Dendrobium: More upright with cane-like stems, prefers lots of light.
-
Cattleya: Known for large, fragrant flowers, loves a bright environment.
Choose a healthy orchid with firm, green leaves and visible roots. Avoid any with mushy spots, shriveled leaves, or signs of pests.
Step 2: Select the Right Container
Orchids don’t grow in regular soil. Instead, they need well-ventilated containers filled with a special orchid mix—usually bark, perlite, and charcoal—to mimic their natural growing environment.
Use clear plastic orchid pots with plenty of drainage holes. The transparency allows you to monitor root health and moisture levels. You can place the plastic pot inside a decorative outer container for aesthetic purposes.
Step 3: Provide the Right Amount of Light
Orchids prefer bright, indirect light. A sunny east or west-facing windowsill is perfect. If placing the orchid on a south-facing windowsill, protect it from harsh midday sun with a sheer curtain to prevent leaf burn.
Leaves that are vibrant green indicate good lighting. Dark green leaves may mean the orchid needs more light, while yellowing or scorched leaves suggest too much direct sun.
Step 4: Water Wisely
Overwatering is the most common mistake in orchid care. These plants like moisture but hate soggy roots.
Here’s how to water correctly:
-
Water only when the potting mix is nearly dry.
-
Use room-temperature water and pour it over the roots, letting it drain completely.
-
Never let the plant sit in standing water.
A general guideline is to water every 7–10 days, but this depends on temperature and humidity. If in doubt, wait a day or two before watering again.
Step 5: Humidity and Air Circulation
Orchids prefer moderate humidity levels (around 40–60%). If your home is dry, especially during winter, increase humidity using one of these methods:
-
Place a tray of pebbles and water under the pot (without letting roots touch water).
-
Mist the plant lightly in the morning.
-
Use a room humidifier near your orchid display.
Ensure there’s gentle air circulation around the plant to prevent fungal diseases.
Step 6: Feeding and Fertilizing
Orchids need regular but light feeding to stay vigorous.
-
Use a balanced orchid fertilizer (20-20-20) diluted to half strength.
-
Feed every 2–3 weeks during the growing season (spring and summer).
-
Reduce feeding in winter when the plant is resting.
Avoid over-fertilizing, as salt buildup can harm roots. Flush the pot with plain water every few months to remove residue.
Step 7: Encourage Blooming and Re-Blooming
Orchids typically bloom once or twice a year. To encourage a re-bloom:
-
After the flowers fall, trim the spike just above the node where the first flower bloomed.
-
Keep the plant in a cool room at night for a few weeks—around 60°F (15°C)—to trigger blooming.
-
Maintain good light and feeding habits during this time.
New spikes will usually appear within a couple of months.
Step 8: Repot When Necessary
Orchids should be repotted every 1–2 years, ideally after blooming.
Signs it’s time to repot include:
-
Roots outgrowing the container
-
Decomposed or compacted bark
-
Poor drainage or root rot
Gently remove the old medium, trim unhealthy roots, and repot using fresh orchid mix.
Final Thoughts
Growing orchids in containers on a sunny windowsill is a rewarding and achievable gardening goal. With just a little attention to their unique needs—light, water, air, and nutrients—you can enjoy healthy, blooming orchids year-round. These elegant plants will brighten your home and elevate your indoor garden, proving that even the most exotic-looking flowers can flourish with the right care.


