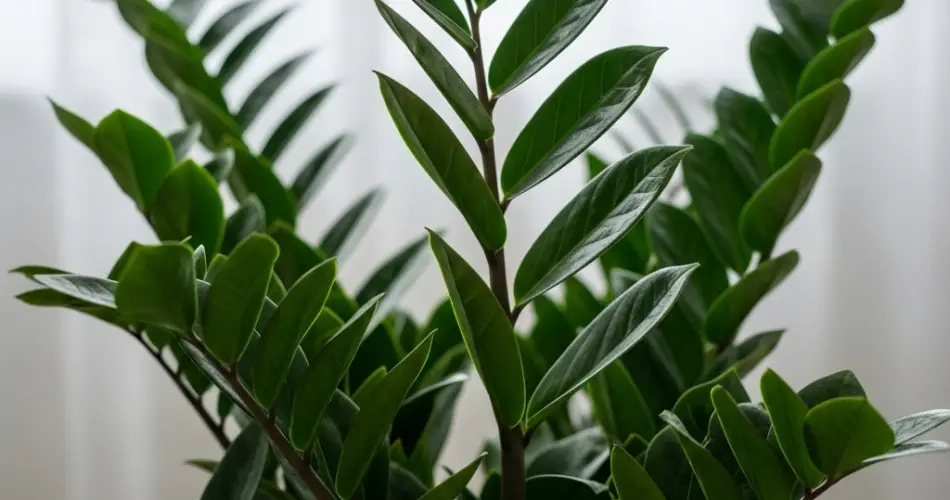
The ZZ plant (Zamioculcas zamiifolia) is a popular houseplant celebrated for its glossy, dark green leaves and its ability to thrive in low light and with minimal care. Its resilience makes it perfect for apartment dwellers who want to bring greenery into small spaces without the stress of high-maintenance gardening. While many focus on growing ZZ plants, knowing how to properly harvest and propagate them can help you expand your indoor garden and enjoy this elegant plant even more. This guide will walk you through harvesting ZZ plants successfully, even if you live in a small apartment.
What Does Harvesting a ZZ Plant Mean?
Unlike many other plants grown for flowers or edible crops, harvesting a ZZ plant typically means propagating new plants from parts of the parent plant. ZZ plants do not produce flowers or fruits indoors, so “harvesting” usually refers to collecting healthy leaves, stems, or rhizomes to create new plants. It’s an excellent way to multiply your plants without spending money on new ones.
Why Harvest and Propagate ZZ Plants?
-
Expand Your Indoor Garden: Propagation allows you to create multiple plants from one.
-
Refresh Older Plants: Removing older, yellowing leaves can promote healthier growth.
-
Share with Friends: Give cuttings or new plants as thoughtful gifts.
-
Improve Plant Health: Thinning the plant encourages new shoots and a fuller appearance.
Step 1: Gather Your Supplies
To harvest and propagate your ZZ plant efficiently, you’ll need a few simple tools:
-
Clean, sharp scissors or pruning shears
-
Small containers or pots with drainage holes
-
Well-draining potting mix (cactus or succulent mix works well)
-
Water spray bottle
-
Optional: rooting hormone to speed up propagation
Having these on hand ensures clean cuts and better chances for successful propagation.
Step 2: Choosing What to Harvest
The ZZ plant can be propagated using leaf cuttings, stem cuttings, or division of rhizomes (underground stems). Here’s what to look for:
-
Leaf Cuttings: Choose healthy, mature leaves. Cut close to the base of the leaf stem.
-
Stem Cuttings: Select stems with at least two or three leaves. Cut just below a leaf node.
-
Rhizome Division: This requires removing the plant from its pot to separate the thick underground rhizomes, which can then be potted individually.
For apartment growers, leaf or stem cuttings are the easiest methods since rhizome division requires more space and can disturb the whole plant.
Step 3: Making Clean Cuts
Proper cutting technique is vital to prevent infection and promote rooting:
-
Sterilize your scissors or shears with rubbing alcohol.
-
Make clean, angled cuts to increase the surface area for rooting.
-
Remove any damaged or yellow leaves before planting cuttings.
Good hygiene and precise cuts help your cuttings stay healthy and encourage root growth.
Step 4: Preparing Cuttings for Propagation
Once you have your cuttings, here’s how to prepare them:
-
Allow the cuttings to dry and callous over for a few hours to a day. This reduces the chance of rot.
-
Optionally, dip the cut end into rooting hormone powder to stimulate root development.
-
Plant the cuttings in a well-draining potting mix. Insert leaf cuttings just deep enough to stay upright; stem cuttings should be buried about 1-2 inches deep.
Place the pots in a warm spot with bright, indirect light to encourage growth.
Step 5: Watering and Care During Propagation
-
Mist the soil lightly to keep it slightly moist but never soggy.
-
Avoid overwatering, as ZZ plants are prone to rot.
-
Maintain a temperature around 70°F (21°C) for optimal rooting.
-
Be patient—ZZ plants are slow growers, and roots can take several weeks to develop.
A balanced watering routine and ideal temperature create the perfect environment for new plants.
Step 6: Potting and Ongoing Care
After roots form and new growth appears, you can gradually care for your new ZZ plants like mature ones:
-
Transplant into slightly larger pots with good drainage.
-
Use a well-draining soil mix rich in organic matter.
-
Place plants in medium to low indirect light; avoid direct sunlight that can scorch leaves.
-
Water only when the top 1-2 inches of soil feel dry.
-
Fertilize lightly every 2-3 months during the growing season with a balanced houseplant fertilizer.
Proper ongoing care will ensure your ZZ plants stay lush and vibrant.
Step 7: Space-Saving Tips for Apartment Growing
Living in a small apartment doesn’t mean you can’t nurture multiple ZZ plants:
-
Use vertical space by placing plants on shelves or hanging planters.
-
Choose compact pots to fit window sills or corners.
-
Rotate plants regularly for even light exposure.
-
Group plants together to create a mini indoor jungle effect.
Maximizing space creatively lets you enjoy more greenery without clutter.
Troubleshooting Common Issues
-
Yellow Leaves: Often a sign of overwatering or poor drainage.
-
Slow Growth: ZZ plants naturally grow slowly but ensure they have adequate light.
-
Pests: Rarely affected, but watch for spider mites or scale insects and treat promptly.
Keeping an eye on these issues ensures healthy, thriving plants.
Conclusion
Harvesting and propagating ZZ plants in a small apartment is both feasible and rewarding. By carefully selecting healthy leaves or stems, making clean cuts, and providing the right environment for rooting, you can multiply your ZZ plants and enjoy their beauty throughout your home. Their minimal water needs and tolerance for low light make ZZ plants ideal for apartment living, allowing you to cultivate a lush, green oasis with little hassle.
With patience and proper care, your ZZ plants will flourish, filling your space with their elegant presence for years to come.


