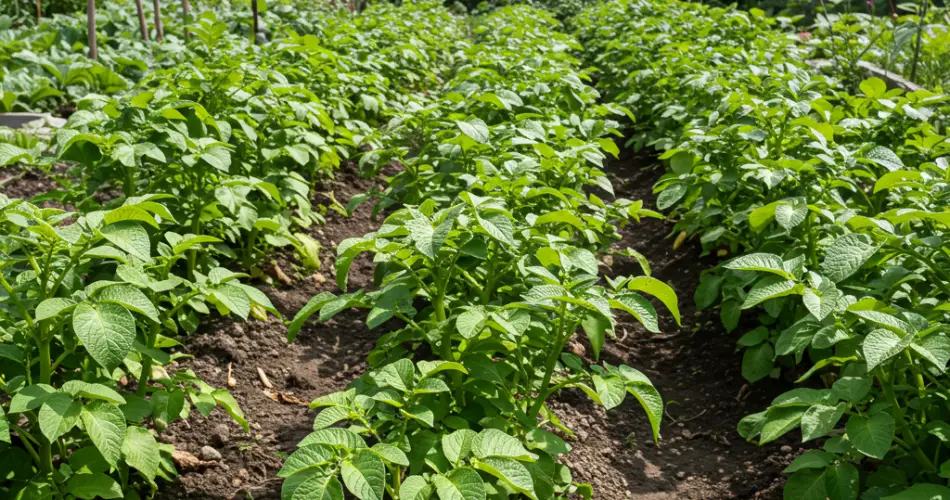
Growing potatoes might seem like a project best left to experienced gardeners or those with sprawling plots of land—but nothing could be further from the truth. Potatoes are one of the easiest and most rewarding crops to grow, even in a modest backyard garden. And with just a bit of know-how, your harvest can exceed expectations and even surprise seasoned growers.
Here’s how to grow potatoes in your garden the smart way—leading to a bountiful, healthy, and possibly record-breaking crop.
Choose the Right Seed Potatoes
First things first: do not plant grocery store potatoes. These are often treated to prevent sprouting and may carry diseases. Instead, buy certified seed potatoes from a nursery or online supplier. These are specifically cultivated for planting and guaranteed to be disease-free.
Select varieties based on your climate and preferences. Some popular options include:
-
Yukon Gold – creamy texture and great for roasting
-
Red Pontiac – quick to mature and perfect for boiling
-
Russet Burbank – classic baking potato with high yields
-
Fingerlings – small, gourmet-style potatoes with great flavor
Preparing the Soil
Potatoes thrive in loose, well-drained soil that’s slightly acidic (pH 5.0–6.5). Heavy clay or compacted soil will limit tuber growth and make harvesting harder.
To prepare the bed:
-
Loosen soil to a depth of 8–12 inches.
-
Mix in compost or well-rotted manure to boost fertility.
-
Avoid fresh manure, which can cause scab in potatoes.
If you’re working with poor soil, consider raised beds or large containers, which give you better control over the growing medium.
Pre-Sprouting (Chitting)
About 2–3 weeks before planting, place your seed potatoes in a bright, cool area indoors to encourage sprouting. This process is called chitting.
Position the potatoes with the “eyes” facing up. When the shoots are about an inch long, they’re ready to go in the ground.
Planting in the Garden
Once the soil has warmed to at least 45°F (7°C) and the risk of hard frost has passed, it’s time to plant.
-
Cut larger seed potatoes into pieces, ensuring each piece has at least 1–2 healthy eyes.
-
Let the cut pieces sit for 24–48 hours to dry out slightly and reduce rot risk.
-
Plant 4 inches deep, with the eyes facing up.
-
Space pieces about 12 inches apart, in rows spaced 2–3 feet apart.
As the plants grow, “hill” the soil up around them every couple of weeks. This means piling up soil around the base of the plant, covering the lower stems. Hilling encourages more tubers to form and protects them from sunlight (which turns them green and toxic).
Watering and Feeding
Potatoes need consistent moisture, especially once they begin to flower (this is when tubers are forming). Water deeply once or twice a week—more during hot spells.
Avoid overwatering or soggy soil, which can cause rot. Mulching with straw or grass clippings can help retain moisture and suppress weeds.
Feed your potato plants with a balanced fertilizer early in the season, and again when the plants begin to flower. Avoid fertilizers high in nitrogen, which produce lots of foliage but fewer tubers.
Watch for Pests and Diseases
The most common pest is the Colorado potato beetle, easily spotted by its yellow-and-black striped body. Handpick them or use neem oil spray if needed.
Also watch for signs of:
-
Blight (yellowing, black spots on leaves)
-
Scab (rough patches on potato skins)
-
Wireworms (small holes in tubers)
Crop rotation is essential. Don’t plant potatoes in the same spot two years in a row, and avoid areas where tomatoes, peppers, or eggplants recently grew, as they share diseases.
When and How to Harvest
Depending on the variety, potatoes are ready to harvest in 70 to 120 days.
-
For new potatoes (small, tender), harvest about 2–3 weeks after flowering starts.
-
For mature potatoes, wait until the foliage turns yellow and dies back. Then, stop watering and let the tubers “cure” in the soil for 1–2 weeks before digging them up.
Use a garden fork to lift the potatoes gently, being careful not to pierce or bruise them.
Storing Your Crop
Cure your harvested potatoes in a cool, dark, and well-ventilated area for about 10 days. This toughens their skin and helps them store longer.
After curing, store them in a cool, dark place—ideally around 40–50°F (4–10°C). Avoid storing potatoes in the fridge or near onions.
Properly stored, your homegrown potatoes can last for several months and taste better than anything you’ll find in the store.
Final Thoughts
Growing potatoes in your own garden doesn’t just save money—it delivers unmatched flavor, satisfaction, and bragging rights. With minimal effort, you can transform a corner of your yard into a highly productive potato patch that might just surprise you—and everyone who sees it.


