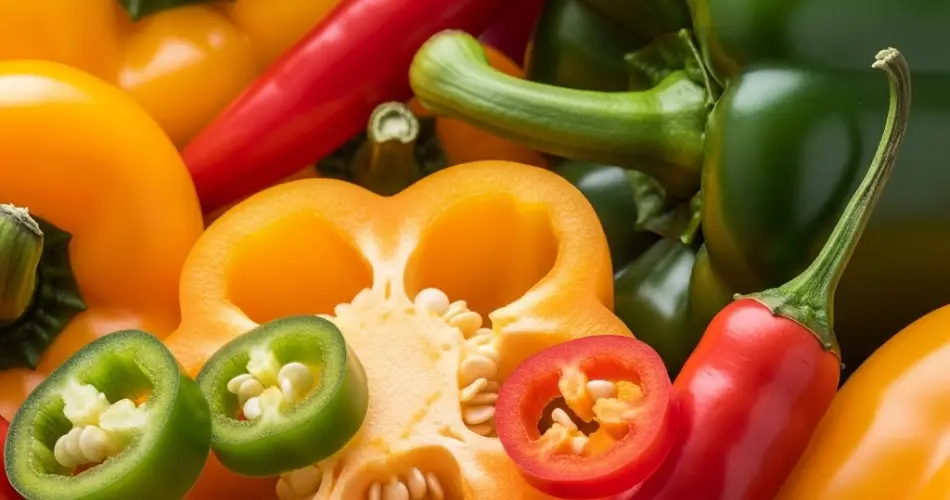
Growing bell peppers in small pots is an excellent way to enjoy a fresh supply of this vibrant vegetable without needing a large garden space. Whether you have a balcony, patio, or sunny windowsill, bell peppers can thrive in containers with just a bit of attention and care. Here’s a step-by-step guide to successfully growing bell peppers in small pots and ensuring a healthy, productive plant.
1. Choose the Right Variety
Not all bell peppers are equal when it comes to container gardening. Look for compact or dwarf varieties such as ‘Mini Bell’, ‘Sweet Banana’, or ‘Lunchbox’ peppers. These types are naturally smaller and adapt better to confined root spaces. Choosing a container-friendly variety increases the chances of a strong yield in a limited area.
2. Select an Appropriate Pot
The right pot is essential. Bell peppers have moderately deep root systems, so choose a pot that is at least 10-12 inches deep and about the same in diameter. Ensure the container has drainage holes at the bottom to prevent waterlogging, which can cause root rot. Terracotta, plastic, or fabric grow bags all work well, but fabric pots offer better aeration.
3. Use High-Quality Potting Mix
Avoid using garden soil, as it’s often too dense and lacks proper drainage for pots. Instead, use a high-quality, lightweight potting mix rich in organic matter. A good mix includes compost, peat moss or coco coir, and perlite or vermiculite to improve drainage and aeration. Bell peppers prefer slightly acidic to neutral pH (around 6.0 to 7.0).
4. Start with Healthy Seedlings or Seeds
You can either start bell peppers from seeds or purchase seedlings from a nursery. If planting from seed, sow them indoors 8–10 weeks before the last expected frost. Transplant them to your small pots once they’re about 4–6 inches tall and all danger of frost has passed. Handle the roots gently during transplanting.
5. Provide Plenty of Sunlight
Bell peppers are sun-loving plants. Position your pots in a spot where they will receive at least 6–8 hours of direct sunlight daily. If you’re growing indoors or don’t have access to full sun, consider using grow lights to supplement the light requirements.
6. Water Consistently, But Don’t Overdo It
Consistent watering is crucial. Bell peppers prefer evenly moist soil but not soggy conditions. Stick your finger into the soil—if the top inch is dry, it’s time to water. During hot weather, daily watering may be necessary. Always water at the base of the plant, avoiding wetting the leaves to reduce the risk of fungal issues.
7. Feed Regularly for Healthy Growth
Because nutrients in pots are limited, feeding is essential. Use a balanced fertilizer (such as 10-10-10 or 5-10-10) every two weeks once the plant is established. Alternatively, slow-release fertilizers or organic options like fish emulsion or compost tea work well. During the flowering and fruiting stage, a fertilizer higher in phosphorus and potassium will encourage better yields.
8. Support Your Plants
Even small pepper plants can become top-heavy once they begin to fruit. Provide a small stake or cage to help support the plant and prevent it from toppling over. Secure the stem gently with soft ties or twine as it grows.
9. Watch for Pests and Diseases
Bell peppers can attract pests such as aphids, spider mites, and whiteflies. Inspect your plants regularly and treat any infestations early using neem oil, insecticidal soap, or by manually removing pests. Proper airflow, spacing between plants, and keeping the leaves dry will reduce the risk of fungal diseases like powdery mildew.
10. Harvest at the Right Time
You can harvest bell peppers when they reach a desirable size and color. Green peppers are immature but edible; for red, yellow, or orange peppers, leave them on the plant longer. Use scissors or garden shears to snip the fruits cleanly to avoid damaging the plant.
Final Tips
Growing bell peppers in small pots is rewarding and manageable for beginners. With proper sunlight, soil, and watering, your peppers will flourish in containers just as well as in traditional garden beds. Start with just one or two plants, and you’ll soon enjoy a colorful and tasty harvest right from your patio or balcony.


