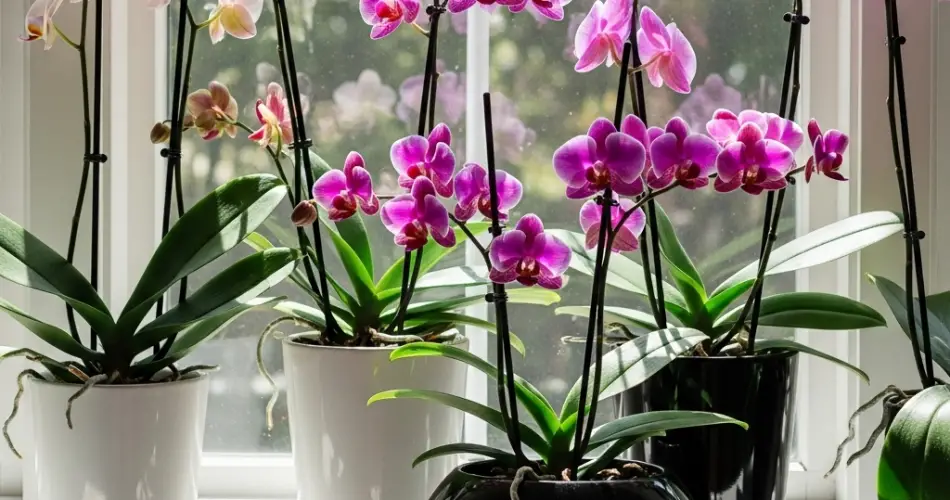
Germinating orchids at home may seem like a task reserved for professionals or botanical laboratories, but with the right approach and a bit of patience, it’s entirely possible to start orchids from seed in containers on a sunny windowsill. While growing orchids from mature plants is common, germination from seeds offers a rewarding and fascinating challenge for indoor gardening enthusiasts.
Orchids are among the most elegant and exotic houseplants you can grow, and starting them from seed allows you to witness the full life cycle—from germination to bloom—right in your own home.
Understanding Orchid Seed Germination
Unlike most flowering plants, orchids produce extremely fine, dust-like seeds that lack stored nutrients. In nature, these seeds rely on a symbiotic relationship with specific fungi to germinate and grow. At home, you can simulate this process through two main methods:
-
Symbiotic germination, which involves introducing the appropriate fungus (not commonly done by hobbyists).
-
Asymbiotic germination, which uses a sterile, nutrient-rich growing medium in controlled conditions. This is more achievable on a small scale using flasks or sterilized containers.
For windowsill germination, you’ll need to lean toward an asymbiotic setup—simplified but effective when managed with care.
Step 1: Gather Supplies
To germinate orchids successfully, you’ll need the following:
-
Orchid seeds (from a reliable source)
-
Transparent containers or glass jars with lids (sterile)
-
Sterile orchid germination medium (available online or from specialty garden stores)
-
A pressure cooker or autoclave for sterilizing
-
Gloves, tweezers, and a face mask (to maintain a sterile environment)
-
A sunny windowsill with bright, indirect light
Avoid direct sunlight during early germination, as it may overheat the containers or dry out the medium.
Step 2: Prepare and Sterilize
Sterility is essential for orchid seed germination. Contaminants like mold or bacteria can quickly ruin your efforts.
To prepare:
-
Clean all surfaces with rubbing alcohol.
-
Boil or pressure-sterilize the containers, tools, and growing medium.
-
Let everything cool before use.
-
Work in a draft-free, clean area—some hobbyists use a simple homemade glove box or clear plastic bin with armholes to reduce contamination.
Step 3: Sow the Orchid Seeds
Once everything is sterilized:
-
Use a sterile spoon or tweezers to place the growing medium into each container.
-
Lightly mist the medium with sterile water if needed.
-
Sprinkle the seeds on the surface. Because orchid seeds are tiny, use a sterile brush or toothpick to spread them evenly.
-
Seal the containers tightly to create a humid, enclosed environment.
Label each container with the orchid variety and sowing date.
Step 4: Place on a Sunny Windowsill
Position your containers on a windowsill that receives bright, indirect light—ideal for promoting germination without overheating the delicate seeds.
Light tips:
-
East-facing windows are often ideal.
-
Avoid direct midday sun, which may cause overheating inside the jars.
-
Use sheer curtains to filter light if needed.
Maintain a stable room temperature between 70–80°F (21–27°C), which supports consistent growth.
Step 5: Monitor Progress and Be Patient
Germinating orchids from seed requires time—several weeks to months just to see the first signs of development.
Here’s what to look for:
-
Weeks 2–6: Seeds begin to swell if conditions are right.
-
Weeks 6–12: Protocorms (small green bumps) form, indicating early growth.
-
Months 3–6: Roots and leaves begin to appear.
Keep an eye out for mold or contamination. If one container shows signs of spoilage, remove it to prevent spread.
Step 6: Transplanting Seedlings
Once the seedlings are large enough (with visible roots and small leaves), they can be transplanted into pots. This usually happens between 6 to 12 months after sowing.
Transplanting process:
-
Carefully remove seedlings with tweezers.
-
Plant them in a fine, sterile orchid mix (such as sphagnum moss or fine bark).
-
Mist lightly and keep them in a humid, shaded spot until established.
Gradually introduce them to brighter light over time.
Step 7: Long-Term Care
Orchids grown from seed will take 2 to 5 years to bloom, depending on the species. Though the process is slow, the result—a blooming orchid you’ve nurtured from seed—is deeply satisfying.
Care tips:
-
Keep humidity moderate to high (50–70%).
-
Water lightly, allowing the medium to dry slightly between waterings.
-
Feed monthly with a diluted orchid fertilizer during the growing season.
Rotate plants periodically to ensure even exposure to light and prevent leaning.
Conclusion
Germinating orchids on your sunny windowsill is a slow but incredibly rewarding journey. With proper sterilization, consistent light, and patient care, you can successfully grow orchids from seed and experience their full life cycle. It’s a perfect project for plant lovers who appreciate the beauty of slow gardening and the satisfaction of nurturing life from its tiniest beginnings. Turn your sunny windowsill into a miniature greenhouse and enjoy the wonder of growing your own exotic orchids from scratch.


