Growing a chestnut tree from seed can be a rewarding and educational experience, especially if you enjoy cultivating plants from their earliest stages. Whether you’re doing this as a gardening project or with the intention of eventually harvesting your own chestnuts, the process is simpler than you might think. With patience and a few key techniques, you can germinate chestnuts at home and nurture them into healthy young trees.
This article will walk you through each step of germinating chestnuts and growing a chestnut tree, including important care tips to ensure long-term success.
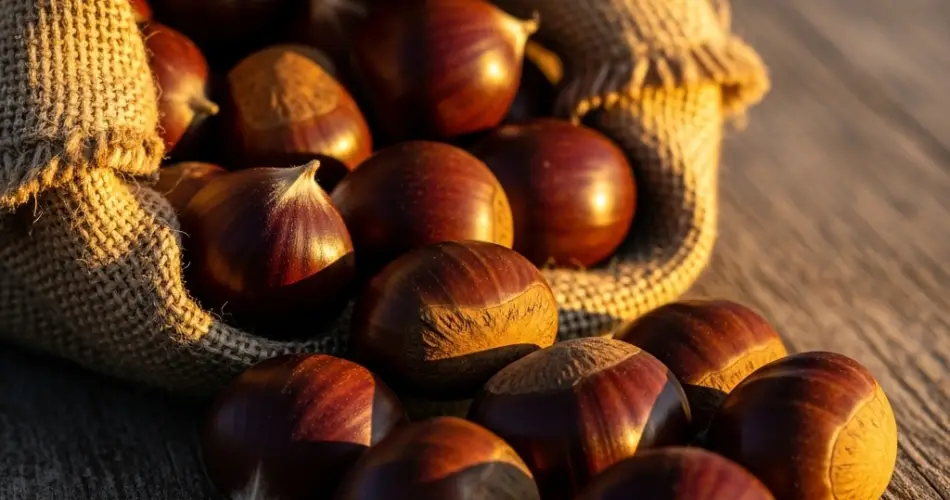
Step 1: Collecting Fresh Chestnuts
The first and most important step in growing a chestnut tree is sourcing fresh, viable seeds. For the best results, collect chestnuts directly from a tree in the fall when they naturally drop to the ground. These will be fresh and moist, making them more likely to germinate. If that’s not possible, you can purchase raw, untreated chestnuts—but make sure they are not roasted or dried, as those will not germinate.
Avoid using store-bought chestnuts unless they are confirmed to be raw and fresh. Check for firmness and intact shells. A healthy chestnut should be glossy and slightly firm to the touch.
Step 2: Cold Stratification
Chestnuts require a cold stratification period to break dormancy and trigger germination. This step mimics natural winter conditions. Here’s how to do it:
-
Soak the chestnuts in lukewarm water for 24 hours to rehydrate them and test for viability. Discard any that float—they are likely hollow or non-viable.
-
Wrap the good seeds in moist paper towels or sphagnum moss, then place them inside a plastic bag or container.
-
Refrigerate them for about 8–12 weeks at a temperature of around 34°F to 41°F (1°C to 5°C). Make sure they do not freeze, and check weekly for mold or early root development.
This cold period simulates winter and prepares the seeds for spring germination.
Step 3: Germinating the Seeds
After the stratification period, some chestnuts may already begin to sprout roots inside the refrigerator. Once the taproot is visible (about 1–2 cm long), it’s time to plant them.
-
Use deep containers or biodegradable pots because chestnuts send down a long taproot early in development.
-
Plant with the root down, about 2–3 cm deep, with the top of the seed just under the soil surface.
-
Use well-draining, loose soil, such as a mix of potting soil and sand or perlite. Water lightly to keep the soil moist but not soggy.
Place the pots in a bright, warm spot with indirect light. Maintain temperatures around 65°F to 75°F (18°C to 24°C).
Step 4: Seedling Care
Once the seedlings emerge, they grow relatively quickly. Here are some tips for care during this early phase:
-
Water regularly but do not overwater. The soil should stay slightly moist.
-
Provide sufficient light, such as on a windowsill or under grow lights.
-
As the seedlings grow, you may need to transplant them into larger containers to accommodate the developing taproot.
-
Keep them sheltered from strong wind or direct, harsh sunlight.
At this stage, patience is key. In a few months, your chestnut seedling will be strong enough to consider transplanting outdoors.
Step 5: Transplanting Outdoors
After the last frost and once your seedling is at least 15–20 cm (6–8 inches) tall with several strong leaves, you can transplant it outdoors.
-
Choose a sunny, well-drained location with enough space. Chestnut trees can grow quite large—up to 30 meters (100 feet) in ideal conditions.
-
Dig a deep hole to accommodate the long taproot without bending it.
-
Water well after transplanting and mulch around the base to retain moisture and suppress weeds.
Protect young trees from rodents and deer, which may be attracted to the tender shoots.
Long-Term Care
Chestnut trees grow relatively fast and begin producing nuts within 5 to 7 years under ideal conditions. Here’s how to care for them as they mature:
-
Water during dry spells, especially in the first couple of years.
-
Fertilize lightly in spring if the soil lacks nutrients.
-
Prune sparingly to maintain structure and remove any dead or damaged branches.
-
Keep an eye out for pests like chestnut weevils or fungal blights. Healthy trees are more resistant, so keeping stress low is essential.
It’s worth noting that some chestnut species, especially American chestnuts, may be vulnerable to chestnut blight, a fungal disease. Growing resistant hybrids or Chinese chestnuts can help reduce risk.
Final Thoughts
Germinating chestnuts and growing a tree from seed is not only possible but incredibly fulfilling. While the process takes time and care, the rewards—a thriving tree and perhaps even your own chestnut harvest—are well worth the effort. Follow the steps carefully, provide consistent care, and your chestnut tree will grow into a long-lasting and beautiful part of your garden or orchard.


