Anthuriums are prized houseplants known for their vibrant, waxy flowers and lush, heart-shaped leaves. Their long-lasting blooms and bold tropical appearance make them a popular choice for home gardeners and interior decorators alike. While they’re often bought as mature plants, growing anthurium from seed is a rewarding process—and yes, even complete beginners can do it with the right guidance.
If you’ve never gardened before but are fascinated by the idea of germinating your own anthurium, don’t worry. This guide will walk you through the entire process step-by-step in a way that’s simple, clear, and manageable.
What You’ll Need
Before starting, gather the following supplies:
-
Fresh anthurium seeds (or seeds harvested from ripe berries)
-
Small seedling pots or trays
-
Sterile seed-starting mix or sphagnum moss
-
Spray bottle or watering can with fine spout
-
Clear plastic cover or humidity dome
-
Warm, well-lit space (indirect sunlight or grow light)
You don’t need fancy equipment—just a clean, warm, and humid environment for successful germination.
Step 1: Understanding Anthurium Seeds
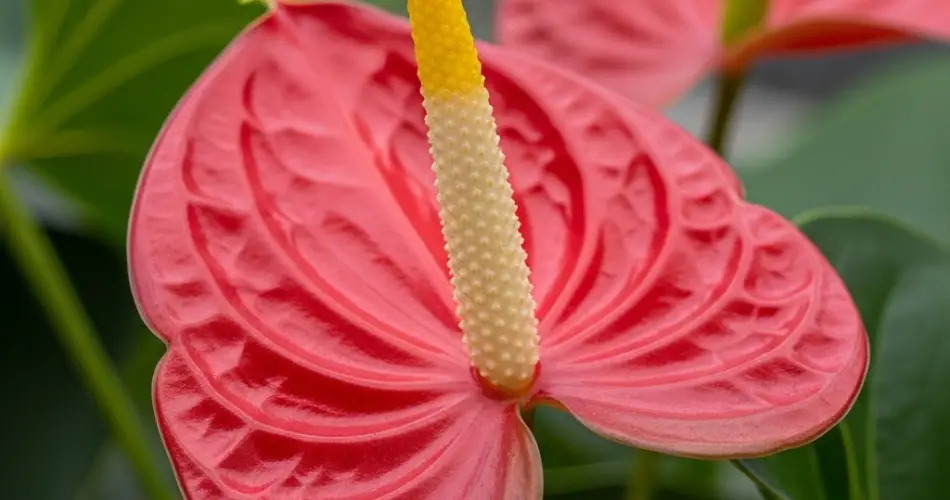
Anthurium seeds are tiny and typically harvested from the berries produced by the plant’s spadix (the central spike surrounded by the colorful spathe). Seeds are most viable when they are fresh—ideally, within a few days of harvesting.
If buying seeds online, make sure they come from a trusted source, as old or improperly stored seeds may not germinate.
Step 2: Prepare the Growing Medium
Anthuriums need a light, well-aerated, and moisture-retaining medium to germinate. The best options include:
-
Finely shredded sphagnum moss
-
Coco coir mixed with perlite
-
Seed-starting mix that retains moisture without becoming soggy
Moisten the medium with water until it’s damp but not dripping. Fill small pots or seed trays with this mix, and gently press the surface flat.
Step 3: Sow the Seeds
Place each seed on the surface of the growing medium. Do not bury them—anthurium seeds need light to germinate. Lightly press them into the surface to ensure good contact without covering them.
Space the seeds 1–2 inches apart if sowing multiple seeds in one container.
Step 4: Create a Humid Environment
Humidity is crucial for seed germination. Cover the pot or tray with a clear plastic lid, plastic wrap, or a humidity dome to retain moisture. This mimics the natural tropical environment where anthuriums grow.
Place the container in a warm area with indirect light, ideally between 75°F and 85°F (24–29°C). Avoid direct sunlight, which can dry out the medium and overheat the seeds.
Step 5: Maintain Moisture and Monitor
Check your seeds daily. Keep the growing medium consistently moist but not soggy. Use a spray bottle to mist the surface as needed. Watch for signs of mold or mildew—good ventilation and sterile tools will reduce the risk.
With proper conditions, germination usually occurs within 7 to 30 days, though it can sometimes take a bit longer depending on temperature and seed freshness.
Step 6: Transplanting Seedlings
Once your anthurium seeds sprout and grow tiny leaves, they’re ready to be transplanted. Carefully transfer each seedling into its own pot filled with a light orchid mix or a combination of bark, perlite, and peat moss.
Anthurium seedlings are fragile at this stage. Use a small spoon or chopstick to gently lift and move the young plants without damaging their roots.
Place the pots in a warm, bright spot with indirect light, and continue to water regularly to keep the soil slightly moist.
Step 7: Encourage Growth
As the seedlings develop, their iconic heart-shaped leaves will gradually appear. Here’s how to support healthy growth:
-
Light: Bright, filtered light encourages strong leaves.
-
Humidity: Anthuriums love high humidity. Mist regularly or use a pebble tray with water beneath the pot.
-
Watering: Keep the soil slightly moist but not waterlogged.
-
Feeding: After 2–3 months, use a diluted liquid houseplant fertilizer once a month.
These tropical beauties grow slowly from seed, but with patience and consistency, you’ll see impressive results.
Step 8: Troubleshooting Common Issues
-
No germination: This may be due to old seeds or low temperatures. Try again with fresh seeds and ensure warmth.
-
Mold growth: Improve air circulation and avoid overwatering.
-
Yellowing leaves: This can be a sign of too much water or poor drainage.
By observing your seedlings and adjusting care as needed, you can avoid most problems before they become serious.
Final Thoughts
Growing anthurium from seed may sound intimidating, but it’s entirely doable—even for someone who’s never touched a gardening trowel. With a warm environment, a little patience, and attention to moisture, you can transform tiny seeds into elegant, flowering houseplants.
Watching your anthurium grow from seed to stunning tropical specimen is a deeply satisfying experience. It’s a gentle reminder that even small beginnings can lead to vibrant, lasting beauty.


