Chives are one of the easiest perennial herbs to grow, and with proper care, they can provide flavorful harvests year after year. One simple way to keep your chive plants vigorous and productive is by dividing them regularly. Dividing chives not only revitalizes older clumps but also gives you more plants to spread around your garden or share with others. In this article, we’ll explore when and how to divide chives for continuous harvests and healthier plants.
Why Divide Chives?
Chives grow in dense clumps, and over time, these clumps become overcrowded. When this happens, you may notice that the plant begins to produce fewer leaves or that the leaves are thinner and less flavorful. Dividing the clump helps:
-
Rejuvenate growth: It gives the roots space to spread out and absorb nutrients more efficiently.
-
Prevent disease and rot: Crowded roots hold moisture and can lead to rot or fungal issues.
-
Increase your harvest: More plants mean more leaves to snip for your cooking needs.
-
Expand your herb garden: Each divided section can grow into a full, mature chive plant.
Best Time to Divide Chives
The ideal time to divide chives is either in early spring or in fall, depending on your climate. Spring division should be done just as new growth starts, giving the plant plenty of time to recover during the growing season. Fall division should happen at least four weeks before the first expected frost to allow the plants to re-establish.
In warmer climates, early spring is usually preferred, while in cooler regions, fall divisions are often successful if done in time.
How Often Should You Divide?
For the healthiest and most productive plants, divide your chives every 2 to 3 years. This keeps the clump from getting too woody or congested and promotes strong, fresh growth.
Tools You’ll Need
-
Garden spade or fork
-
Sharp knife or garden scissors
-
Small containers or pots (if you’re not replanting directly)
-
Compost or organic matter for soil enrichment
-
Watering can or hose
Step-by-Step Guide to Dividing Chives
1. Water the plant a day before dividing.
This softens the soil and reduces stress on the plant during the process.
2. Dig up the clump.
Using a spade or garden fork, carefully dig around the base of the chive plant. Try to lift the entire root ball without damaging the roots.
3. Gently shake off excess soil.
This makes it easier to see where to divide the clump. Gently pull apart the roots with your hands. If the clump is too dense, use a sharp knife to slice it into smaller sections.
4. Divide into sections.
Each division should have at least 5–10 healthy bulbs or shoots. This ensures that each new plant has a strong start and can recover quickly.
5. Replant immediately.
Place each division into prepared soil enriched with compost. Chives prefer full sun and well-drained soil. Space the divisions 6 to 8 inches apart to give them room to grow.
6. Water thoroughly.
After planting, water the chives well to help the roots settle in. Keep the soil consistently moist (but not soggy) during the first few weeks.
Container Division Option
If you don’t have garden space, chives also do well in containers. After dividing, you can replant smaller sections into pots. Use a good-quality potting mix with some added compost, and make sure your container has drainage holes. Keep them on a sunny windowsill or patio, and water regularly.
Ongoing Care After Division
Once replanted, chives usually bounce back quickly. Within a few weeks, you’ll see new shoots. Avoid harvesting heavily for the first month to allow the plants to re-establish. After that, you can resume regular harvests by snipping the leaves down to about 1–2 inches above the soil.
Also, consider adding a layer of mulch to help retain moisture and suppress weeds. Light fertilizing every few weeks with an organic liquid fertilizer can also encourage strong growth.
Final Tips
-
Always use clean tools to avoid spreading diseases.
-
Don’t divide chives in extreme heat or when the soil is too dry.
-
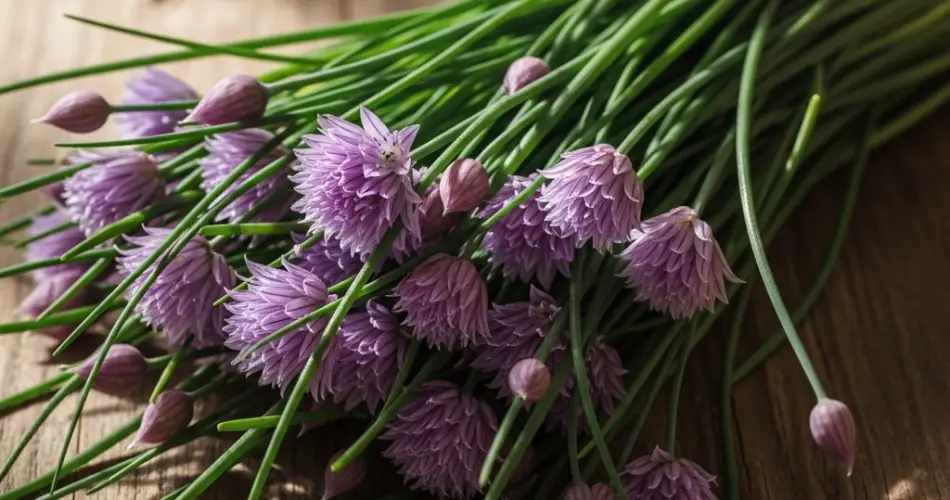
If flowers appear, feel free to leave a few for pollinators, but remove most to encourage more leaf production.
-
You can also freeze or dry excess chive leaves if you end up with more than you can use fresh.
By dividing your chives regularly, you’ll not only keep the plants healthy and thriving but also ensure a continuous supply of fresh herbs for your kitchen. Whether you’re growing them in a garden bed or a pot, a little maintenance goes a long way in keeping your chive harvest going season after season.


