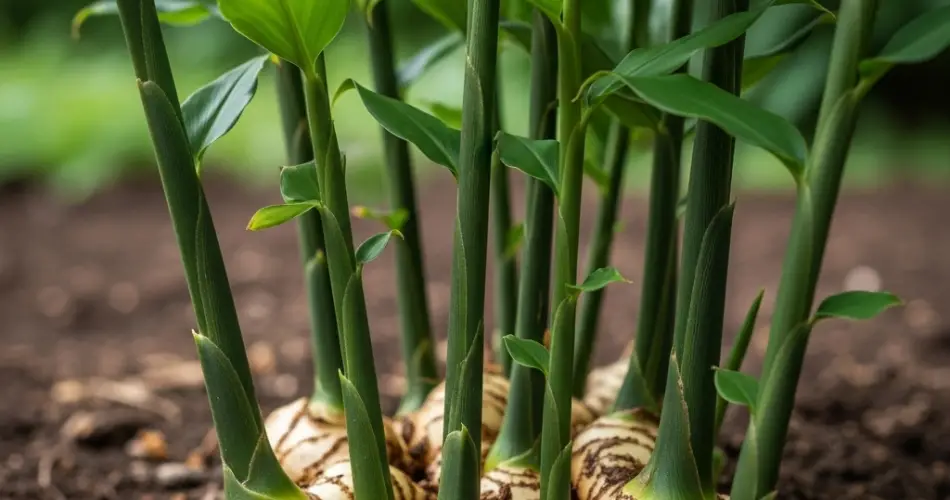
Ginger (Zingiber officinale) is a versatile and flavorful root that’s not only a kitchen staple but also an attractive plant to grow at home. Whether you want a steady supply of fresh ginger for cooking or simply enjoy the tropical look of its lush green leaves, cultivating ginger is easier than you might think—even for beginners.
With the right conditions, you can grow ginger successfully in containers, on balconies, patios, or even indoors near a sunny window. The best part? You can grow it from the ginger root (rhizome) you buy at the grocery store, making it one of the most accessible crops for home gardeners.
Here’s how to grow ginger from seed (rhizome) to lush, healthy plant—faster than you ever thought possible.
Why Grow Ginger at Home?
Ginger is a low-maintenance plant that thrives in warm, humid environments. It doesn’t require constant attention and can be grown with minimal space. When cultivated properly, it yields aromatic rhizomes that can be harvested throughout the growing season. Plus, the broad leaves and tropical appeal make it an attractive addition to your home or garden.
Other benefits include:
-
Fresh, chemical-free ginger at your fingertips
-
Savings on store-bought ginger
-
Educational and satisfying gardening experience
-
Great container plant for indoor or outdoor spaces
What You’ll Need
To get started, you’ll need:
-
Fresh ginger root (preferably organic)
-
A wide, shallow pot with drainage holes
-
Well-draining potting mix (a mix of compost, coco peat, and sand works well)
-
Warm, humid environment or a sunny windowsill
Look for ginger rhizomes that are firm and plump, with visible “eyes” or buds. These are small growth points where new shoots will emerge.
Step-by-Step: How to Grow Ginger Quickly
1. Prepare the Ginger Rhizomes
Cut the ginger into pieces about 1–2 inches long, ensuring each piece has at least one visible eye. Let the cut pieces dry for a day to prevent rot once planted.
2. Soak for a Boost (Optional)
To speed up sprouting, soak the rhizome pieces in warm water for a few hours or overnight. This softens the skin and encourages faster bud development.
3. Planting
Choose a wide, shallow container to allow the ginger to spread horizontally. Fill it with loose, rich potting mix. Plant each piece of ginger about 1–2 inches below the surface with the eye facing upward. Space pieces a few inches apart.
Water lightly after planting, and place the pot in a warm, humid area with indirect light.
Growing Conditions for Speedy Results
Light and Temperature
Ginger thrives in warm temperatures between 70–90°F (21–32°C). Provide bright, indirect sunlight or dappled shade. Avoid direct scorching sun, which can burn the leaves.
If growing indoors, a south-facing window or under grow lights works well.
Watering
Keep the soil consistently moist but not soggy. Water when the top inch of soil feels dry. Ginger doesn’t like to dry out completely but will rot if overwatered.
Humidity
Ginger loves humidity. Mist the leaves regularly or place a tray of water nearby to raise moisture levels, especially in dry indoor environments.
Feeding
Feed monthly with a diluted liquid fertilizer or compost tea to promote vigorous growth. A balanced fertilizer or one high in potassium works well.
How to Speed Up Growth
To speed up your ginger’s development:
-
Start early in spring for a full growing season
-
Pre-sprout indoors before transferring to containers outside
-
Use warm water for watering to encourage root activity
-
Cover pots with clear plastic to create a mini greenhouse effect (remove daily for air circulation)
Harvesting Ginger
Ginger takes about 8–10 months to mature fully, but you can start harvesting small amounts as early as 4–5 months.
To harvest:
-
Gently dig into the soil near the edges
-
Snap off a piece of rhizome without disturbing the rest of the plant
-
Cover the roots again and continue growing
For a full harvest, wait until the leaves begin to yellow and die back. At this point, you can dig up the entire plant, clean the rhizomes, and store or replant a portion for the next cycle.
Common Issues and Solutions
-
Yellow Leaves: Often caused by overwatering or poor drainage. Make sure your pot has good drainage and adjust watering frequency.
-
Slow Sprouting: Ensure the rhizomes have visible buds and are kept warm. Be patient—sprouting can take 2–4 weeks.
-
Pests: Ginger is relatively pest-resistant but watch out for spider mites or aphids. Treat with neem oil if needed.
Final Thoughts
Growing ginger at home from rhizome to full plant is an easy, low-risk gardening project with a delicious reward. By starting with fresh kitchen ginger, giving it a little warmth, and maintaining consistent moisture, you’ll soon enjoy beautiful tropical foliage and a steady supply of fragrant rhizomes.
Whether you’re an experienced gardener or just trying your hand at plants for the first time, ginger is a forgiving and productive choice. With a few simple steps and a bit of patience, your ginger plant will go from root to radiant in record time.


