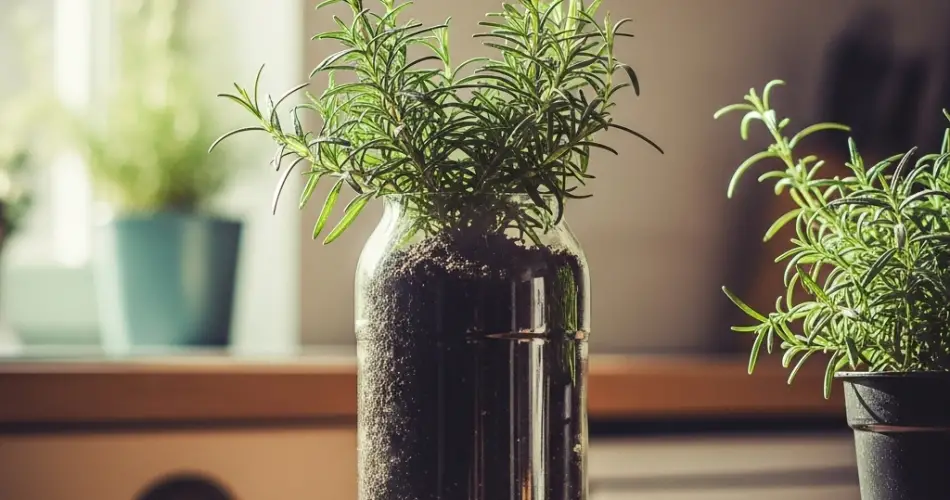
Rosemary is a woody, aromatic herb prized for its savory flavor and decorative charm. It’s widely used in cooking, herbal remedies, and even natural air fresheners. While traditionally grown in gardens, rosemary can thrive just as well in containers—and surprisingly, even in an upcycled plastic bottle. Building a bottle planter for rosemary is a great way to grow your own herbs while reusing plastic waste in a sustainable and space-saving manner.
Whether you’re working with a sunny kitchen window, a balcony, or a small patio, this DIY rosemary planter is perfect for urban gardeners, beginners, or anyone looking to bring fresh herbs into their daily life.
Why Use Plastic Bottles to Grow Rosemary?
Plastic bottles are one of the most commonly discarded household items. Instead of sending them to landfills, you can repurpose them into compact and efficient planters. Rosemary’s hardy nature and low water needs make it an ideal candidate for container gardening—even in bottles.
Benefits of using plastic bottles for rosemary:
-
Cost-free and eco-friendly
-
Reduces single-use plastic waste
-
Ideal for small spaces, balconies, and windowsills
-
Rosemary’s deep roots thrive in narrow, tall containers
-
Easy to move, hang, or stack in vertical gardens
With just a few tools and materials, you can turn a plastic bottle into a practical and attractive herb planter.
Materials You’ll Need
Before you begin, gather the following:
-
A clean 1.5 or 2-liter plastic bottle
-
Scissors or a craft knife
-
Potting mix (well-draining and slightly sandy)
-
Small stones or mesh (optional, for better drainage)
-
Rosemary cutting or small rosemary plant
-
Watering can or spray bottle
-
Tray or saucer to catch excess water
Optional additions include string or wire for hanging, and decorative tape or paint for aesthetic appeal.
Step 1: Prepare the Plastic Bottle
Choose a sturdy plastic bottle—one that can stand upright and won’t crack under pressure.
-
Clean the bottle thoroughly and remove any labels or glue.
-
Cut off the top third of the bottle to create an opening wide enough to work with.
-
Puncture several drainage holes in the bottom using scissors, a knife, or a heated nail. This step is essential to prevent overwatering.
-
Optional: Place a layer of small pebbles or mesh at the bottom for extra drainage.
-
Fill the bottle with potting mix, leaving about an inch of space at the top.
Rosemary prefers dry, well-draining soil. A cactus or Mediterranean herb mix works best. You can also mix regular potting soil with sand or perlite.
Step 2: Plant the Rosemary
You can plant rosemary from seeds, a cutting, or a starter plant.
From a cutting:
-
Take a 4–6 inch cutting from a healthy rosemary stem.
-
Remove the leaves from the bottom half.
-
Let it sit in water until roots develop (7–14 days), then plant it in your bottle.
From a starter plant:
-
Gently loosen the root ball before planting.
-
Place the plant into the soil and pat down lightly to secure it.
-
Water sparingly to help the plant settle in.
Step 3: Choose the Right Location
Rosemary loves warmth and sunlight. Place your bottle planter in a location that receives at least 6–8 hours of direct sun daily.
Best spots include:
-
A sunny windowsill
-
A balcony with full sun
-
A well-lit kitchen counter near a window
If growing indoors and natural light is limited, consider using a grow light to supplement sunlight exposure.
Step 4: Watering and Maintenance
Rosemary is drought-tolerant and prefers drier conditions.
Watering tips:
-
Allow the top 1–2 inches of soil to dry out between waterings.
-
Water deeply but infrequently.
-
Avoid letting the roots sit in water—empty the catch tray if it fills.
-
Reduce watering in cooler months or during dormant periods.
Feeding tips:
-
Feed with a balanced, diluted liquid fertilizer every 4–6 weeks.
-
Avoid over-fertilizing, as this can affect flavor and health.
Step 5: Pruning and Harvesting
Regular pruning helps keep rosemary compact and encourages bushy growth.
Pruning and harvesting tips:
-
Once your plant is about 6 inches tall, begin trimming the tips.
-
Snip just above a leaf pair to encourage branching.
-
Never harvest more than one-third of the plant at once.
-
Use fresh rosemary immediately or dry for long-term storage.
Pruning also helps prevent the plant from becoming woody and leggy.
Troubleshooting Common Issues
-
Yellowing leaves: Often caused by overwatering or poor drainage. Let soil dry before the next watering.
-
Sparse growth: May be due to lack of sunlight. Move the planter to a sunnier spot.
-
Leggy stems: Indicates the plant needs more pruning or better light. Cut back and rotate regularly.
-
Pests: Rosemary is relatively pest-resistant, but if needed, spray with water or neem oil.
Conclusion
Building a bottle planter for rosemary is a simple, sustainable way to bring fresh herbs into your home while reusing materials you already have. With the right soil, sunlight, and a little care, your rosemary plant will thrive and reward you with fragrant leaves for cooking, tea, and natural remedies. Whether on a windowsill or a hanging bottle garden, your rosemary in a bottle will be both practical and beautiful.


