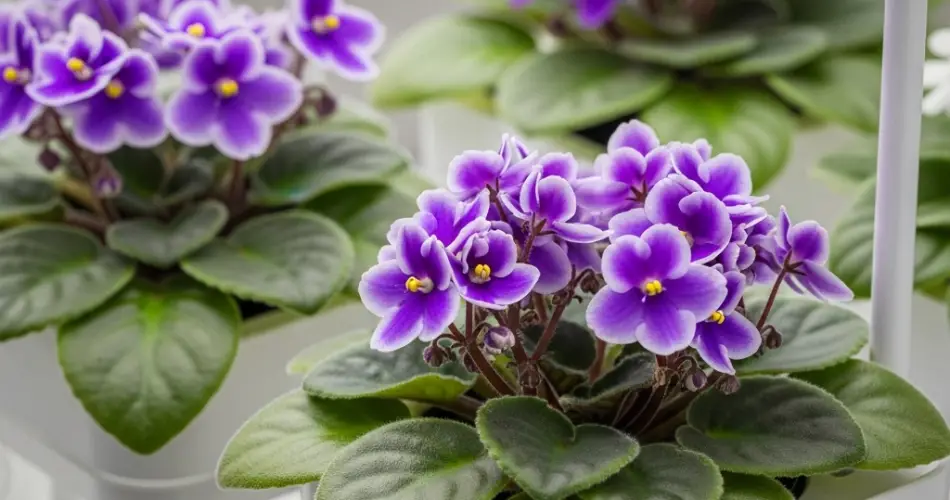

African violets (Saintpaulia) are popular indoor plants cherished for their velvety leaves and delicate, jewel-toned flowers. While they are generally easy to grow, they can be sensitive to improper watering—too much moisture can lead to rot, and too little causes stunted growth. One of the best solutions to this challenge is using self-watering containers, which help maintain the perfect moisture balance for these finicky beauties.
Self-watering containers provide a consistent water supply from below, encouraging strong root development and reducing the risk of overwatering. This method is ideal for beginners and seasoned gardeners alike, especially those who might forget to water regularly or travel frequently.
Why Self-Watering Containers Work for African Violets
African violets thrive in evenly moist soil but are highly susceptible to crown rot if water touches their leaves or stays in the top layer of soil for too long. Self-watering containers prevent these issues by:
-
Delivering moisture from the bottom up, keeping foliage dry
-
Providing consistent moisture, ideal for stable growth
-
Reducing watering frequency, making care more manageable
-
Preventing overwatering, thanks to a separate water reservoir
-
Encouraging healthy roots, as plants only take up what they need
This setup mimics the plant’s natural habitat in East African cloud forests, where roots draw moisture from constantly damp but well-drained soil.
Materials You’ll Need
-
A healthy African violet plant or a rooted cutting
-
A self-watering container or DIY setup
-
Light, airy potting mix (specifically for African violets or homemade blend)
-
Room-temperature water
-
A wick (cotton cord or synthetic fiber, if using a DIY system)
-
Optional: Fertilizer formulated for African violets
Step 1: Understand the Self-Watering System
A self-watering pot typically has two parts:
-
The inner pot: This holds the plant and the potting mix. It has a hole or channel at the bottom where the wick connects to the water reservoir.
-
The outer reservoir: This holds water and feeds the plant through the wick.
If you don’t have a pre-made self-watering pot, you can make one using two plastic containers (such as yogurt cups or repurposed bottles). One acts as the reservoir, and the other holds the plant and soil. A wick, inserted through the bottom of the inner pot, draws water up as needed.
Step 2: Prepare the Soil and Container
African violets need well-draining, airy soil to prevent root rot. Use a commercial African violet mix or create your own using:
-
1 part peat moss or coconut coir
-
1 part perlite
-
1 part vermiculite
Moisten the soil lightly before use so it’s damp but not wet.
If using a DIY self-watering pot:
-
Cut a piece of wick and thread it through the bottom of the inner container.
-
Ensure a portion of the wick remains in the soil while the rest reaches the water below.
-
Fill the inner pot with prepared soil, wrapping the wick around the bottom as you fill.
Step 3: Planting the African Violet
-
Remove the African violet from its original pot, gently loosening the roots.
-
Trim off any damaged or rotting roots with clean scissors.
-
Place the plant in the new container, positioning it so the crown (where the leaves meet the root) is just above the soil surface.
-
Fill in around the roots with soil, pressing lightly to remove air pockets.
-
Avoid burying the crown, which can lead to rot.
Once planted, allow the wick to begin drawing up moisture before topping off the reservoir. Let the soil become uniformly moist over the next few hours.
Step 4: Light and Temperature
African violets thrive in:
-
Bright, indirect light – near an east or north-facing window is best
-
Stable temperatures – between 65–75°F (18–24°C)
-
Moderate humidity – they dislike very dry air
If your home has low light, consider using fluorescent or LED grow lights placed a few inches above the plant. Avoid direct sun, which can scorch the leaves.
Step 5: Ongoing Care and Maintenance
Self-watering containers simplify much of the care process, but routine attention is still needed:
-
Refill the reservoir when it’s low—typically every 5–7 days.
-
Flush the soil once a month by watering from the top to remove salt buildup.
-
Fertilize lightly every 4–6 weeks with a diluted fertilizer made for African violets.
-
Prune dead flowers and leaves regularly to encourage new growth.
-
Rotate the pot occasionally to promote even growth on all sides.
Avoid splashing water on the leaves during any top watering, as this can cause spotting or rot.
Common Issues and Tips
-
Yellowing leaves: Often a sign of overwatering or poor drainage. Make sure the soil isn’t soggy and check the wick system.
-
Slow growth: Could be due to insufficient light or nutrient deficiency—adjust lighting or add fertilizer.
-
Crown rot: Always keep the plant’s crown above the soil line and dry.
Final Thoughts
Growing African violets in self-watering containers offers a reliable and low-stress way to keep these beautiful plants happy and healthy. With their rich blooms and fuzzy leaves, they bring cheer to any room—and with the help of a smart watering system, you can enjoy their charm without daily attention.
This method blends practicality with beauty, making it perfect for busy plant lovers, new gardeners, or anyone looking to reduce plant-care guesswork. Requiring only minimal effort and materials, self-watering containers help your African violets thrive all year long.


