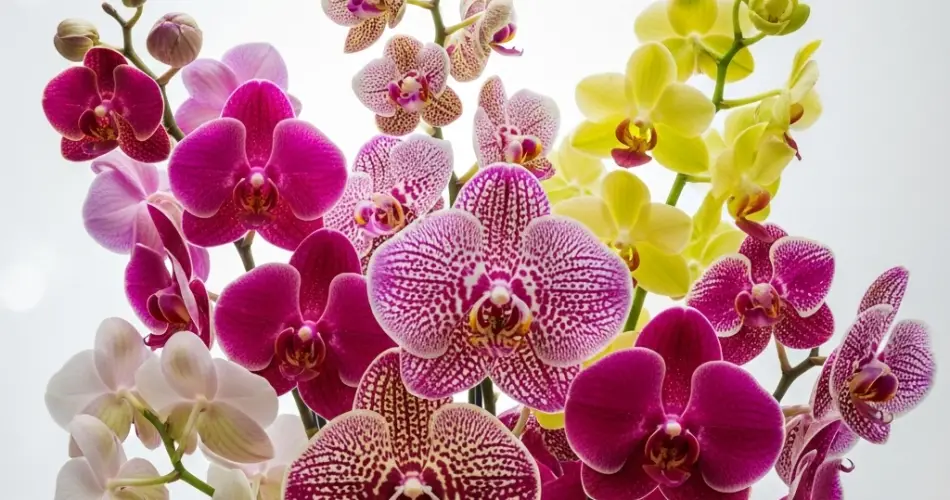
Orchids are among the most beautiful and rewarding houseplants, prized for their stunning, delicate flowers that can brighten any room. However, one of the most common challenges orchid growers face is how to make their orchids bloom again after the flowers have faded. Many orchids bloom only once a year, and without proper care, the wait for the next flowering can feel endless.
If your orchid has just finished blooming and you’re eager to see those gorgeous flowers again, there are several simple but crucial steps you can take immediately after blooming to encourage a healthy re-bloom. This guide will help you understand what to do right after your orchid’s flowers fall, ensuring it stays healthy and productive for seasons to come.
Why Proper Care After Blooming Matters
Once your orchid’s flowers fade and eventually fall off, the plant enters a resting or recovery phase. During this period, the orchid focuses energy on strengthening roots, growing new leaves, and developing flower spikes for the next blooming cycle.
If you neglect the orchid after blooming, it can become weak, stressed, and less likely to flower again. But with the right post-bloom care, you’ll encourage robust growth and stimulate the plant to produce new flower buds in less time.
Step 1: Remove Spent Flowers Carefully
Once the flowers have wilted and dried, it’s time to remove the spent flower stalks (called spikes or canes) properly. How you do this depends on the type of orchid you have:
-
For Phalaenopsis orchids (Moth Orchids): If the flower spike is still green and healthy, trim just above a node (a small bump on the spike) about an inch from the base. This may encourage a secondary spike to grow from that node, producing more flowers. If the spike is brown and dried, cut it all the way back to the base near the leaves.
-
For Dendrobium or Cattleya orchids: Cut the flower spike off entirely at the base once blooming is over, as these species do not rebloom from old spikes.
Proper pruning prevents disease and redirects the plant’s energy toward new growth and blooming.
Step 2: Adjust Watering and Feeding
After blooming, your orchid still needs consistent moisture but slightly less water than during active flowering. Keep the potting medium just moist, not soggy, allowing the top layer to dry out between watering.
This is also the ideal time to provide a balanced, diluted fertilizer specifically formulated for orchids. Feeding once every two weeks helps replenish nutrients lost during flowering and supports new root and leaf development.
A fertilizer high in phosphorus and potassium encourages flower spike formation, so look for formulas labeled “bloom booster” or “flowering fertilizer.”
Step 3: Provide the Right Light Conditions
Light plays a crucial role in orchid reblooming. After flowering, your orchid needs bright, indirect light to photosynthesize effectively and build energy reserves.
Avoid direct sunlight, which can scorch leaves, but place your orchid near a window with filtered light or under grow lights if natural light is limited. Adjusting light exposure to meet the plant’s needs after blooming helps initiate new flower spike development.
Step 4: Maintain Optimal Temperature and Humidity
Orchids thrive when their environment mimics natural tropical conditions. After blooming, maintaining daytime temperatures between 70–80°F (21–27°C) and nighttime temperatures about 10 degrees cooler encourages healthy growth.
Additionally, orchids prefer humidity levels around 50–70%. You can increase humidity by misting leaves lightly, placing a humidity tray under the pot, or using a humidifier. Proper humidity and temperature promote vigorous root and spike development.
Step 5: Repot if Necessary
If your orchid has finished blooming and the potting medium looks decomposed, soggy, or compacted, it’s time to repot. Orchids generally need repotting every 1-2 years to ensure healthy root growth and prevent root rot.
Use a well-draining orchid mix made from bark, sphagnum moss, or coconut husk chips. Gently remove old media from roots and trim any dead or mushy roots before placing the plant in fresh substrate.
Repotting rejuvenates the orchid and encourages new root growth, essential for future blooms.
Step 6: Be Patient and Consistent
After following these care steps, patience is key. Orchids can take several weeks to months to develop new flower spikes, depending on the species and growing conditions.
Consistency in watering, feeding, light, and humidity will pay off. Regularly monitor your orchid’s health, and watch for new green spikes emerging from the base or nodes—signs your orchid is preparing to bloom again.
Bonus Tip: Use Natural Bloom Enhancers
Some growers swear by natural boosters such as diluted seaweed extract, aloe vera juice, or cinnamon powder dusted on cut stems to stimulate growth and prevent infection. These can be used alongside proper orchid care to support reblooming.
Conclusion
Getting your orchid to bloom again after the initial flowering may seem tricky, but with proper care, it’s entirely achievable. The key is to treat your orchid gently after blooming—prune spent flowers carefully, adjust watering and feeding, ensure the right light and humidity, and repot when necessary.
By following these post-bloom care tips, you’ll help your orchid regain strength and prepare for a beautiful re-bloom. Your patience and attention will be rewarded with fresh flowers that bring elegance and life to your home again and again.


