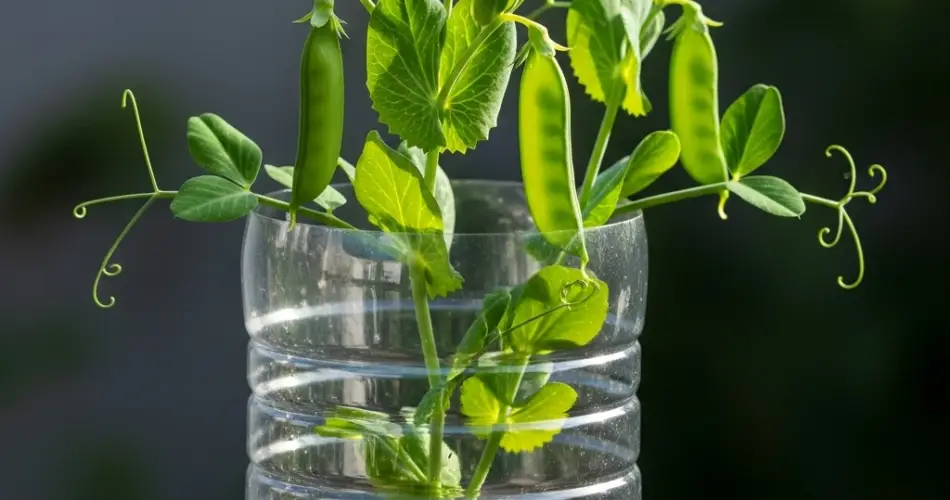
Growing your own vegetables doesn’t require a yard or raised garden beds. With just a few plastic bottles and some basic gardening supplies, you can create a compact and sustainable pea garden right at home. This DIY project is perfect for small balconies, sunny windowsills, patios, or any spot with a few hours of sunlight. Peas thrive in cooler weather and are surprisingly easy to grow in containers, making them ideal for a bottle-based garden.
This guide walks you through the steps of creating a productive pea garden using recycled plastic bottles.
Why Grow Peas in Plastic Bottles?
Using plastic bottles for gardening is a smart way to repurpose household waste. They’re lightweight, easy to move, and perfect for small-scale or vertical gardening. Peas, especially dwarf or bush varieties, grow well in containers and don’t need deep soil, making them a great match for bottle planters.
You’ll not only reduce plastic waste but also enjoy a fresh supply of crisp, sweet peas at your fingertips.
Materials You’ll Need
-
1.5 or 2-liter plastic bottles (clear or colored)
-
Quality potting mix or a compost-soil blend
-
Pea seeds (look for dwarf, bush, or container-friendly varieties)
-
Scissors or a craft knife
-
A screwdriver or nail for making drainage holes
-
Twine or small sticks for support
-
Watering can or spray bottle
-
Optional: hooks, wire, or rope for hanging setups
Step 1: Prepare the Bottles
-
Clean Thoroughly
Rinse the bottles to remove any residue. Peel off labels if possible to allow better light penetration and air circulation. -
Cut Openings
There are two popular ways to set up your bottle garden:-
Vertical planter: Cut a window into the side of the bottle for horizontal placement on a shelf.
-
Hanging planter: Cut the top off the bottle and use the bottom portion as a planting cup.
-
-
Add Drainage Holes
Use a nail, screwdriver, or hot pin to poke holes at the bottom of each bottle. Proper drainage prevents waterlogging and root rot.
Step 2: Add Soil and Sow Seeds
-
Fill the Bottles
Add potting mix to each bottle, leaving about 2–3 cm at the top to avoid overflow when watering. -
Plant the Seeds
Sow 2–3 pea seeds per bottle about 2 cm deep. Space them slightly apart to avoid crowding. Once the seedlings sprout and develop a few leaves, thin them down to the healthiest one or two plants per container. -
Water Gently
Use a spray bottle or watering can to moisten the soil evenly. Keep the soil moist but not soggy.
Step 3: Provide Light and Support
-
Find a Sunny Spot
Peas prefer cooler temperatures and at least 4–6 hours of sunlight daily. A bright balcony, window ledge, or patio is perfect. -
Support for Vines
Even dwarf varieties benefit from support. Use sticks, bamboo skewers, or string tied to a vertical surface to help your pea vines climb.
Caring for Bottle-Grown Peas
-
Watering: Bottles tend to dry out faster than traditional pots. Check the soil moisture daily and water when the top inch feels dry.
-
Fertilizing: Peas fix their own nitrogen, so they don’t need heavy feeding. However, a mild liquid fertilizer once or twice during the growing season can help promote pod production.
-
Pest Control: Peas are generally pest-resistant in containers. If aphids appear, rinse them off with water or use a mild soap spray.
Harvesting Your Peas
Peas are typically ready to harvest in 50–70 days, depending on the variety. Pick the pods when they’re plump and bright green. Regular harvesting encourages more pods to form. Be gentle when harvesting to avoid damaging the vines.
You can eat peas fresh, steam them, or add them to your favorite stir-fry or salad. Don’t forget to enjoy the tender pea shoots too—they’re delicious in salads and sandwiches.
Replanting and Succession Sowing
Once a plant finishes producing, remove it and refresh the soil mix before replanting new seeds. You can stagger plantings every few weeks to enjoy a continuous supply of fresh peas.
If the weather becomes too warm, pause your planting until temperatures cool down again, as peas prefer mild conditions.
Tips for Success
-
Choose pea varieties labeled as bush, dwarf, or container-suitable.
-
Use transparent bottles to monitor soil moisture and root health.
-
Label your bottles with planting dates to track progress.
-
Keep bottles off cold or hot surfaces to prevent root stress.
-
Try hanging several bottles on a wall or railing for a vertical garden look.
Conclusion
This DIY plastic bottle pea garden is a simple, budget-friendly way to grow fresh vegetables at home. It reduces plastic waste, uses minimal space, and offers a hands-on gardening experience—even for beginners. Whether you’re working with a tiny balcony or just a sunny windowsill, you can enjoy fresh peas grown in your own recycled container garden.


