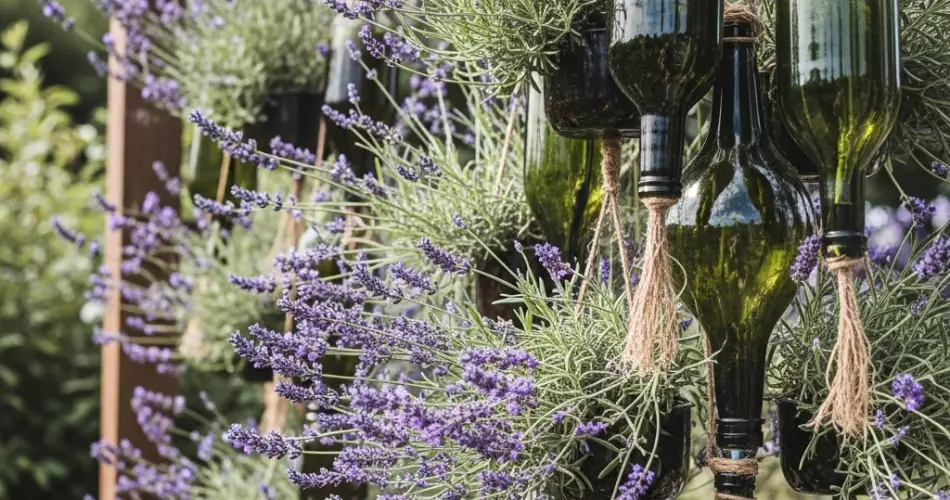
Lavender is a beautifully fragrant herb known for its calming scent, medicinal properties, and ability to attract pollinators. While many gardeners grow lavender in flower beds or large pots, it’s entirely possible to create a hanging lavender garden using upcycled plastic bottles. This method is ideal for small spaces, especially balconies, sunny windows, or patios. It’s a creative, space-saving, and eco-friendly way to enjoy the benefits of this lovely plant.
By recycling plastic bottles into planters, you reduce waste and create a charming vertical garden that not only looks attractive but smells amazing too. Whether you want to grow lavender for tea, sachets, or simply for the beauty and aroma it brings, this DIY project will help you cultivate lavender in a compact and sustainable setup.
Why Grow Lavender in Hanging Bottles?
Lavender thrives in well-drained soil and sunny conditions, making it an excellent candidate for vertical or hanging gardens. Plastic bottles are lightweight, easy to hang, and widely available in most homes. With some simple modifications, these bottles become ideal planters for growing herbs like lavender.
A hanging garden maximizes vertical space, reduces clutter, and adds a decorative element to your living area. Best of all, lavender is a drought-tolerant plant that requires minimal maintenance once established, making it perfect for busy or beginner gardeners.
Materials You’ll Need:
-
1.5- or 2-liter plastic bottles (cleaned and label-free)
-
Lavender seeds, seedlings, or cuttings
-
Sharp scissors or utility knife
-
Nail or heated screwdriver (for drainage holes)
-
Lightweight potting mix (with sand or perlite for drainage)
-
Small pebbles or gravel (optional)
-
String, wire, or sturdy twine for hanging
-
Spray bottle or watering can
-
Sunny outdoor wall or indoor window space
Step 1: Prepare the Bottles
Start by thoroughly cleaning and drying your plastic bottles. Remove any labels for better aesthetics and sunlight exposure.
Use scissors or a utility knife to cut a rectangular opening along one side of the bottle. This opening should be large enough to accommodate the plant and allow for watering. Leave the bottom and most of the sides intact to support the soil.
Poke several small holes in the bottom of the bottle to allow for proper drainage. If you plan to hang the bottles, make two small holes near the top edge on opposite sides. Thread string, wire, or twine through these holes and secure with knots to form hanging loops.
Step 2: Add Soil and Prepare for Planting
Lavender prefers well-draining soil with a neutral to slightly alkaline pH. Mix regular potting soil with sand or perlite to enhance drainage. You can also add a bit of crushed eggshell or lime to raise the pH if needed.
For extra drainage, add a layer of small pebbles or gravel at the bottom of each bottle before filling with soil. Fill each bottle about two-thirds full with your soil mix, gently pressing it down without compacting too tightly.
Step 3: Plant the Lavender
You can grow lavender from seed, but it’s slow to germinate and requires patience. If you want quicker results, use seedlings or cuttings from a mature plant.
From seeds:
Sprinkle 2–3 seeds onto the soil surface and lightly press them in. Cover with a thin layer of soil and mist with water. Place in a warm, sunny area and be prepared to wait 2–4 weeks for germination.
From seedlings or cuttings:
Dig a small hole in the soil and place the root ball or cutting in it. Gently firm the soil around the base and water lightly.
Step 4: Hang and Position Your Bottles
Hang your bottles in a location that receives at least 6–8 hours of direct sunlight each day. Lavender needs full sun to thrive and produce its aromatic oils. Ideal spots include:
-
Balcony railings
-
Window grilles
-
Porch walls
-
Fences or trellises
Ensure each bottle is securely tied and has room for air circulation. Avoid placing them too close together to prevent fungal growth and encourage healthy airflow.
Step 5: Watering and Maintenance
Lavender prefers to be on the drier side, so only water when the top 1–2 inches of soil feel dry. Overwatering is a common issue and can lead to root rot. Use a watering can with a narrow spout or a spray bottle for precise watering.
Avoid overhead watering and make sure the drainage holes remain unclogged. Fertilization should be minimal—use a diluted organic fertilizer once every 4–6 weeks if needed.
Trim back dead or leggy growth regularly to encourage bushier development. Pinch off flowers if you want the plant to focus on growing foliage, or let it bloom if you’re growing lavender for its blossoms.
Step 6: Harvesting Lavender
Harvest lavender once the flower buds are just starting to open. Cut sprigs in the morning after the dew has dried but before the midday heat. Use sharp scissors and cut above a leaf node to encourage branching.
Hang harvested sprigs upside down in a dry, shaded area to preserve their scent and color. Once dry, store them in airtight containers or use them to make sachets, teas, or bath products.
Creative Tips for Your Lavender Bottle Garden
-
Paint or decorate the bottles to add visual appeal.
-
Label each planter with the plant’s name and planting date.
-
Combine lavender with other herbs in nearby bottle gardens, such as rosemary or thyme.
-
Add a trellis or wooden frame to support multiple hanging rows.
Conclusion
Creating a hanging lavender garden from plastic bottles is a simple yet elegant way to enjoy this aromatic herb in compact spaces. Not only does it allow you to grow lavender sustainably, but it also turns ordinary materials into a charming, fragrant garden. With some sunlight, minimal care, and a bit of creativity, you can transform your balcony or window area into a soothing lavender haven that delights the senses year-round.


