Carrots are among the most rewarding vegetables to grow at home. Their crisp texture, natural sweetness, and versatility in the kitchen make them a staple for soups, salads, juices, and snacks. While many gardeners assume carrots require expansive garden beds, the truth is they grow just as well in buckets. With a few simple steps, you can enjoy a steady supply of delicious, homegrown carrots even in limited spaces like balconies, patios, or rooftops. This guide will walk you through the process of successful carrot bucket planting from start to finish.
Why Grow Carrots in Buckets?
Growing carrots in buckets offers several advantages, especially for urban gardeners or those with poor garden soil:
-
Controlled soil conditions: Carrots thrive in loose, rock-free soil. Buckets allow you to create the ideal growing medium without worrying about heavy clay or compacted ground.
-
Space-saving solution: Buckets fit neatly into small spaces, making them perfect for apartments or compact gardens.
-
Reduced pests and weeds: Container gardening limits exposure to soil-borne pests like carrot flies and minimizes weed growth.
-
Portability: Buckets can be moved easily to capture the best sunlight or to protect crops from harsh weather.
These benefits make bucket planting an accessible, low-maintenance way to grow this root vegetable.
Choosing the Right Bucket
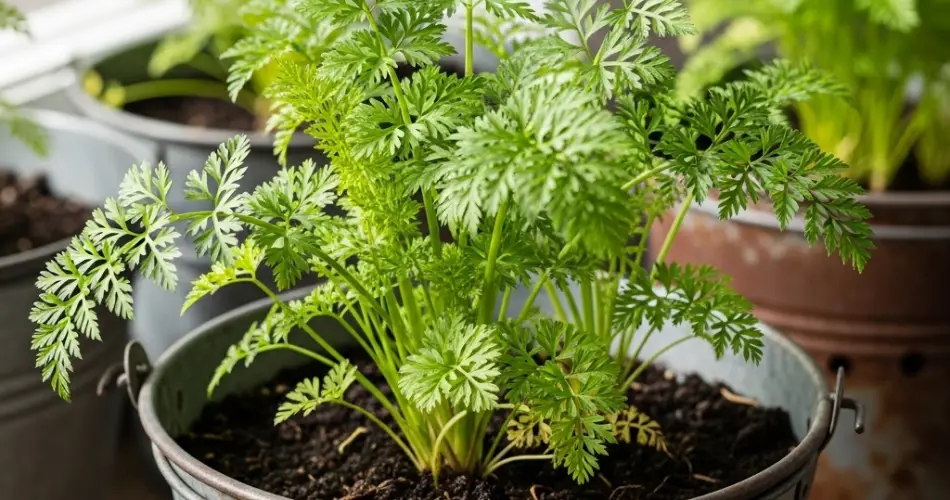
The depth of your bucket is crucial for carrot growth. Most carrot varieties require a container at least 12 inches deep, though shorter or round varieties like ‘Paris Market’ or ‘Thumbelina’ can be grown in 8–10 inches. A standard 5-gallon bucket works perfectly for most types.
Before planting, ensure your bucket has multiple drainage holes at the bottom. Carrots dislike waterlogged conditions, so good drainage is essential to prevent root rot and misshapen growth.
Preparing the Soil
Carrots need loose, well-draining soil for their roots to grow straight and tender. Compact or stony soil often leads to twisted or forked roots. For best results, prepare a soil mix with:
-
1 part quality potting soil
-
1 part compost for nutrients
-
1 part sand, perlite, or coco coir for aeration
Aim for slightly acidic to neutral soil with a pH between 6.0 and 7.0. The soil should feel light and crumbly, allowing carrots to grow without obstruction.
Planting Carrots in Buckets
Carrots are best started directly from seed, as transplanting can damage the delicate roots. Follow these steps:
-
Fill the bucket with prepared soil, leaving about 2 inches at the top.
-
Sow seeds about ¼ inch deep, scattering them evenly across the surface.
-
Lightly cover with soil and water gently.
Carrot seeds germinate slowly, often taking 10–20 days. Keep the soil consistently moist during this period. Once seedlings emerge and grow to about 2 inches tall, thin them to 2–3 inches apart so each carrot has room to develop properly. The thinned greens can be used as flavorful garnishes or salad additions.
Watering and Care
Consistent moisture is key to growing healthy carrots. Uneven watering can cause roots to split, crack, or develop a woody texture. Water when the top inch of soil feels dry, ensuring the soil remains evenly moist but never soggy.
Buckets dry out faster than ground beds, especially in warm weather, so check daily. Adding a thin mulch layer of straw, shredded leaves, or coco husk helps retain moisture and regulate temperature.
Carrots don’t require heavy feeding. A small dose of balanced liquid fertilizer or compost tea once or twice during the growing period is sufficient. Avoid excess nitrogen, as it encourages leafy tops instead of healthy roots.
Sunlight Requirements
Carrots grow best in full sun, needing 6–8 hours of direct light daily. If you live in a hot climate, some afternoon shade can prevent plants from bolting prematurely. Buckets make it easy to reposition your plants to maximize light exposure.
Common Pests and Problems
While container-grown carrots are less prone to soil-borne pests, they may still face occasional challenges:
-
Aphids and spider mites: Inspect leaves regularly and treat with neem oil or insecticidal soap if needed.
-
Carrot rust fly: Elevating buckets above ground level often helps deter this pest.
-
Misshapen roots: Usually caused by compact soil, stones, or inconsistent watering.
Maintaining loose soil and steady moisture will prevent most issues.
Harvesting Carrots
Carrots are usually ready to harvest 8–12 weeks after planting, depending on the variety. You’ll know they are mature when the tops of the roots become visible above the soil and measure about ½ to 1 inch across.
To harvest, loosen the soil gently around the root and pull the carrot by its greens. If the soil is compacted, use a hand trowel to avoid breaking the root.
Harvesting can be staggered—pick the larger carrots first and leave smaller ones to continue developing.
Storing Your Harvest
Freshly harvested carrots store well in the refrigerator for several weeks. Remove the leafy tops before storage, as they draw moisture from the roots. For long-term preservation, carrots can be blanched and frozen or stored in damp sand in a cool, dark place.
Conclusion
Carrots grown in buckets prove that fresh, flavorful produce doesn’t require a sprawling garden. With just a bucket, the right soil, and consistent care, you can enjoy homegrown carrots that are crisp, sweet, and nutrient-rich. From the convenience of container gardening to the satisfaction of pulling your own carrots from the soil, this simple method is both practical and rewarding. Whether you’re new to gardening or an experienced grower, bucket planting makes it possible to savor the taste of fresh carrots no matter how small your space.


