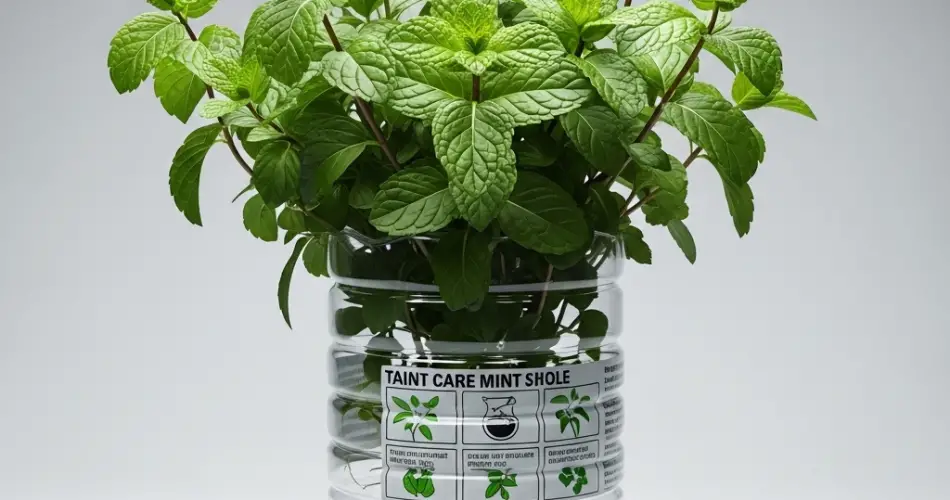
Mint is one of the easiest and most rewarding herbs to grow at home. Its vibrant green leaves and refreshing aroma make it a kitchen favorite for teas, desserts, and savory dishes. If you’re short on garden space but still want to enjoy fresh mint, consider using hanging plastic bottles as an eco-friendly and space-saving solution. This DIY gardening method is perfect for balconies, small patios, or even sunny kitchen windows.
By reusing plastic bottles, you reduce waste while creating a vertical mint garden that looks charming and serves a practical purpose. This guide will walk you through the steps of growing mint in hanging plastic bottles and provide all the care tips you need for a lush, thriving herb garden.
Why Grow Mint in Hanging Plastic Bottles?
Using plastic bottles to grow mint offers several benefits:
-
Space-saving: Ideal for small areas like balconies, walls, or fences.
-
Sustainable: Reuses plastic waste and supports an eco-conscious lifestyle.
-
Affordable: No need to buy pots or planters—just repurpose what you already have.
-
Easy to manage: Hanging bottles are easy to water, maintain, and harvest.
-
Visually appealing: A vertical mint garden adds a fresh, green accent to any space.
Mint is especially suited to this method because of its vigorous growth and shallow root system, which adapts well to container life.
Materials You’ll Need
To set up your hanging bottle garden, gather the following:
-
1 or more clean plastic bottles (1.5 or 2-liter sizes work well)
-
Sharp scissors or a craft knife
-
String, twine, or wire for hanging
-
A nail or heated needle for poking holes
-
Potting soil (light and well-draining)
-
Mint cuttings or seedlings
-
Small piece of mesh or cloth (optional, for drainage)
-
Water and spray bottle
Step-by-Step Guide to Building Your Hanging Mint Planter
Step 1: Prepare the Bottles
Remove any labels and clean the plastic bottles thoroughly. Let them dry completely before cutting.
Step 2: Cut the Opening
Cut a rectangular window on one side of the bottle, large enough to plant and access the mint. Leave about 2 inches at the top and bottom for structural support.
Step 3: Add Drainage Holes
Use a heated nail or sharp tool to poke several small holes at the bottom of the bottle for water drainage. If you’re concerned about soil falling out, line the bottom with a piece of mesh or cloth.
Step 4: Make Hanging Holes
Poke two holes near the top of the bottle—one on each side of the opening. Thread strong string, wire, or twine through these holes to create a hanging loop. Make sure it’s secure enough to hold the weight of the soil and plant.
Step 5: Add Soil and Plant
Fill the bottom of the bottle with light, well-draining potting mix. You can use a general-purpose soil mixed with perlite or sand to improve drainage. Plant mint seedlings or rooted cuttings into the soil, patting down gently around the base.
Step 6: Water Gently
Water the soil lightly until it’s moist but not soggy. Mint prefers evenly moist soil, especially in hanging containers, which can dry out faster than ground pots.
Best Location for Hanging Mint Bottles
Mint thrives in bright, indirect light but can also handle a few hours of direct morning sunlight. Choose a location where the bottles can hang securely—on a balcony railing, wall-mounted hooks, or even a clothesline. Ensure the area has good airflow and is easy to reach for watering and harvesting.
If growing indoors, hang the bottles near a bright window, ideally facing east or south.
Mint Care Tips for Hanging Containers
1. Watering:
Check the soil regularly—hanging containers dry out quickly. Water when the top inch feels dry. In hot weather, you may need to water daily.
2. Pruning:
Pinch off the growing tips regularly to encourage bushy growth. Harvest leaves from the top down, and never remove more than a third of the plant at a time.
3. Feeding:
Mint is a light feeder. Use a diluted liquid fertilizer once a month during the growing season for a healthy, vibrant plant.
4. Pests and Problems:
Mint is generally pest-resistant but watch out for aphids or spider mites. Mist the leaves or rinse gently with water to keep them clean. Avoid overcrowding to reduce the risk of fungal issues.
Harvesting Your Mint
Once your plant has grown several inches tall and has a healthy spread of leaves, you can begin harvesting. Use clean scissors to snip stems just above a pair of leaves. Frequent harvesting helps the plant grow fuller and prevents it from becoming leggy.
Use fresh mint in teas, infused water, salads, sauces, or as a garnish for desserts and cocktails. The more you use it, the more it grows!
Decorating and Expanding Your Hanging Garden
Hanging mint planters can also be a stylish addition to your space. Try:
-
Painting or wrapping the bottles with natural twine for a rustic look.
-
Adding chalkboard labels or tags to identify plant varieties.
-
Hanging multiple bottles in rows or tiers to create a full vertical herb garden.
You can expand this setup by growing other herbs like basil, oregano, or parsley in similar bottle planters.
Final Thoughts
Growing mint in hanging plastic bottles is a fun, practical way to enjoy fresh herbs while reducing waste. This low-cost DIY project not only gives you a steady supply of cooling, aromatic mint but also transforms unused plastic into a productive part of your home garden.
Whether you’re a beginner or a seasoned gardener, this method makes herb gardening accessible and creative. Hang your bottles, plant your mint, and enjoy the refreshing taste of sustainability—right from your window, balcony, or kitchen wall.


