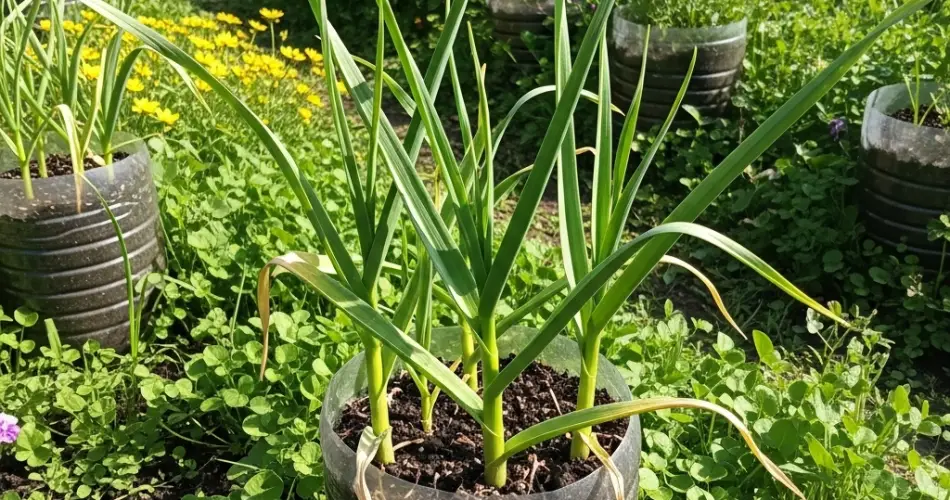
Garlic is a kitchen staple known for its bold flavor, numerous health benefits, and ease of growth. While it’s traditionally grown in garden beds, garlic can also be successfully cultivated in plastic bottle planters—making it an ideal crop for small spaces, balconies, or even sunny windowsills. Whether you’re growing indoors or out, reusing plastic bottles is a smart and sustainable way to start your own garlic supply at home.
With just a few recycled containers and a bit of planning, you can grow flavorful garlic bulbs or greens year-round, even in the tiniest of living spaces.
Why Grow Garlic in Bottles?
Plastic bottle gardening is perfect for urban environments and small households. Plastic bottles are lightweight, widely available, and easy to convert into planters. Using them for garlic offers several advantages:
-
Space-saving: Great for balconies, windowsills, and countertops.
-
Eco-friendly: Reuses plastic waste.
-
Low maintenance: Requires minimal effort once planted.
-
Versatile: Suitable for both indoor and outdoor setups.
Garlic also adapts well to container life. While full-sized bulbs may not grow as large as those in garden beds, you can still harvest flavorful cloves and garlic greens, which are excellent for cooking.
What You’ll Need
-
1.5- to 2-liter plastic bottles (washed and clean)
-
A sharp knife or scissors
-
A screwdriver or nail (for drainage holes)
-
Good-quality potting soil with compost
-
Garlic cloves (organic store-bought or from seed suppliers)
-
Optional: twine or wire (for vertical hanging)
-
A spot with at least 4–6 hours of sunlight per day
Preparing the Bottle Planters
-
Clean and Cut
Wash each bottle thoroughly. For standing planters, cut off the top third to create an open pot. If making horizontal planters, cut a rectangular window along the side while leaving the ends intact. -
Add Drainage Holes
Use a nail or screwdriver to poke several holes in the bottom of each bottle. Proper drainage prevents soggy soil and root rot. -
Optional: Add Mounting Holes
If you plan to hang your bottles vertically, create two small holes near the rim to thread twine or wire through.
Preparing and Planting Garlic
-
Choose the Right Cloves
Select firm, healthy garlic cloves. Avoid using shriveled or moldy ones. If you’re using store-bought garlic, choose organic varieties to avoid treated bulbs that may not sprout. -
Add Soil
Fill each bottle with potting mix, leaving about an inch of space at the top. Enrich the mix with compost or worm castings for better growth. -
Plant the Cloves
Push each clove (pointy side up) into the soil about 1.5 to 2 inches deep and cover lightly. Space cloves about 2–3 inches apart. For narrow bottles, plant just one clove per container for best results. -
Water Gently
Moisten the soil using a spray bottle or watering can with a narrow spout. Keep the soil slightly damp but not soaked.
Placement and Lighting
Place your garlic bottle planters where they will receive at least 4–6 hours of sunlight daily. A south-facing window, balcony ledge, or outdoor table is ideal. If growing indoors without sufficient sunlight, consider using an LED grow light positioned 6–12 inches above the plants.
Caring for Garlic in Bottles
-
Watering:
Water when the top inch of soil feels dry. Bottles can dry out quickly, so check soil moisture regularly. -
Feeding:
Feed with a diluted organic liquid fertilizer once every 2–3 weeks during active growth. -
Mulching (Optional):
You can add a light layer of mulch, like shredded leaves or straw, to retain moisture if growing outdoors. -
Pest Management:
Garlic is naturally pest-resistant, but aphids or fungus gnats may appear. Neem oil or gentle soapy water sprays work well for pest control.
Harvesting Garlic Greens and Bulbs
-
Garlic Greens:
In 3–4 weeks, green shoots will emerge. These can be trimmed and used like chives or green onions in recipes. Harvest by snipping the leaves with scissors, leaving enough for the plant to continue growing. -
Garlic Bulbs:
If you’re aiming for full bulbs, allow 4–6 months of growing time. Once the leaves start to yellow and fall over, the bulbs are ready to harvest. Gently pull the bulb from the soil and allow it to cure in a dry, ventilated space for 1–2 weeks.
Note: Bulbs grown in bottles may be smaller due to limited root space, but they will still be flavorful and fresh.
Replant and Reuse
After harvesting, you can replant in the same bottle using fresh soil. Be sure to clean the bottle and remove any leftover roots or debris. Garlic can be grown successively throughout the year, especially if you’re harvesting greens rather than waiting for full bulbs.
Final Thoughts
Bottle planters offer a practical and eco-conscious way to grow garlic indoors or out. They help recycle plastic waste, make use of vertical and compact spaces, and offer a steady supply of one of the most versatile ingredients in the kitchen. Whether you’re growing for the flavorful greens or the aromatic bulbs, garlic in bottle planters is a simple and rewarding project for beginners and experienced gardeners alike.


