The apple is one of the world’s most beloved fruits—crisp, sweet, and available all year round. It’s packed with vitamins, fiber, and antioxidants, making it not only delicious but also incredibly healthy. But did you know that the tiny seeds inside your apple hold a fascinating secret? With a simple trick, you can turn an apple seed into a small miracle of nature—right inside your refrigerator.
If you’ve ever wondered how apple trees are grown, or if you’ve wanted to try sprouting your own at home, this little experiment will surprise you. All it takes is patience, a few household items, and twenty days. What you’ll see at the end of the process is nothing short of amazing.
The Secret of Refrigerated Apple Seeds
It may sound strange at first, but refrigerating apple seeds for about 20 days can help them germinate and eventually grow into tiny apple seedlings. This process is known as vernalization—a natural phase that mimics winter conditions, helping seeds “wake up” and prepare to grow once temperatures rise.
In nature, apple seeds fall from the tree in autumn and spend the winter under cold, damp soil. Only when spring arrives do they begin to sprout. By placing the seeds in your refrigerator, you’re essentially recreating those natural conditions indoors.
How to Prepare the Seeds
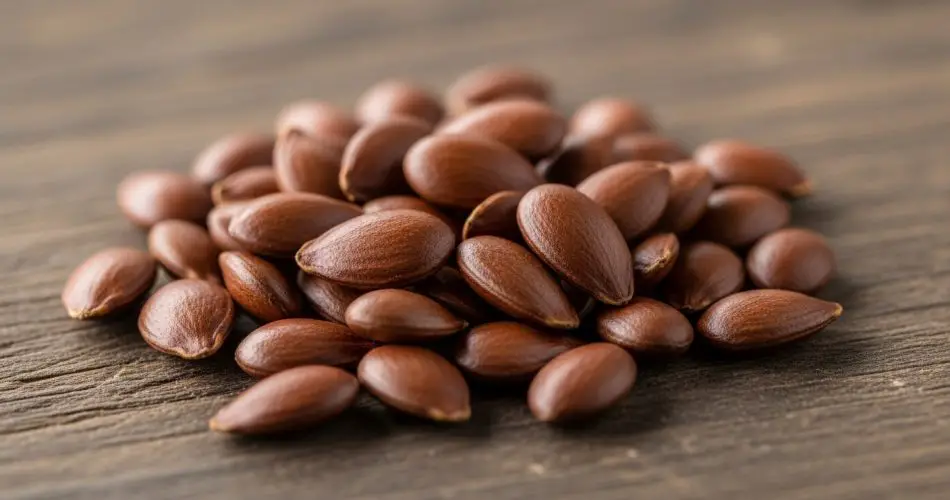
The first step is easy: slice open a fresh apple and remove the seeds from the center. You can use any apple variety you like—Fuji, Gala, Honeycrisp, or even Granny Smith. Once you’ve collected the seeds, rinse them gently under running water to remove any traces of fruit pulp. Then dry them carefully with a paper towel.
Now you’re ready to start the vernalization process. Here’s what you’ll need:
-
A small plastic food container with a tight-fitting lid
-
A few paper towels or napkins
-
A bit of water
-
Your apple seeds
Step-by-Step Guide to Vernalization
-
Prepare the base.
Take a piece of paper towel and place it at the bottom of your plastic container. Dampen it with water, but make sure it’s not soaking wet—just moist enough to create a humid environment. -
Place the seeds.
Lay your apple seeds evenly on top of the damp towel. You can place as many as you like, depending on how many seedlings you hope to grow. -
Cover the seeds.
Place another moistened paper towel on top to cover the seeds completely. This helps maintain consistent humidity and prevents them from drying out. -
Seal and store.
Close the container tightly with its lid. Then place it in the refrigerator—ideally in the egg compartment or another spot where the temperature remains stable and cool.
Once that’s done, all you have to do is wait. Resist the temptation to open the container frequently; it’s best to leave the seeds undisturbed for the full 20 days.
What Happens During Those 20 Days
The cold, humid environment inside your refrigerator will trigger a natural response in the seeds. After about 10 days, you may notice the paper towel starting to turn slightly brown—don’t worry, that’s normal. It means the seeds are absorbing moisture and beginning to awaken.
If you look closely, you’ll see small cracks forming in the seed coats, and tiny white roots starting to emerge. These are the first signs of germination—the moment when a seed transforms into a living plant.
By the 20th day, most of your seeds will have developed visible sprouts. That’s your signal that it’s time to plant them in soil.
Transferring the Sprouted Seeds to Soil
Once the seeds have germinated, prepare a small flowerpot filled with well-draining potting soil. Apple seedlings prefer soil that’s rich but loose, so a mix containing compost and perlite works beautifully.
Here’s how to plant them:
-
Make a small hole about 1 centimeter deep in the soil.
-
Place each seed carefully inside, positioning it with the sprout facing downward.
-
Cover gently with soil and pat lightly.
-
Water the soil thoroughly so it’s evenly moist but not waterlogged.
Now, find a good spot in your home to keep the pot. It should receive plenty of indirect sunlight—bright but not direct. Avoid placing it under harsh sun rays, which can dry out the soil too quickly and damage the delicate seedling.
Caring for Your Apple Seedling
Within about five days after planting, you’ll begin to see a tiny green shoot emerging from the soil—a baby apple tree! Over the next couple of weeks, it will grow stronger and start producing small leaves.
At around the 20-day mark, the seedling will be noticeably taller, with several young leaves reaching toward the light. This is the stage when it starts to look like a miniature tree.
However, resist the urge to transplant it too soon. Let it grow in its small pot for a few more weeks until the roots are well-established. When it’s sturdy enough, you can transfer it to a larger pot—or, if you have space, plant it directly in the garden.
If you decide to plant it outdoors, make sure to choose a sunny location with fertile, well-drained soil. Keep in mind that apple trees grown from seed may not produce the same fruit as the parent apple, but the experience of growing your own tree from scratch is rewarding on its own.
A Simple Trick with Extraordinary Results
This experiment is not just a fun and educational activity—it’s also a wonderful way to connect with nature and learn how life begins from a tiny seed. Watching an apple seed sprout and grow into a small plant right in your kitchen can be a deeply satisfying experience.
So next time you eat an apple, don’t throw away the seeds. Instead, try this easy refrigeration trick. With a bit of patience and care, you could be nurturing your very own apple tree—proof that even the simplest everyday objects can hide extraordinary potential.
After all, as the saying goes: “From small seeds, mighty trees grow.”