Aloe vera is a popular succulent prized for its medicinal properties and low-maintenance nature. While it’s a hardy plant that can thrive with minimal care, repotting is an essential part of its long-term health—especially if it’s outgrown its current pot or has developed “pups” (baby offshoots). Repotting gives the plant fresh soil, more room to grow, and a chance to refresh its roots. This step-by-step guide will walk you through the process of repotting aloe vera correctly, helping you keep your plant healthy and vibrant.
Why Repot Aloe Vera?
There are a few signs your aloe vera needs repotting:
-
Root Bound: The roots are circling the bottom of the pot or poking out of the drainage holes.
-
Top-Heavy: The plant is tipping over or looks oversized for its pot.
-
Poor Drainage: Soil that retains too much moisture or has broken down over time.
-
Pups Appearing: The mother plant has produced several offsets competing for space.
Ideally, aloe vera should be repotted every 2–3 years to promote healthy root development and provide a nutrient-rich environment.
Best Time to Repot Aloe Vera
Spring or early summer is the best time to repot aloe vera. During the warmer months, the plant is in its active growing phase and will recover faster from transplant shock. Avoid repotting in winter when growth naturally slows down.
What You’ll Need
Before you begin, gather the following supplies:
-
A slightly larger pot with drainage holes
-
Cactus or succulent soil mix
-
Trowel or spoon
-
Gloves (optional, for handling spiny leaves)
-
Clean scissors or pruning shears
-
Paper towels or newspaper to work on (for easy cleanup)
If you’re repotting multiple plants or propagating pups, you may also want smaller containers for the offshoots.
Step 1: Prepare the New Pot
Choose a pot that is one size larger than the current one. Aloe vera doesn’t need a deep container—wider and shallow pots are ideal. Ensure the pot has proper drainage holes. Fill the bottom with a small amount of fresh succulent mix to give the roots a good base.
Step 2: Remove the Aloe Vera from Its Old Pot
Gently remove the plant from its current container. If it’s stuck, tap the sides of the pot or run a dull knife around the inside edge to loosen the root ball. Grasp the plant near the base and carefully lift it out, keeping the root system as intact as possible.
Shake off excess soil and inspect the roots. Trim any dead or mushy sections with clean scissors or shears. If your plant has pups, now’s the time to separate them. Gently pull or cut them away from the main plant, ensuring each has its own roots.
Step 3: Let Roots Dry (If Needed)
If you had to trim any damaged roots or cut off pups, let the exposed areas dry out for a day or two. This step helps prevent root rot by allowing the wounds to callous over before they’re replanted in fresh soil.
Step 4: Replant the Aloe Vera
Place the aloe vera in the center of the new pot. Add cactus soil around the roots, gently pressing down to eliminate air pockets. Be careful not to bury the leaves—only the roots and the base of the stem should be covered.
If you’re repotting pups, place each in its own pot following the same method.
Step 5: Hold Off on Watering
One of the most important steps is to wait before watering. Give the plant about 5–7 days to adjust and for any wounds to heal. Immediate watering after repotting can lead to root rot, especially if roots were trimmed.
After this rest period, water lightly and place the pot in a bright spot with indirect sunlight.
Post-Repotting Care
Once repotted, aloe vera should settle into its new container with minimal issues. Resume your regular care routine:
-
Light: Place in a bright location, avoiding direct harsh sun during midday.
-
Watering: Water deeply but infrequently—wait until the soil is completely dry before watering again.
-
Feeding: Fertilize sparingly during the growing season with a diluted succulent fertilizer, but not right after repotting.
Monitor the plant for signs of stress like yellowing leaves or wilting, which can indicate either too much water or insufficient light.
Tips for Success
-
Avoid using regular garden soil, which can retain too much water.
-
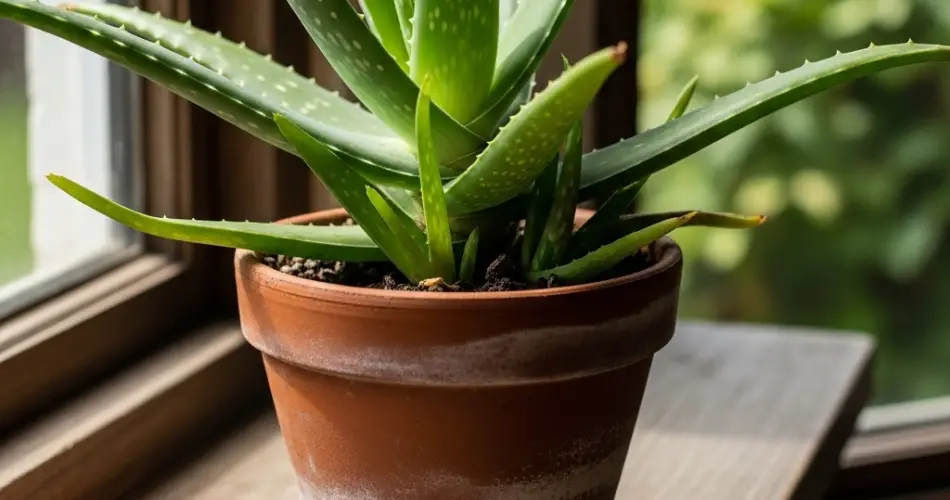
Use pots made of terracotta or clay to help wick away excess moisture.
-
Rotate the plant occasionally to ensure even light exposure and balanced growth.
-
Don’t worry if the plant looks a little stressed after repotting—this is normal and temporary.
Conclusion
Repotting aloe vera is a simple but vital task that ensures the long-term health of your plant. By refreshing the soil, giving the roots more room, and removing offsets, you’re setting your aloe up for continued growth and beauty. With a few basic tools and a careful approach, your aloe vera will thrive in its new pot and continue to be a hardy, helpful addition to your home garden.


