Garlic is a kitchen essential — its unmistakable aroma and flavor bring life to almost any dish, from soups and sauces to roasted vegetables and marinades. But what if you could have a never-ending supply of fresh garlic without ever stepping foot in a grocery store again?
The truth is, you can easily grow garlic right at home — even if you don’t have a garden. With a few pots, some soil, and this simple growing method, you can cultivate garlic continuously and harvest it all year round. It’s sustainable, affordable, and surprisingly easy.
Why Grow Garlic in Pots?
Garlic (Allium sativum) is one of the easiest and most rewarding crops to grow. Unlike many other vegetables, it requires minimal maintenance, adapts well to containers, and doesn’t need much space. You can grow it on a balcony, a sunny windowsill, or a small terrace — anywhere that gets a few hours of sunlight each day.
Container gardening also offers a big advantage: control. When garlic is grown in pots, you can easily manage the soil quality, watering routine, and sun exposure. It also helps prevent common garden problems like pests, root rot, and fungal infections that often attack ground-planted garlic.
And the best part? With a few smart tricks, you can keep replanting and harvesting indefinitely — meaning you’ll never have to buy garlic again.
Step 1: Choose the Right Garlic
Your garlic-growing journey starts with choosing the right bulbs. Not all garlic sold in stores will sprout well, as some are treated with chemicals to prevent germination. For best results, pick organic garlic or buy seed garlic from a nursery.
Look for bulbs that are firm, plump, and free of mold or damage. Separate the cloves carefully, keeping their papery skins intact — this protective layer helps them grow strong roots and resist disease.
Step 2: Pick the Perfect Pot
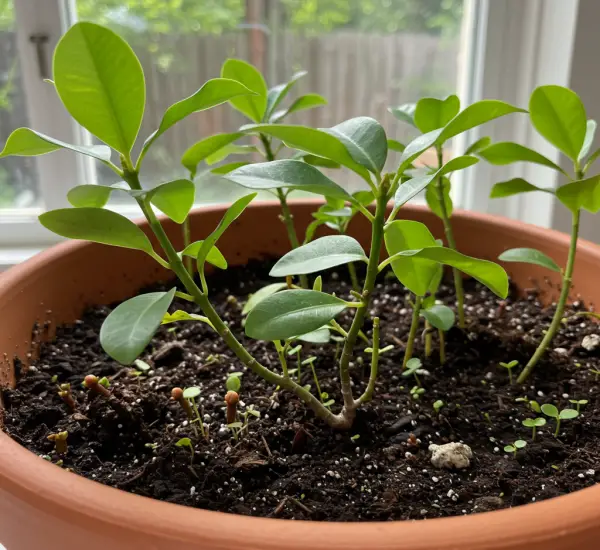
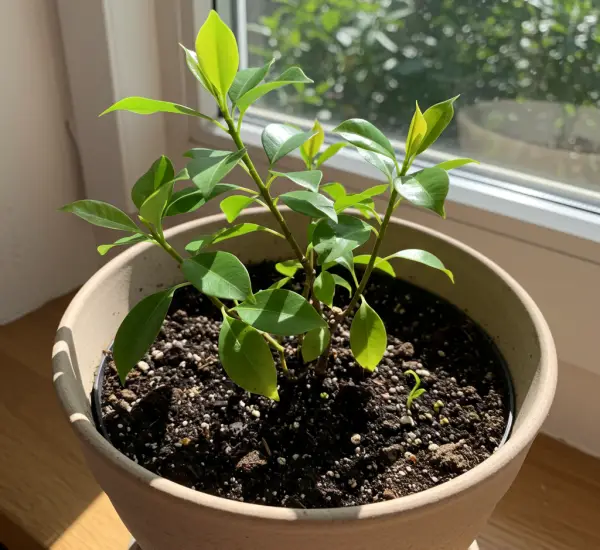
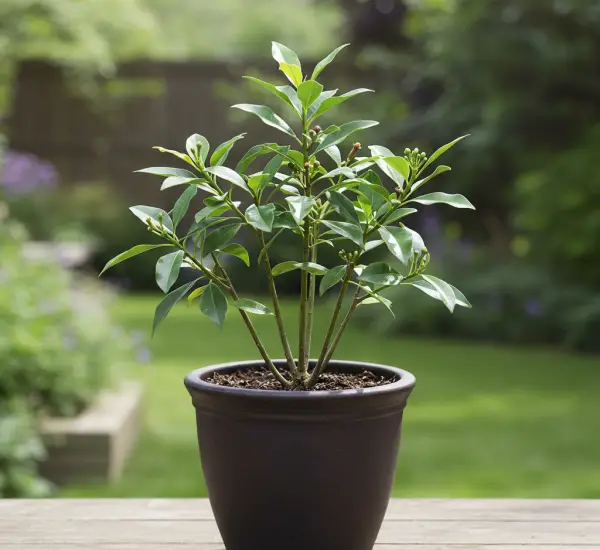
Garlic may not look demanding, but it appreciates a little space. Choose a pot that is at least 20–25 cm (8–10 inches) deep with good drainage holes. Terracotta or clay pots are excellent choices because they allow the soil to breathe and prevent excess moisture buildup.
If you plan to grow multiple cloves, use a wide pot so each plant has enough room. Garlic bulbs need about 8–10 cm (3–4 inches) between them to grow properly.
Step 3: Prepare the Ideal Soil Mix
Garlic thrives in loose, nutrient-rich, and well-draining soil. You can prepare the perfect mix by combining:
-
1 part garden soil
-
1 part compost or organic matter
-
1 part sand or perlite
This blend ensures proper aeration while keeping the soil moist enough for the roots to absorb nutrients.
For an extra nutrient boost, mix in some wood ash or crushed eggshells — both are rich in minerals like calcium and potassium, which support strong growth and bulb development.
Step 4: Planting the Garlic Cloves
Now comes the fun part — planting!
-
Fill your pot with the prepared soil, leaving about 2–3 cm (1 inch) of space at the top.
-
Insert each clove pointed side up and flat side down, about 5 cm (2 inches) deep.
-
Space them evenly, ensuring each clove has enough room to expand.
-
Cover lightly with soil and water gently until the top layer is evenly moist.
Garlic is a cool-weather crop, so the best time to plant it is in autumn (October to November) if you live in a region with mild winters. In warmer climates, you can plant in late winter or early spring.
Step 5: Sunlight, Watering, and Basic Care
Garlic loves light — it needs at least 6 hours of direct sunlight daily. Place your pot in a sunny location such as a balcony, patio, or windowsill.
Water moderately, about once or twice a week. The soil should stay slightly moist but never waterlogged. Overwatering can lead to rotting, which is one of the few problems garlic growers face.
To feed your plants, apply a mild organic fertilizer or compost tea once a month. Garlic especially benefits from fertilizers rich in phosphorus and potassium, which promote strong roots and large bulbs.
Step 6: Harvesting Garlic Greens and Bulbs
In a few weeks, you’ll notice green shoots sprouting from the cloves — these are garlic greens, and they’re perfectly edible! They taste milder than the bulb and can be used in salads, omelets, or stir-fries.
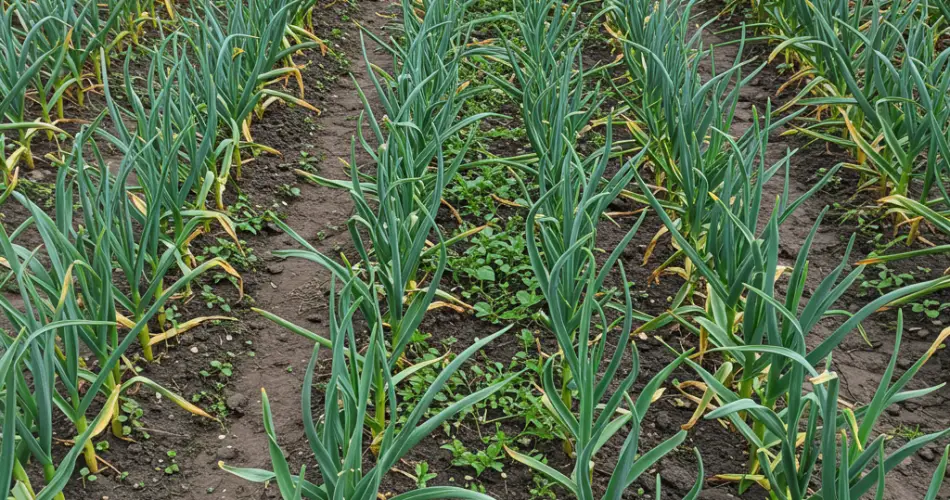
The full bulbs take around 7–9 months to mature, depending on your climate. You’ll know it’s time to harvest when the leaves start turning yellow and drying out.
Gently pull up the bulbs, shake off the soil, and let them dry in a shaded area for about a week. This curing process helps the garlic last longer in storage.
Step 7: The Secret to Endless Garlic
Here’s where the magic happens: save your biggest, healthiest bulbs from each harvest. Separate the cloves and replant them to start a new cycle.
By staggering your planting — for example, planting a few cloves every month — you can enjoy a continuous harvest all year long. As one pot matures, another begins to sprout.
This simple rotation keeps your supply fresh and constant, ensuring that you’ll never run out of garlic again.
Final Tips for Success
-
Avoid overwatering — garlic prefers slightly dry conditions.
-
Rotate the soil or add fresh compost every few cycles to prevent nutrient depletion.
-
During extreme heat or frost, move your pots indoors or into partial shade.
Conclusion
With this easy pot-growing method, anyone — even without a garden — can grow garlic endlessly at home. Imagine walking to your balcony to pick fresh garlic whenever you need it!
Not only will you save money, but you’ll also enjoy pesticide-free, flavorful bulbs grown with your own hands. Once you try this simple technique, you’ll understand why so many home gardeners say: “I haven’t bought garlic in years!”