DIY Magic Liquid Fertilizer: A Natural Boost for Your Plants
If you’re looking for an easy, cost-effective, and all-natural way to fertilize your plants, look no further. This simple yet powerful magic liquid fertilizer is packed with essential nutrients that your plants will absolutely love. The best part? You probably already have everything you need right in your own garden. By using this homemade fertilizer, you can give your plants the nutrient boost they need to thrive. Here’s how to create this magic concoction step by step.
What You’ll Need
-
Weeds: The first step in creating this fertilizer is to gather a variety of weeds from your garden or any area where you can find them. Different types of weeds offer different nutrients—some are rich in nitrogen, others in potassium, and some contain important trace minerals. The more types of weeds you collect, the better. This diversity ensures your plants get a wide spectrum of nutrients.
-
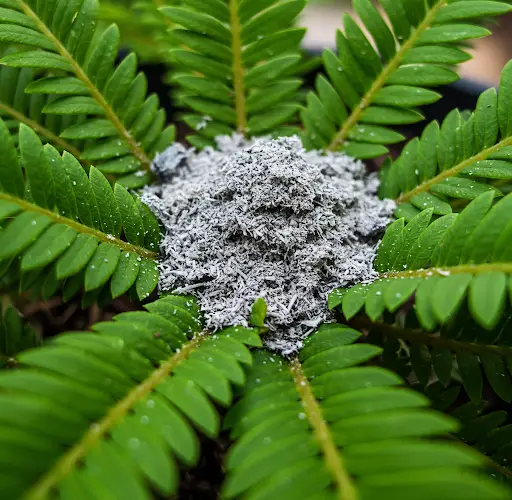
Wood Ash: Wood ash is an excellent addition to your fertilizer mix because it’s rich in potassium. Potassium helps plants regulate their water balance, strengthens their resistance to diseases, and supports flower and fruit development. Wood ash also contains calcium, which is great for strengthening cell walls and promoting sturdy, healthy plants.
-
A Net-like Cloth: An old pillowcase or a mesh bag will work perfectly for creating a pouch to hold your chopped weeds. If you don’t have a cloth pouch, you can still make the fertilizer by directly adding the weeds to the water, but using a pouch will make straining the liquid much easier later.
-
Water: You’ll need about 5 gallons of rainwater or non-chlorinated water. It’s crucial to use water that’s free from chlorine, as chlorine can kill the beneficial microorganisms that help break down the weeds into nutrients. Rainwater is ideal, but any water without chlorine will work.
-
A 5-Gallon Bucket: This will hold the weed mixture as it breaks down and turns into nutrient-rich tea for your plants.
Making the Fertilizer
Step 1: Collect and Prepare the Weeds
Start by collecting a variety of weeds. The more variety, the better! Chop them into small pieces to help them break down more quickly when submerged in water. This ensures that the nutrients from the weeds are more readily available for your plants.
Step 2: Create the Weed Pouch
Take your net-like cloth, whether it’s a pillowcase or mesh bag, and place the chopped weeds inside. Add a small amount of wood ash to the mix to enrich the fertilizer further with potassium and calcium. Tie up the pouch securely, ensuring the contents are well contained.
Step 3: Prepare the Water
Fill your 5-gallon bucket with rainwater or non-chlorinated water. The water should be free from chlorine to preserve the beneficial microbes that help break down the weeds. The microbes will play a key role in converting the weeds into a nutrient-dense liquid for your plants.
Step 4: Submerge the Pouch
Place the pouch filled with weeds and wood ash into the bucket of water, ensuring it is fully submerged. If you don’t have a pouch, you can directly place the chopped weeds into the water. However, using a pouch makes it much easier to strain the liquid later, keeping things simple and mess-free.
Step 5: Let It Sit
Now it’s time to let the mixture work its magic. Cover the bucket with a lid, and let the weeds break down in the water for about two weeks. During this time, the weeds will decompose, releasing their nutrients into the water. You might notice a strong smell as the weeds break down, which is completely normal and indicates that the process is working.
Step 6: Strain the Liquid
After two weeks, remove the pouch from the bucket. If you didn’t use a pouch, you’ll need to strain the liquid to remove the solid weed material. The liquid that remains is your nutrient-packed weed tea, which is now ready to use as a fertilizer for your plants.
Step 7: Dilute and Apply
Before applying the weed tea to your plants, it’s important to dilute it. Mix one part of the weed tea with 10 parts of water. The tea is quite concentrated, and applying it directly to your plants could overwhelm them, so dilution is key. Once diluted, use the solution to water your plants. This nutrient-rich brew will provide your plants with a boost, encouraging healthy growth and robust development.
Why This Fertilizer Works
Using a variety of weeds in your tea ensures a broad spectrum of nutrients for your plants. Each type of weed has its own unique nutrient profile, meaning your plants will receive a well-rounded dose of essential elements for their growth. The addition of wood ash further enriches the tea with potassium, which is vital for flower and fruit development. The calcium in the wood ash also helps to strengthen plant cell walls, promoting sturdier and more resilient plants.
This weed tea is an excellent way to recycle what might otherwise be considered waste in your garden. Instead of throwing away weeds, you can turn them into a powerful, nutrient-rich fertilizer that will help your garden thrive. Additionally, using rainwater or non-chlorinated water ensures that the beneficial microbes are preserved, making the tea even more effective in supporting plant growth.
Conclusion
Creating your own magic liquid fertilizer is an easy and eco-friendly way to give your plants the nutrients they need. With just a few simple ingredients—various weeds, wood ash, and water—you can create a powerful, natural fertilizer that will support healthy growth and maximize your garden’s potential. This homemade weed tea is not only great for your plants but also for the environment, as it avoids the use of synthetic chemicals and helps recycle garden waste. Give it a try, and watch your garden flourish like never before!


