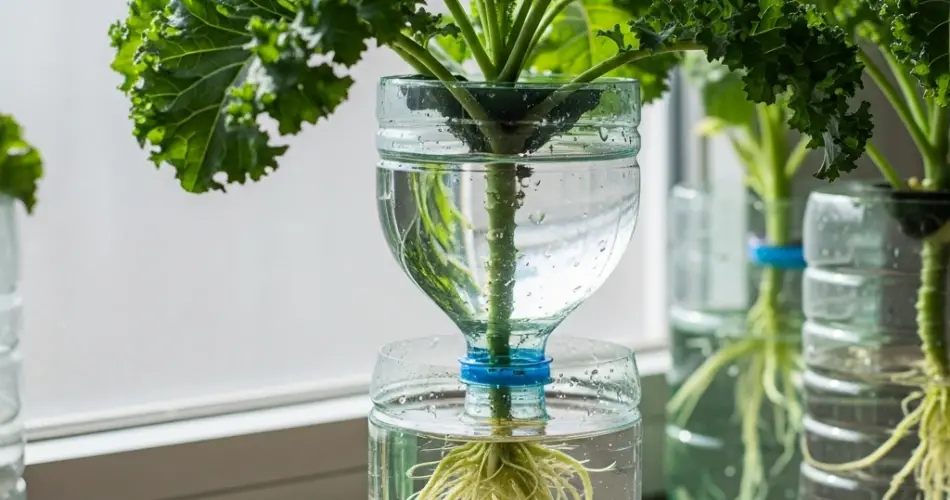
Growing kale in the city doesn’t require a yard, raised beds, or expensive planters. With just a few recycled plastic bottles, you can enjoy a steady supply of fresh, nutritious kale leaves even in the smallest spaces. This method is low-cost, eco-friendly, and surprisingly productive—perfect for balconies, windowsills, patios, or sunny indoor spots.
Why Kale Thrives in Bottles
Kale is a hardy, cool-season leafy green that adapts well to container gardening. Its roots don’t need much depth, and its upright growth habit makes it ideal for compact spaces. Plastic bottles help conserve water, reduce waste, and allow easy relocation for the best light conditions. Even in a crowded apartment, you can grow enough kale for salads, smoothies, or sautés.
Choosing the Best Kale Variety
For bottle growing, choose varieties that are compact, quick to mature, and productive over a long period. Some excellent options include:
-
Dwarf Curled Kale – Compact size, frilly leaves, and excellent flavor.
-
Lacinato (Dinosaur) Kale – Long, narrow leaves with a rich taste.
-
Red Russian Kale – Tender, mild leaves with purple stems.
Dwarf and baby leaf varieties are ideal for small containers, producing harvestable greens in as little as 25–30 days.
Preparing Your Bottle Planters
-
Select the Bottle – Choose 1.5–2-liter plastic bottles that are clean and label-free. Clear bottles make it easy to monitor soil moisture, but avoid prolonged exposure to direct sun to prevent root overheating.
-
Cut the Bottle – Slice horizontally about one-third from the top. The bottom will serve as the planter; the top can be inverted as a watering funnel.
-
Add Drainage Holes – Puncture 4–6 small holes in the base to allow excess water to escape.
-
Optional Self-Watering System – Thread a cotton wick through the bottle’s neck into a water reservoir to maintain even soil moisture without frequent watering.
Soil Preparation
Kale prefers nutrient-rich, well-draining soil. For bottle growing, use a light potting mix made of:
-
50% potting soil
-
30% coco coir or peat moss
-
20% compost or worm castings
Mix in a small amount of slow-release organic fertilizer before planting to support strong growth.
Sowing Kale Seeds
-
Fill the Bottle – Add the soil mix until it’s about 3 cm from the rim.
-
Plant Seeds – Sow 3–4 seeds evenly spaced, about 1 cm deep.
-
Water Lightly – Moisten the soil gently to avoid washing away seeds.
-
Germination – Kale seeds typically sprout within 5–10 days in cool to mild temperatures.
Light and Temperature Needs
Kale thrives with 4–6 hours of sunlight per day. In urban settings, place bottles on a balcony, rooftop, or windowsill that gets good light. In hot climates, provide partial shade during the afternoon to prevent heat stress. Ideal growing temperatures range from 10–21°C (50–70°F), which help keep leaves tender and flavorful.
Caring for Bottle-Grown Kale
-
Thinning – Once seedlings have 2–3 true leaves, thin to leave the strongest plant in each bottle.
-
Watering – Keep soil consistently moist but never soggy. Check daily, especially in warm or windy conditions.
-
Feeding – Every two weeks, apply diluted liquid organic fertilizer to encourage lush leaf production.
-
Pruning – Remove any yellowing or damaged leaves promptly to keep the plant healthy.
Harvesting Kale
You can begin harvesting baby kale leaves about 25–30 days after sowing. For larger leaves, wait until plants are 45–60 days old. Use the cut-and-come-again method:
-
Snip outer leaves about 2–3 cm above the base.
-
Leave the central growth intact for continued production.
-
Regular harvesting encourages new leaf growth and prolongs the plant’s life.
If you stagger planting—starting a new bottle every two weeks—you’ll have a continuous supply of fresh kale.
Common Problems and Solutions
-
Bolting – Kale rarely bolts in cool weather, but excessive heat or stress can cause early flowering. Move plants to a cooler location if needed.
-
Pale Leaves – May indicate nitrogen deficiency. Add compost tea or a nitrogen-rich liquid feed.
-
Pests – Aphids and caterpillars can be managed by handpicking or spraying with a mild soap solution.
Benefits of the Bottle Method
-
Saves space—ideal for urban living
-
Recycles plastic bottles, reducing waste
-
Conserves water compared to traditional beds
-
Portable—easy to move for best sunlight exposure
-
Low cost and beginner-friendly
Final Tips for Success
Rotate bottles every few days to ensure even light exposure on all sides. In cooler seasons, kale can be grown outdoors with little protection, but in winter, indoor setups near a sunny window or under grow lights can keep plants producing. Keep bottles clean between plantings to avoid disease buildup.
With this simple bottle propagation method, anyone—whether living in a small apartment or a bustling city—can enjoy fresh, homegrown kale. It’s proof that even in urban environments, you can grow your own nutritious greens with just a little creativity and care.


