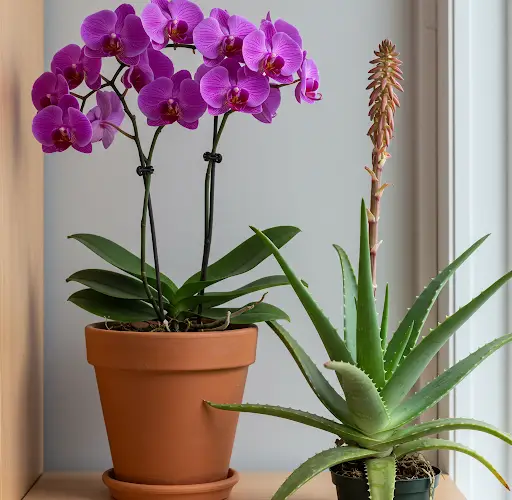
How to Propagate Orchids Quickly and Successfully
Orchid propagation is an exciting and rewarding process that allows you to grow new plants from existing ones. If done correctly, you can encourage the rapid growth of young shoots, or kieki, and establish healthy new orchids. Today, I will share a simple yet highly effective technique to propagate orchids using aloe vera, a natural growth stimulant packed with essential vitamins and minerals.
Step 1: Selecting and Preparing the Orchid Branch for Propagation
To begin, choose a healthy orchid branch that you want to propagate. The branch should have visible nodes or potential growth points where the new shoots will emerge. Using a sterilized sharp knife or scissors, carefully cut the orchid branch to separate it from the parent plant. Make sure your cutting tool is clean to prevent infections or contamination.
Step 2: Using Aloe Vera to Stimulate Growth
Aloe vera is an excellent natural stimulant for plant growth due to its high concentration of essential vitamins, minerals, and enzymes. Cut an aloe vera leaf and extract the fresh gel inside. Apply the aloe vera gel to the cut end of the orchid branch, focusing on the areas where you want the new shoots (kieki) to develop. This gel will not only promote growth but also help seal the cut and prevent bacterial or fungal infections.
Step 3: Sealing the Cut for Protection
To further protect the freshly cut area, apply a healing glue or antifungal agent. This step is crucial in preventing bacterial and fungal infections, which could otherwise hinder successful propagation. If you don’t have a specialized plant glue, you can use toothpaste as an alternative, as it also has antimicrobial properties. Wait for about 10 minutes to allow the applied glue to dry and form a protective barrier over the cut surface.
Step 4: Creating a Moist Propagation Environment
Next, prepare a suitable propagation environment to encourage root development. You will need:
- A transparent plastic box
- Terracotta pellets or pumice stones
- Soft paper towels
- A spray bottle filled with water
Place a layer of terracotta pellets or pumice stones at the bottom of the plastic box. These materials help retain moisture while allowing good air circulation around the plant. Cover the stones with a layer of damp soft paper towels. Spray water lightly to ensure the environment remains humid but not overly wet.
Once the propagation medium is ready, place the prepared orchid branch inside the plastic box. Close the lid securely to maintain humidity. Keep the box in a well-lit area but avoid direct sunlight, as intense light exposure can cause the branch to dry out or rot.
Step 5: Monitoring and Encouraging Growth
Check the orchid branch regularly to ensure the humidity level is maintained. If needed, lightly mist the inside of the box to prevent the medium from drying out. After 30 days, you should start to see new growth forming at the base of the cutting.
At this stage, reapply aloe vera gel to the emerging roots to further stimulate their development. Continue to keep the orchid in a bright but indirectly lit area to promote steady growth.
Step 6: Transplanting the New Orchid
After about 40 days, you should notice that the roots have grown significantly in length and strength. This is a good indicator that your propagated orchid is ready to be transplanted into a permanent growing medium.
Prepare a pot with a well-draining substrate such as:
- Terracotta pellets
- Pumice stones
- Pine bark (optional but beneficial for orchids)
Gently transfer the rooted orchid into the new pot, taking care not to damage the delicate roots. Use plastic clips to secure the plant in place and provide stability as it continues to grow.
Final Tips for Successful Orchid Propagation
- Maintain Humidity: Orchids thrive in a humid environment, so ensure that the surrounding air is neither too dry nor excessively wet.
- Avoid Direct Sunlight: Exposing young orchid cuttings to direct sunlight can cause dehydration and damage.
- Reapply Aloe Vera: Periodically applying aloe vera gel can continue to support healthy root and shoot development.
- Patience is Key: Propagation takes time, and results may vary depending on the orchid species and environmental conditions.
By following these simple yet effective steps, you can successfully propagate orchids and enjoy an ever-growing collection of beautiful plants. Happy gardening!


