Tips for Growing Garlic Quickly with Many Roots in a Plastic Wastebasket
Garlic is a staple ingredient in many kitchens worldwide, prized for its strong flavor and numerous health benefits. While it is commonly grown in garden beds, an innovative way to cultivate garlic efficiently is by using a plastic wastebasket. This method allows for better aeration, easy drainage, and space optimization, making it ideal for urban gardeners or those with limited space.
In this guide, you’ll learn the step-by-step process of growing garlic in a plastic wastebasket, the advantages of this technique, and the best care tips to ensure a bountiful harvest with many roots.
Why Grow Garlic in a Plastic Wastebasket?
Using a plastic wastebasket for growing garlic offers several benefits:
- Excellent Drainage: The holes in a wastebasket allow excess water to escape, preventing root rot.
- Improved Root Growth: The vertical space encourages deep and strong root formation.
- Better Aeration: The perforations in the basket provide airflow, reducing soil compaction.
- Space-Saving: Ideal for balconies, patios, or small gardens.
- Portable: Can be moved around to optimize sunlight exposure.
How to Grow Garlic in a Plastic Wastebasket
Step 1: Choosing the Right Wastebasket
- Select a sturdy plastic wastebasket with perforations or holes on the sides and bottom.
- If your wastebasket doesn’t have holes, drill small drainage holes at the base to allow excess water to drain.
- Choose a deep basket (at least 12-16 inches high) to provide ample space for root development.
Step 2: Preparing the Ideal Soil Mix
Garlic thrives in loose, well-draining soil. To prepare an optimal growing mix:
- Use a combination of loamy garden soil, compost, and sand for aeration.
- Add organic matter, such as aged manure or coconut coir, to improve moisture retention.
- Ensure the soil pH is between 6.0 and 7.0, which is ideal for garlic growth.
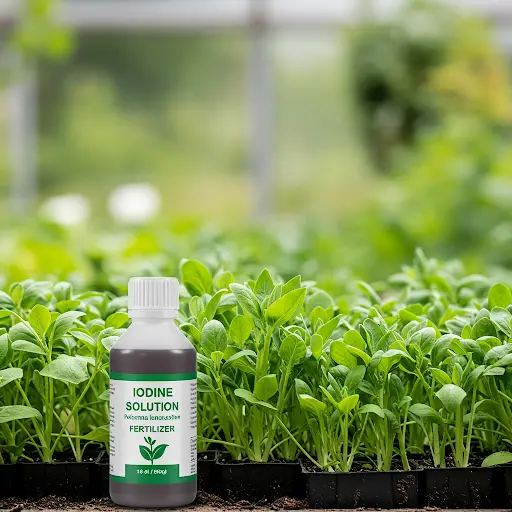
- Mix in bone meal or fish emulsion to boost phosphorus levels for strong root formation.
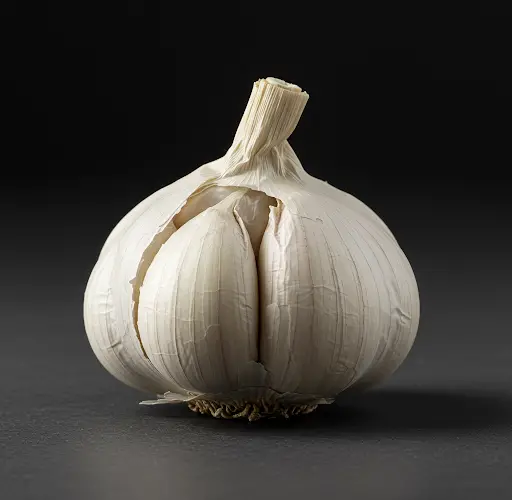
Step 3: Selecting High-Quality Garlic Cloves
- Choose organic, disease-free garlic bulbs from a local farmer’s market or garden center.
- Avoid using store-bought garlic that has been treated with growth inhibitors.
- Separate the bulb into individual cloves, keeping the largest ones for planting.
Step 4: Pre-Sprouting for Faster Growth
To speed up root development:
- Soak garlic cloves in warm water mixed with baking soda for 12 hours to disinfect them.
- After soaking, let them sit in a damp paper towel for 24 hours until roots start emerging.
Step 5: Planting Garlic in the Wastebasket
- Fill the wastebasket with your prepared soil mix, leaving about 2 inches of space at the top.
- Make holes 2-3 inches deep, spacing cloves 4 inches apart.
- Place the cloves pointed-end up into the soil and cover them lightly.
- Water gently to moisten the soil without over-saturating it.
Caring for Garlic in a Plastic Wastebasket
1. Watering
- Keep the soil evenly moist but not soggy.
- Reduce watering once the leaves start turning yellow, signaling bulb maturity.
2. Sunlight Requirements
- Garlic needs 6-8 hours of direct sunlight daily.
- If growing indoors, place near a south-facing window or use LED grow lights.
3. Fertilization
- Apply a balanced organic fertilizer (5-10-10) every 4-6 weeks.
- Use liquid seaweed extract or compost tea to provide extra nutrients.
4. Mulching
- Add a layer of straw, dried leaves, or wood chips to retain moisture and prevent weeds.
5. Temperature Management
- Garlic thrives in cooler temperatures (50-75°F or 10-24°C).
- If growing in winter, insulate the wastebasket with burlap or move it to a warmer location.
Harvesting and Storing Homegrown Garlic
1. When to Harvest
- Garlic is ready for harvest in 90-120 days.
- Look for yellowing leaves and dried lower stems as signs of maturity.
2. How to Harvest
- Carefully lift bulbs from the soil using a small trowel.
- Shake off excess dirt but avoid washing them immediately.
3. Curing Garlic for Long-Term Storage
- Hang garlic bulbs in a dry, well-ventilated area for 2-3 weeks.
- Trim roots and stalks after curing and store in a cool, dark place.
Common Problems and Solutions
| Problem | Cause | Solution |
|---|---|---|
| Small bulbs | Poor soil or overcrowding | Use nutrient-rich soil and space cloves properly. |
| Rotting roots | Overwatering | Ensure good drainage and avoid excessive moisture. |
| Yellow leaves | Nutrient deficiency | Apply organic fertilizer or compost tea. |
| Pests (aphids, thrips) | Infestation | Use neem oil or insecticidal soap. |
Alternative Containers for Growing Garlic
If you don’t have a plastic wastebasket, try these alternatives:
- Fabric Grow Bags – Provide excellent aeration and drainage.
- Wooden Crates – Allow good airflow and root expansion.
- Plastic Buckets (with drainage holes) – Ideal for small-space gardening.
Final Thoughts
Growing garlic in a plastic wastebasket is a smart and efficient method that promotes rapid root development and healthy bulb formation. With proper soil preparation, adequate sunlight, and minimal care, you can enjoy an abundant harvest of fresh, organic garlic right from your home.
Give this method a try and experience the benefits of homegrown garlic with strong, flavorful cloves!