Restoring Fertility to Overgrown Raised Garden Beds
If your raised garden beds have become overgrown and are no longer producing as they should, it’s time to restore their fertility and make them productive again. With a few simple steps, you can rejuvenate the soil, improve plant health, and increase your yield. Here’s a guide to restoring your raised garden beds and making them thrive once more.
Step 1: Clean Up the Bed
The first step in restoring fertility to your raised garden bed is to clean it up. Remove any old vegetables, weeds, and anything that is no longer useful. Some of the vegetables may still be edible, but if they are overripe or spoiled, it’s best to chop them into small pieces. The same applies to any leaves or plant material that has already died off. Chopping them into smaller pieces helps them break down more quickly once added back to the soil.
By removing old plants and weeds, you also reduce the risk of pests and diseases that may have been lurking in the remnants of the previous growing season. Cleaning up the bed will give you a fresh start, ensuring there is no leftover debris hindering plant growth.
Step 2: Prepare the Soil for Enrichment
Once the bed is cleaned up, it’s time to prepare the soil for enrichment. Digging a trench in the raised bed is one of the best methods for incorporating organic matter, as it allows for better distribution throughout the soil. The trench should be long enough to cover a good portion of the bed and deep enough to bury the chopped vegetables, leaves, and kitchen waste.
If you prefer, you can also dig individual holes instead of a long trench, but for larger beds, a trench works more efficiently. Digging a trench creates a space for organic material to decompose, releasing valuable nutrients into the soil. This method also improves the texture of the soil, making it looser and more conducive to plant root growth.
Step 3: Add Organic Matter
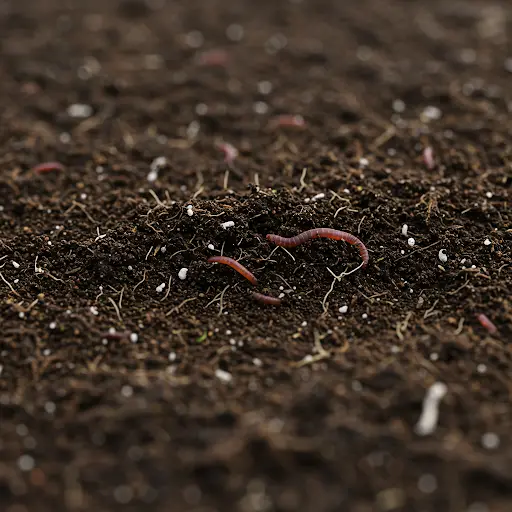
Once the trench is ready, begin filling it with the chopped vegetables, leaves, and kitchen scraps. This organic matter is packed with nutrients and will break down over time, enriching the soil. As it decomposes, it provides a continuous supply of food for beneficial microbes and earthworms that are essential for healthy soil.
Microbes play a crucial role in breaking down organic material into simpler forms that plants can absorb. By burying this material in the soil, you’re creating a natural composting system within your garden bed. This system helps to recycle nutrients and improve soil health, resulting in stronger, more productive plants.
Step 4: Add Vermi Compost
Next, cover the organic material with a layer of vermi compost. Vermi compost is a fantastic addition to your garden bed because it is rich in beneficial microorganisms, enzymes, and nutrients. It contains worm castings, which are considered one of the best organic fertilizers for improving soil fertility.
The microbes in vermi compost speed up the decomposition of organic matter and help to enhance the soil structure. This makes the soil more porous and improves its ability to retain moisture, which is essential for healthy plant growth. Vermi compost also encourages earthworms and other beneficial organisms to thrive in the soil, further boosting soil health.
Step 5: Apply Mustard Cake Fertilizer
After adding the vermi compost layer, sprinkle some mustard cake fertilizer on top. Mustard cake is a natural fertilizer made from the residue left after mustard seeds are processed for oil. It is rich in nitrogen, phosphorus, and potassium—three essential nutrients for plant growth.
-
Nitrogen supports strong, healthy plant growth.
-
Phosphorus promotes root development and flowering.
-
Potassium helps plants resist diseases and stress.
Mustard cake also acts as a natural pest repellent, helping to keep harmful insects and soil-borne pests away from your plants. By applying mustard cake fertilizer at this stage, you ensure that the soil has a steady release of nutrients that will be available to your plants as they grow.
Step 6: Cover and Water the Bed
Once all the organic materials and fertilizers have been added, cover everything with the soil that was removed when digging the trench. This helps to lock in moisture, prevents any unpleasant smells from the decomposing materials, and ensures that beneficial microbes and worms remain active in breaking down the organic matter.
After filling and leveling the bed, water the soil thoroughly. Watering is essential because it activates the decomposition process. Moist soil also attracts earthworms, which further improve soil structure and nutrient cycling. As the organic matter decomposes, nutrients are released into the soil, ready to be absorbed by your plants.
Step 7: Maintain and Monitor the Bed
Now that your raised garden bed is restored, continue to monitor its progress throughout the growing season. Water regularly to keep the soil moist and encourage further decomposition. You may also want to top up the bed with additional compost or organic matter in the future, depending on the needs of your plants.
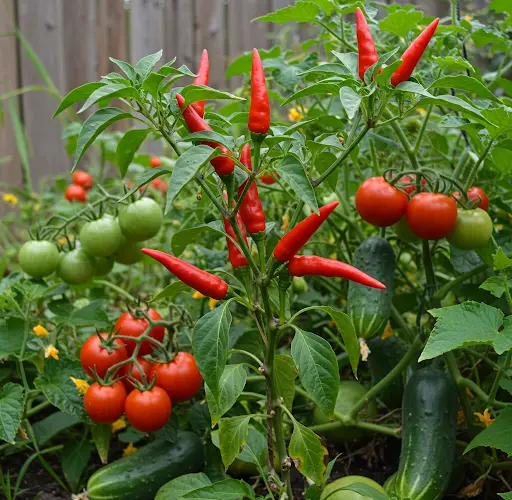
By following these steps, you can restore fertility to your overgrown raised garden bed and make it productive again. This method not only improves the soil but also helps recycle organic waste from your kitchen and garden, making your gardening practices more sustainable. With rich, well-prepared soil, your plants will be healthier and more likely to thrive, giving you a bountiful harvest year after year.