Reviving Orchids with Bacterial Rot: A Simple and Effective Method
Orchids are delicate plants that require proper care to thrive. However, bacterial rot can quickly damage their leaves and roots, leading to severe deterioration. If left untreated, bacterial rot can spread and kill the entire plant. In this guide, we will explore an easy and effective method to treat bacterial rot in orchids and help them recover into healthy, blooming plants.
Identifying and Isolating Infected Orchids
The first step in treating an orchid with bacterial rot is identifying the problem. Symptoms of bacterial rot include soft, discolored, and mushy leaves. If you notice any signs of rot, immediately separate the infected orchid from healthy plants. This prevents the bacteria from spreading to other orchids in your collection.
Once isolated, carefully inspect the plant and remove all rotten leaves and roots. Use a sterilized knife or scissors to cut away the affected parts. It is essential to make clean cuts to avoid further damage. If not treated promptly, bacterial infections can spread quickly and weaken the orchid significantly.
Special Treatment for Bacterial Rot
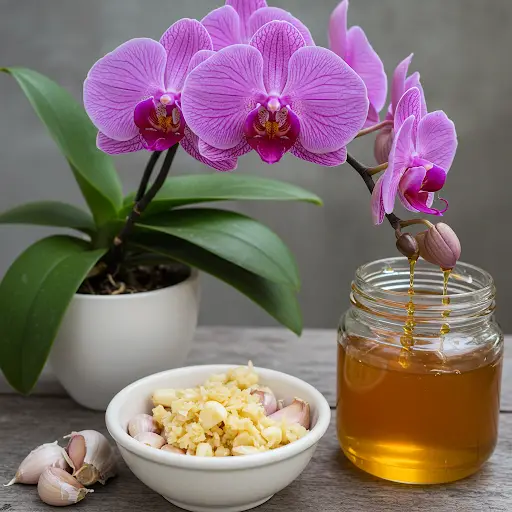
Traditional treatments may take a long time to show results, but this method speeds up the healing process. To begin, thoroughly wash the orchid with clean water to remove any bacteria lingering on the surface. Next, prepare a powerful antibacterial solution using the following ingredients:
- 600 ml of water
- 1 tablet of Amoxicillin (500mg)
- 2 tablets of Vitamin B1 (Thiamine)
Soaking and Disinfecting the Orchid
Amoxicillin is an antibiotic that helps eliminate bacterial infections in orchids, while Vitamin B1 supports healthy root and leaf growth. Dissolve the Amoxicillin and Vitamin B1 tablets in the water, ensuring that the solution is well-mixed.
Place the orchid branches into the solution and let them soak for 30 minutes. This allows the treatment to penetrate the plant tissues, effectively killing bacteria and promoting root recovery. After soaking, remove the orchid and hang it in a cool, dry place for one hour. This drying period helps prevent excess moisture from leading to further infections.
Preparing the Growing Medium
The next crucial step is sterilizing the orchid’s growing medium to prevent reinfection. Prepare a mixture of the following components:
- Gravel
- Pine bark
- Moss
Soak all these materials in the Amoxicillin and Vitamin B1 solution for 30 minutes. This eliminates any bacteria or fungi present in the growing medium, ensuring a clean and healthy environment for the orchid.
Planting and Protecting the Orchid
After the soaking process, take the cleaned orchid and apply a thin layer of toothpaste on the cut sections. Toothpaste has antibacterial properties that help seal the cuts, promoting faster healing and preventing further bacterial attacks.
Replant the orchid in the freshly treated growing medium, ensuring that the roots are well-covered but not overly compacted. To create a humid and protective environment, cover the orchid pot with a clear plastic bottle. This acts as a miniature greenhouse, maintaining the right humidity level for the plant’s recovery. Keep the orchid in a cool, shaded place for one week, without watering it during this period. This allows the plant to adjust to its new environment and prevents excess moisture from causing further rot.
Nourishing the Orchid for Growth
After one week, it’s time to start nourishing the orchid with Vitamin B1 to promote strong root and leaf development. Prepare a new solution by dissolving one tablet of Vitamin B1 in 600 ml of water. Use this solution to water the orchid once a week.
Vitamin B1 helps stimulate root growth and overall plant vitality, allowing the orchid to recover more quickly. Continue watering the plant with this nutrient-rich solution each week to encourage further development.
Monitoring Orchid Recovery
1 Month Later
The previously infected orchid will begin showing signs of recovery. New shoots may start to emerge, and the plant will regain its strength. If the orchid was severely affected, it might develop two to three small new orchids from its base. This indicates that the plant is successfully regenerating.
2 Months Later
By now, the new orchids will have developed strong roots and healthy leaves. Regular application of Vitamin B1 ensures that the plants continue to grow steadily. The leaves will appear more vibrant, and the root system will be much stronger. At this stage, continue weekly watering with Vitamin B1 and maintain a proper care routine.
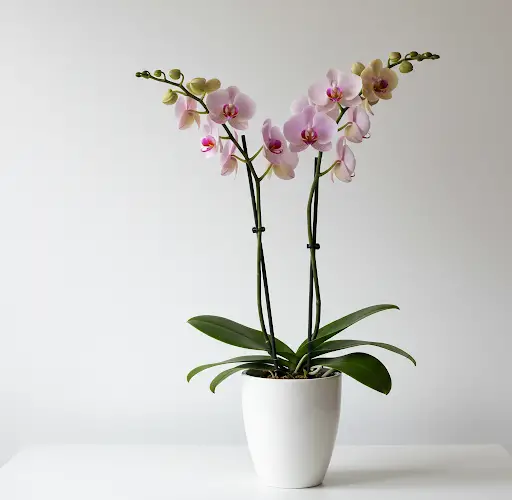
6 Months Later
After half a year, the small orchids will have fully matured into healthy, adult plants. If the recovery process has been successful, the orchid will produce stunning blooms. The flowers will be bright, long-lasting, and vibrant, adding beauty to your collection.
Final Tips for Healthy Orchids
- Regularly inspect your orchids for any signs of bacterial rot or fungal infections.
- Use sterilized tools when cutting or trimming your plants to prevent cross-contamination.
- Maintain proper ventilation and avoid excess moisture to keep bacterial infections at bay.
- Apply Vitamin B1 once a week to encourage healthy root and leaf development.
- Keep infected orchids isolated from healthy plants until they are fully recovered.
By following this method, even a severely infected orchid can be revived and transformed into a thriving, beautiful plant. With patience and proper care, your orchids will bloom abundantly and remain healthy for years to come.
Happy gardening, and may your orchids flourish!